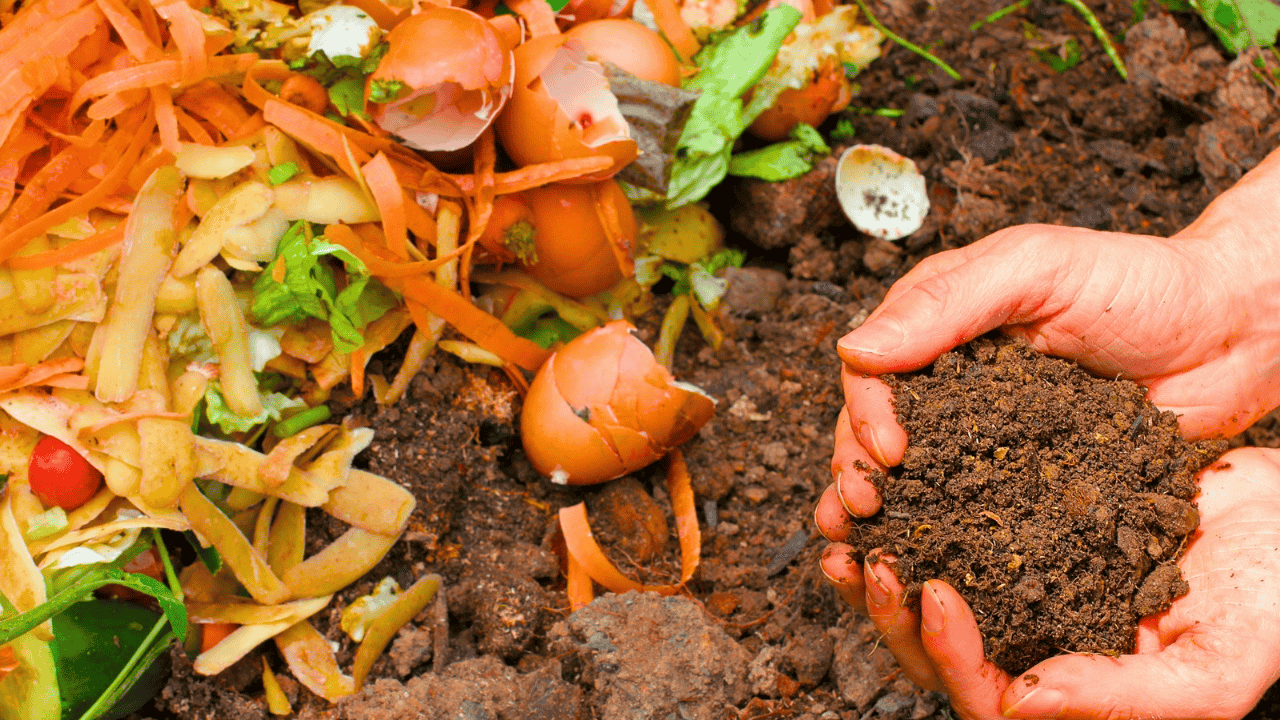
Making your own waste fertilizer is an eco-friendly and effective way to improve the soil and feed your plants. Composting turns organic garbage into a nutrient-rich material that improves the structure of the soil, keeps more water in it, and helps plants grow in a healthy way.
Composting is an important part of sustainable gardening and waste management because it turns organic waste into a useful resource that improves soil and helps plants grow. This process turns food scraps, yard waste, and other biodegradable materials into nutrient-rich compost. This not only cuts down on trash going to landfills, but it also improves the structure and richness of the soil.
Composting is beautiful because it is easy and can be used in many situations. There is a way to compost that works for everyone, whether you have a big yard, a small balcony in the city, or not much room inside. Because each way has its own benefits and fits different lifestyles, it can be used by a lot of different people.
This piece goes into detail about the different ways to compost, giving you all the information you need to choose the best method for your needs. We will talk about traditional compost bins, which are great for handling larger amounts of organic matter; compost tumblers, which speed up the decomposition process by making it easy to turn; Bokashi composting, which uses beneficial microorganisms for a more compact and odor-free option; and vermicomposting, which uses worms’ natural abilities to make high-quality compost.
You can make an informed choice that fits your space, time, and composting goals if you know about the different composting methods, their pros and cons, and what they need from you. This guide is meant to give you the information you need to start and keep up your composting system, which will lead to a better garden and a more environmentally friendly way of life.
This full guide will walk you through six easy steps that will help you start making your own organic fertilizer.
1. Choose a Composting Method
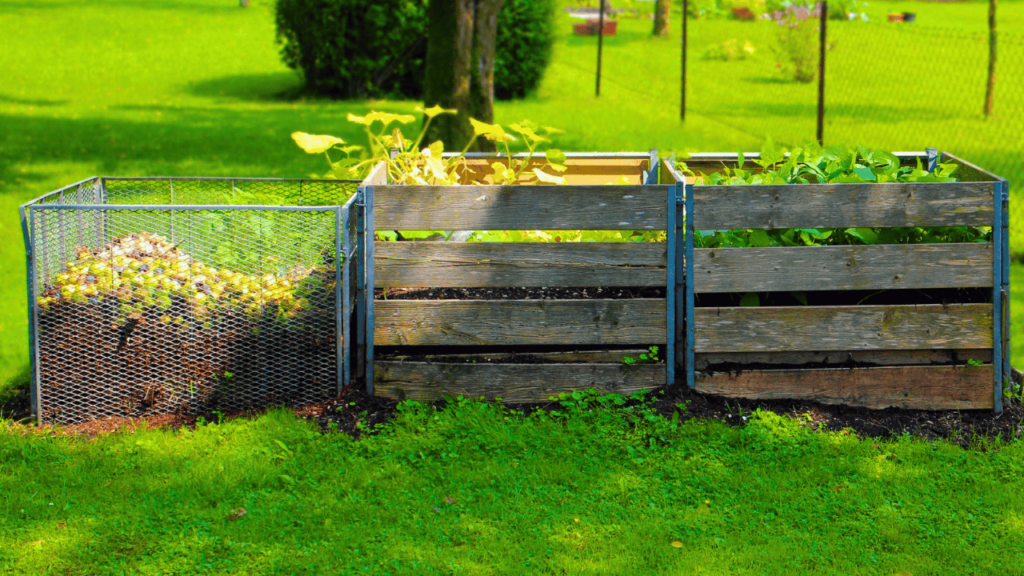
Choosing the right way for composting is important for managing your organic waste and making good compost. Depending on your space, the amount of waste, and the type of composting you like, each way has its own benefits. Here is a more in-depth look at the different ways to compost:
Traditional Compost Bin
If you have a lot of room and a lot of things that can be composted, a traditional compost bin is a great choice. There are different styles of these bins, from simple ones that are open to the air to more complex ones that are covered.
- Open-Air Bins: These are simple buildings, usually made of wire mesh or wood, that let air flow around the compost. Building one is simple, and if you have a big yard, it can save you money. The open form lets air flow well, but it might not be as good at keeping out smells or bugs.
- Enclosed Bins: These bins, which are usually made of metal or plastic, have solid walls and a lid that keep the compost inside and control the amount of wetness in the air. You can buy them in different sizes, and many of them come with features like air vents and slide doors that make them easy to get to. Bins with lids are better at keeping smells and bugs out, and they usually speed up the composting process by keeping the temperature and humidity inside more stable.
- Homemade Bins: You can also make your own compost bin out of things like old barrels, pallets, or chicken wire. This choice lets you change the size and style, but it takes some time and DIY skills.
Regular compost bins are good for holding a lot of food scraps, yard trash, and other things that can be composted. They give you a lot of room to layer different kinds of organic waste, which helps the composting process work well.
Tumbler
A compost tumbler is a modern and effective way to make the recycling process go faster. Tumblers are round containers that are attached to a frame that lets them spin. This makes it easy to mix the waste and let air into it.
- Benefits: A tumbler’s best feature is that it can quickly turn and mix the compost. Rotating the pile on a regular basis adds air, which speeds up decomposition and helps raise the temperature. This method can cut down on the time it takes to make finished compost by a large amount. Depending on the materials and upkeep, the process can be finished in a few weeks to a few months.
- Design Variations: Tumblers come in many shapes and sizes. Some only have one chamber, so you can work on one batch at a time. Others have two chambers, so you can add new materials to one chamber while the other chamber finishes composting. Dual-chambered models can make compost all the time and have less downtime between runs.
- Maintenance: Tumblers are usually easy to use and keep up, and they need less turning by hand than regular garbage piles. They might cost more than simple compost bins, though, and they might need more room.
Bokashi Composting
Microorganisms (EM) that work well in a sealed container break down organic garbage in a process called bokashi composting. This method works especially well in small areas, like apartments or cities, where regular composting might not be possible.
- In Bokashi composting, food scraps and other organic materials are mixed with Bokashi bran, which is what holds the EM. This is done in a special bin. By sealing the bin, an anaerobic environment is made, which helps the fermentation process. It turns the garbage into a pre-compost that can be buried in the ground or added to a regular compost pile because of the microorganisms in the bran.
- Benefits: Bokashi composting works well for processing food scraps like meat and cheese that don’t work well with regular composting. Not only that, but it smells better and takes up less room than a regular waste bin.
- Maintenance: To use this method, you need to buy Bokashi bran and learn how to manage a covered bin, which may take some time at first. But it is an easy and effective way to compost kitchen waste when room is limited.
Vermicomposting
Worms, especially red wigglers (Eisenia fetida), are used in vermicomposting to break down organic waste. This method is flexible and can be used both inside and outside, so it can be used in a range of home settings.
Worms eat organic garbage and turn it into worm castings, which are also called vermicompost and are full of nutrients. A worm bin, which usually has covering materials like shredded newspaper or coconut coir to make a good environment for the worms, is where this process takes place.
- Advantages: Vermicomposting makes high-quality soil that is full of nutrients and microorganisms that are good for you. This is a good way to get rid of kitchen waste and other organic things. When the vermicompost is done, it can be used to feed plants very well.
- Design and Upkeep: Worm bins come in a range of styles, from simple boxes to systems with many layers. To stay healthy, worms need to be fed regularly, have the right conditions, and keep the moisture level stable. Bins that are kept inside need to be kept in a temperature-controlled area. Bins that are kept outside need to be kept out of extreme weather.
Which composting method you use will depend on your needs, the space you have, and the amount of organic garbage you produce. Each method has its own benefits, so think about your needs and resources to choose the best one for your composting trip.
2. Get things That Can Be Composted
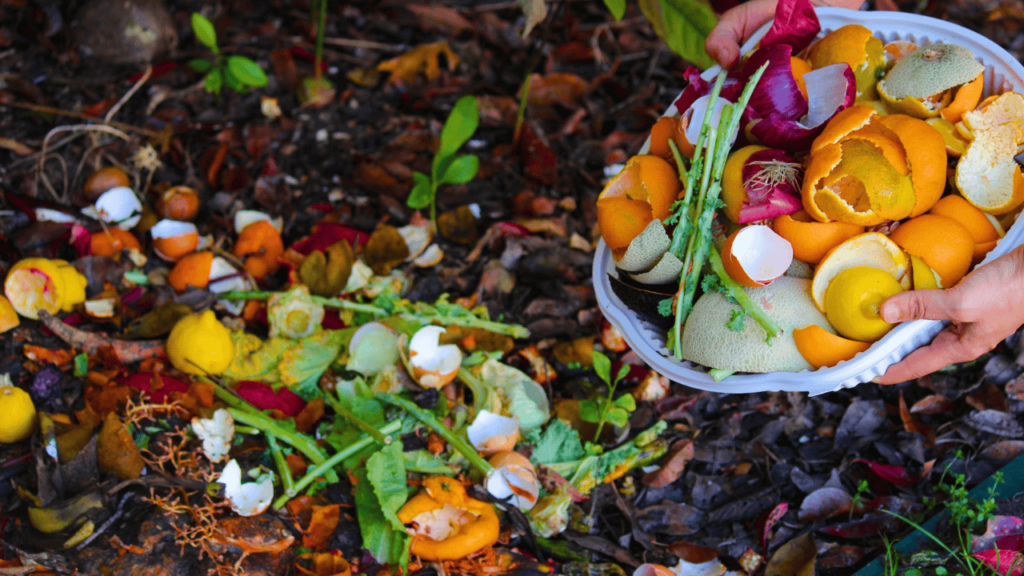
The things you use will determine how well your compost works. There are two types of compostable materials: green and brown. Things that are green, like grass clippings, coffee grounds, and fruit and veggie scraps, are high in nitrogen. In addition to adding nutrients to the waste, these ingredients also help it break down. Dry leaves, straw, cardboard, and newspaper are all brown things that are high in carbon. These things add the carbon that the greens need to balance out the nitrogen in the greens, which helps the composting process go smoothly. For extra nutrition, you can also add small amounts of manure, eggshells, and seaweed. Meat, cheese, oils, and sick plants should not be composted because they can attract pests, give off bad smells, and possibly spread diseases.
3. Make Your Compost Pile or Bin.
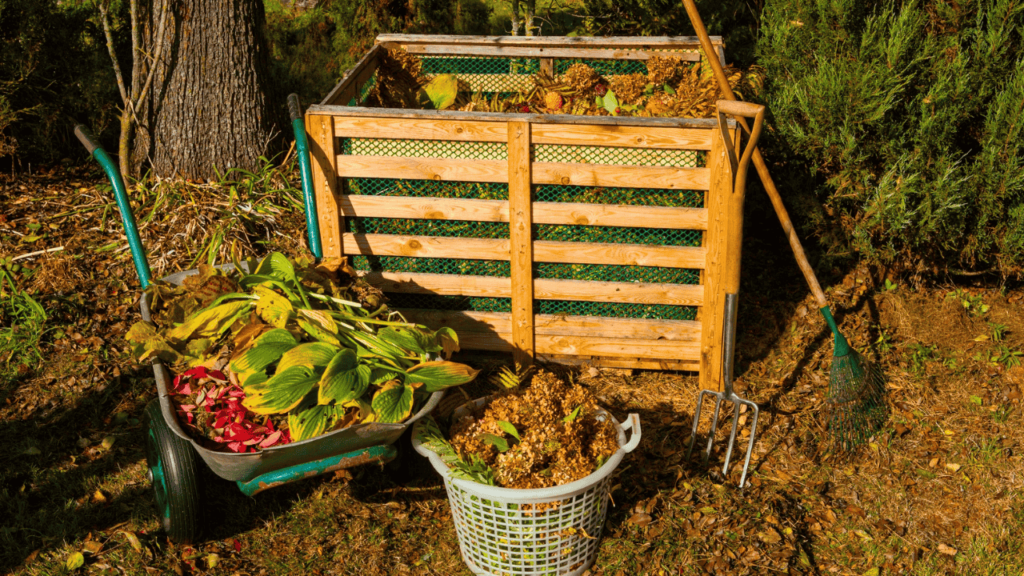
If you set up your compost pile or bin properly, the materials will break down quickly. If you want to use an open compost pile, find a sunny spot in your yard that drains well. For compost boxes, put them on grass or bare ground so that good bugs can get into the pile. First, make a base layer of rough brown things like straw or small twigs. This layer helps the soil breathe and drain. On top, add layers of green and brown materials back and forth, trying to get a ratio of about 2:1 brown to green. The compost pile should be at least 3 feet wide and 3 feet tall. This gives it enough mass to keep the heat and wetness in. Follow the manufacturer’s instructions for how to set up and fill bins.
4. Maintain and Monitor the Compost
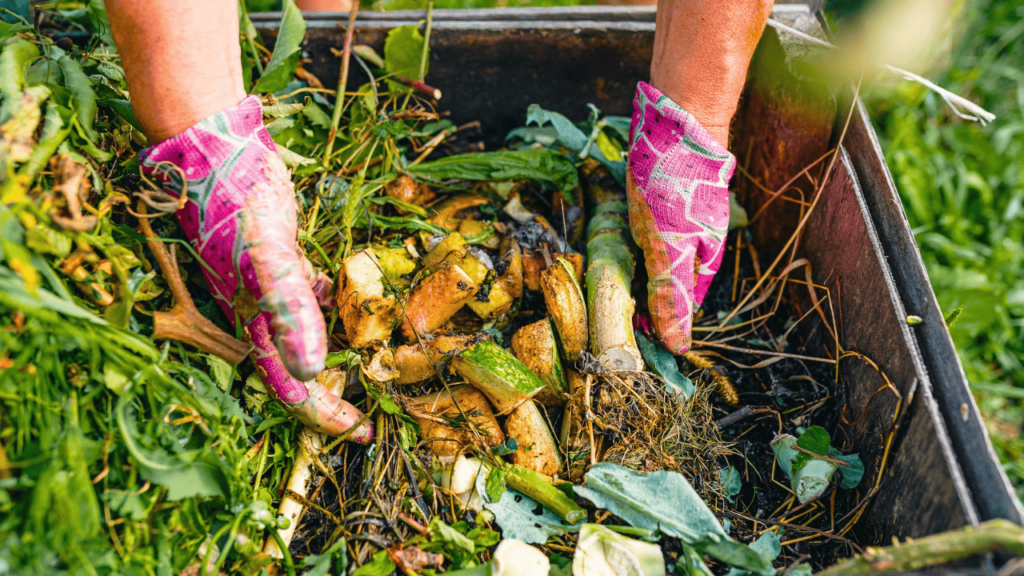
Making sure you have the right amounts of carbon and nitrogen in your pile is important for keeping it in good shape. In order for aerobic recycling to happen, you also need to keep the following three things in balance:
Microbes need oxygen to break down trash into compost, so it’s important to make sure there’s good circulation to keep the oxygen flow steady. One easy way to add air to your compost pile is to turn it over with a pitchfork or shovel.
Making sure there is enough airflow is important for optimal evaporation, which in turn changes the amount of water in your pile. It is important to keep an eye on the amount of moisture to keep things in good shape.
Moisture: Microbes that break down organic matter need moisture to live. It will stop the process if the pile gets too dry. While it’s important to make sure the pile is moist, be careful not to soak it too much. Too much water can cause mold to grow and block the flow of air. You’re on the right track if your compost has about the same amount of water as a wet, wrung-out towel.
Temperature: Composting makes heat, and the faster the breakdown, the hotter the pile needs to be. A bigger pile is better for soundproofing, so you want it to have a bigger volume.
To get composting to happen quickly, keep the temperature between 90 and 160 degrees Fahrenheit. This range of temperatures makes breakdown more efficient without going over the upper limit.
Extremely high temperatures above 160 degrees can hurt your microbes and could even stop the process. Elevated temperatures can cause more water to evaporate, so piles that are in direct sunlight may need to be watered more often.
More than once a week should be enough to turn the pile so that everything stays in balance. With a shovel or pitchfork, you can mix the material so that every part is at least partly exposed to air. The material will finally reach the center of the pile, which is the warmest spot.
As you turn the pile over, water it to make sure that all of the layers are evenly wet. If you water a big pile from top to bottom without moving it, the water won’t reach the places that need it most.
5. Know When It’s Time to Use Your Compost
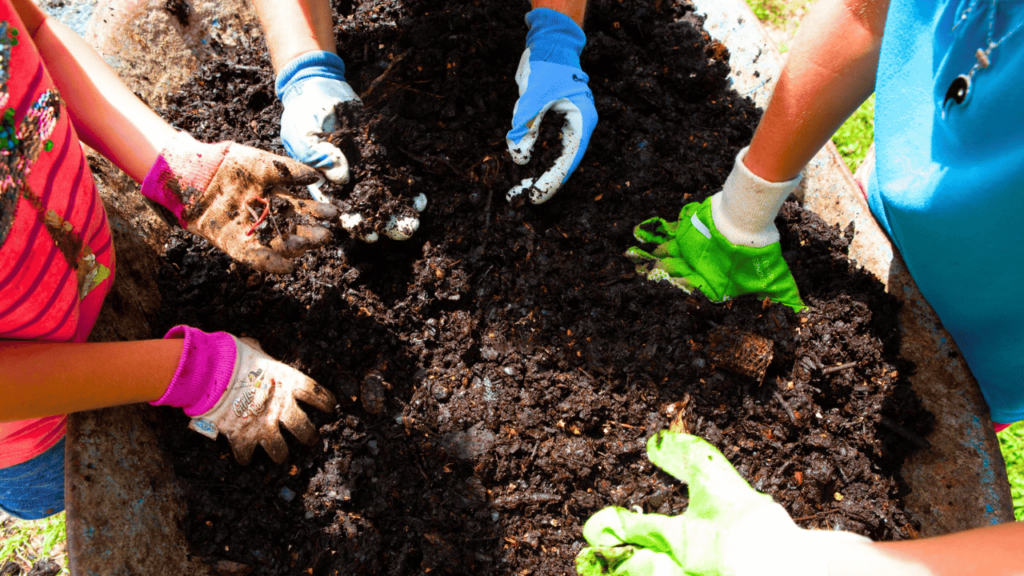
You have to look at and try your compost to find out when it’s ready. When it’s done, the compost should be dark, crumbly, and smell like earth. It can take anywhere from a few months to a year for the materials to break down, based on the method used and how often the pile is turned. Take a handful of garbage and squeeze it to see if it’s ready. It should stay together but be easy to break. If there are still big pieces of material that haven’t broken down, sift them out and put them back in the compost pile to keep breaking down. When it’s ready, the compost can be added to yard soil to make it better or used as a top dressing for lawns.
6. Applying Your Homemade Organic Fertilizer

You can keep up with and turn your compost pile on a daily basis to make an organic fertilizer that is full of nutrients that will help your plants. It is time to use your homemade organic fertilizer when the waste is crumbly and dark, and it smells earthy and nice.
The process of using your homemade organic fertilizer is simple and only takes a few steps. Pick the plants or places that will get fertilizer first. No matter how big or small your flower bed or collection of potted plants is, you need to have a plan for where and how to apply fertilizer.
Next, get your planting gloves and a strong shovel or fork. Take the right amount of compost from your pile and spread it out evenly around the bases of your plants. Do not put the compost close to the roots or stems of your plants. This will keep them safe.
You might want to use a rake or hoe to spread the compost out evenly in the bigger garden bed. You can be sure that each plant gets the same amount of the nutrient-rich fertilizer if you do this.
After putting the compost down, use a garden fork or rake to slowly work it into the top few inches of dirt. This will help the compost mix in with the soil, making it easier for the roots of your plants to get to the nutrients.
After putting the compost, it’s very important to give your plants a lot of water. In this way, you can make sure that the plants’ roots take in the nutrients in the waste and help them grow. When you water, make sure the water gets to the roots by going deep into the dirt.
It is best to use your homemade organic fertilizer in the early spring or late fall, when plants are busy growing. The best times for growth and nutrient intake are during these times.
These steps will show you how to use your own homemade organic fertilizer to feed your plants in a way that is natural and full of nutrients. The next part will go into more detail about the benefits of organic fertilizers and why many gardeners choose them. Keep an eye on this space to find out more about why using organic fertilizers in your yard is a good idea.
To sum up, you don’t need a lot of money or a green thumb to become a master at making organic fertilizer. By carefully following the six steps in this piece, you can find out how to feed your plants and help them grow quickly and well. You will save money and help make gardening more sustainable and healthy at the same time.

