
The health and output of your plants can be greatly influenced by a well-designed garden bed. Even in the sweltering summer months, a bed that retains water and nutrients for a long time will help your plants all through the growing season. This post will guide you through the process of building a nutrient-rich garden bed to keep your plants well-fed and hydrated all season long.
Constructing a garden bed calls for some thought and preparation but is otherwise simple. Following these guidelines will help you build a bed rich in life and nutrients, giving your plants the best possible start.
Step 1: Start by digging the garden bed.

The first step in getting your garden bed ready is to excavate the spot you wish to set it. Your layers will need sufficient depth created by this stage as well as soil clearance. Though it could change depending on the kinds of materials you intend to utilize underneath, your garden bed should be roughly 3 to 4 inches (ca. 10 cm) deep. This first digging lays the basis for all the organic material and amendments that will be added later; thus, it is really essential. Ensure the space is free of any large rocks, roots, or debris that could impede the growth of your plants.
Step 2: Add a Layer of Cardboard

After you have readied the space, the following action is to put down a layer of cardboard. This stage is essential to stop grass and weeds from sprouting up through your garden bed from below. Keeping weeds out is a primary concern since they can fight for nutrients, light, and water with your plants. Lay the cardboard down, overlapping the sides to guarantee no gaps are left. Though the cardboard will eventually decompose and contribute to the structure of your garden, it now serves as a strong barrier against weed development.
Step 3: Add Organic Materials for Structure
Having set your foundation, you should now include organic elements to feed and strengthen the framework of your garden bed. Begin by putting a thick layer of twigs, branches, and other natural organic material atop the cardboard. Over time, these materials will disintegrate slowly, so enriching the soil with useful nutrients. They also support soil aeration and drainage, so guaranteeing that the roots of your plants may readily reach water and oxygen. The basis of the garden bed will be this organic material, thereby feeding your plants for a long time.
Step 4: Add Extra Nutrients by Layering Kitchen Waste
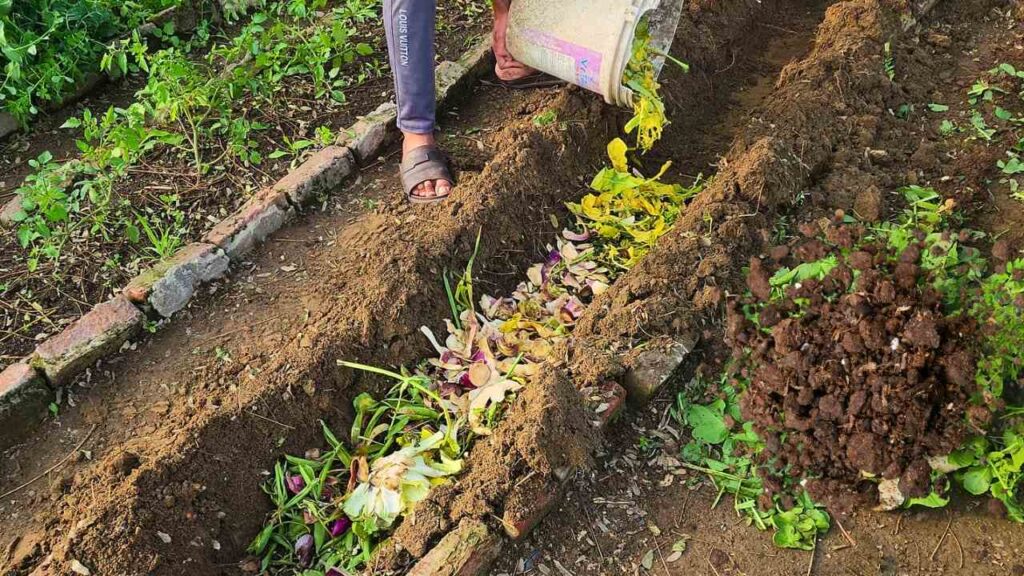
After laying down the organic matter, the next step involves adding kitchen garbage. Include additional biodegradable kitchen items, coffee grounds, fruit peels, vegetable scraps, and coffee grounds. Steer clear of cooked food, dairy, or fatty leftovers since they may draw insects and generate bad smells. Especially when it decomposes, kitchen waste offers extra nutrients to improve the soil. It’s a sustainable method to recycle organic waste and make sure your garden bed is abundant in necessary nutrients for healthy plant development.
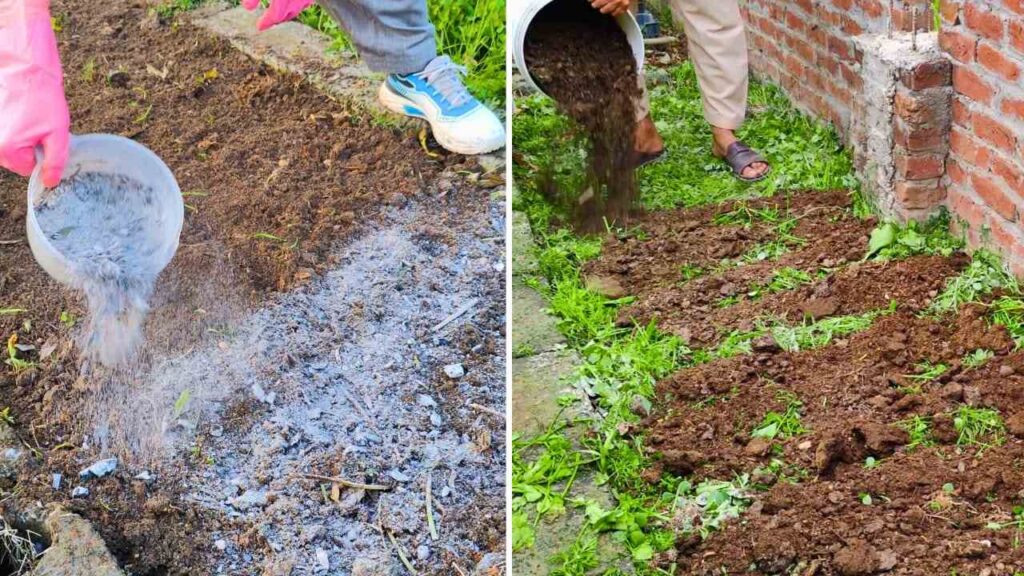
Step 5: For Root Development, Sprinkle Bone Meal
Sprinkle a layer of bone meal over the organic matter and kitchen waste to increase the nutrient level of the soil even further. Rich in phosphorus, bone meal is a slow-release fertilizer necessary for encouraging robust root development. Particularly crucial when establishing new plants, phosphorus helps healthy roots to grow and helps plants to set themselves fast. Adding bone meal guarantees that your plants will have the required nutrients to develop strongly from the very start.
Step 6: Include a Layer of High-Quality Soil

Adding a thick layer of soil helps you further develop a healthy garden bed. Your chance to enhance it is if your natural soil is not perfect for planting—maybe it is too sandy or clay-heavy. Most plants do best in loamy soil, which is rich in organic content and retains moisture well. Loam also drains nicely, so it avoids waterlogging. You may also, if required, import premium topsoil from another source to enhance the structure and fertility of the soil. The soil layer will give your plant’s roots a strong basis to anchor and grow, hence guaranteeing the appropriate atmosphere for them to flourish.
Step 7: Manure or Compost Top
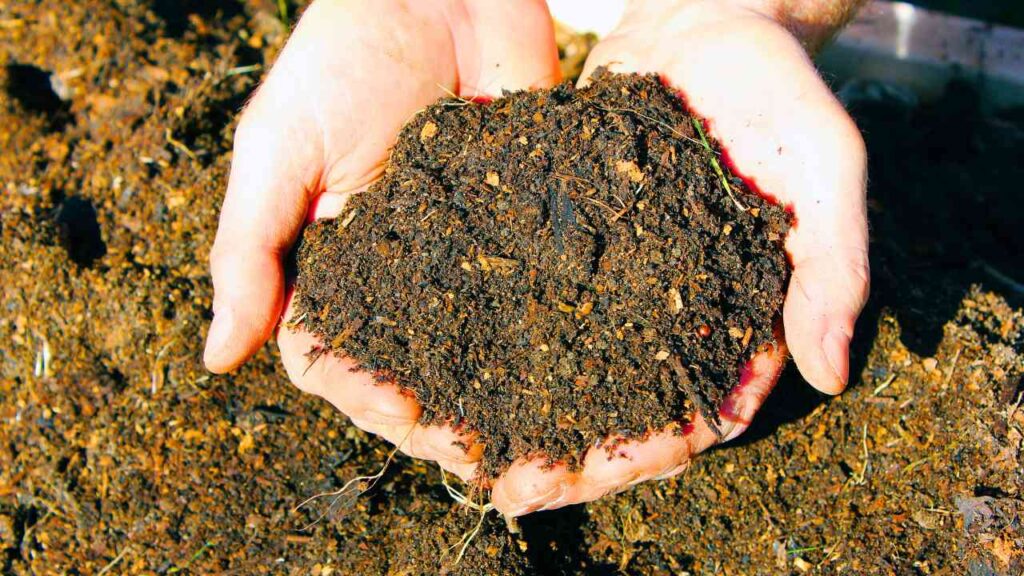
After adding your soil layer, the following action is to enrich it even further by adding a thick layer of completely decomposed compost or manure. Packed with the necessary nutrients for plants—including nitrogen, phosphorous, and potassium—compost and manure are These nutrients help fruiting, flowering, and plant growth. Compost and manure also help to enhance the texture of the soil and its capacity to hold water, hence facilitating the absorption of nutrients and moisture by plants. To prevent damaging your plants with raw organic material that could burn their roots, ensure the compost or manure is well-decomposed.
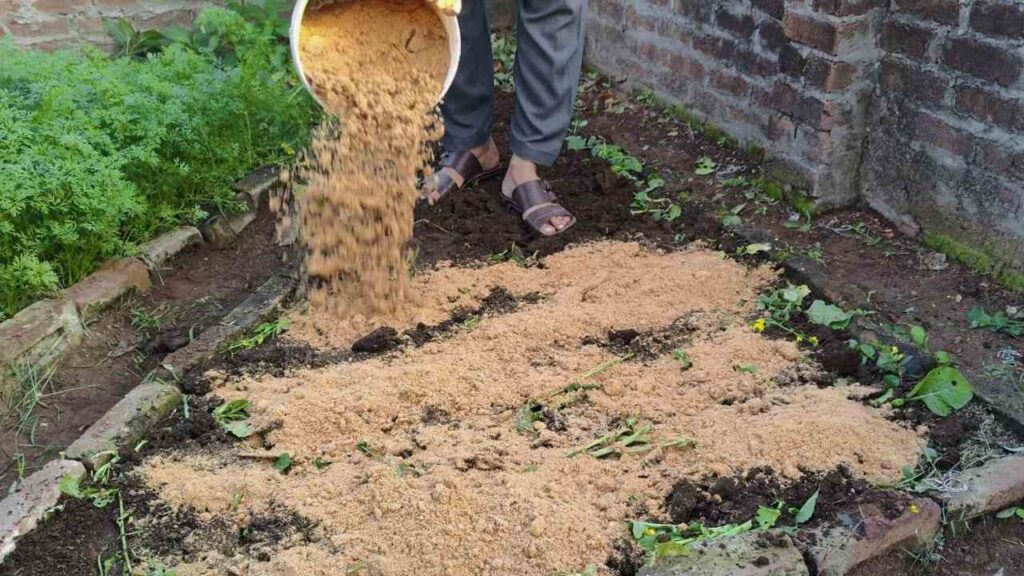
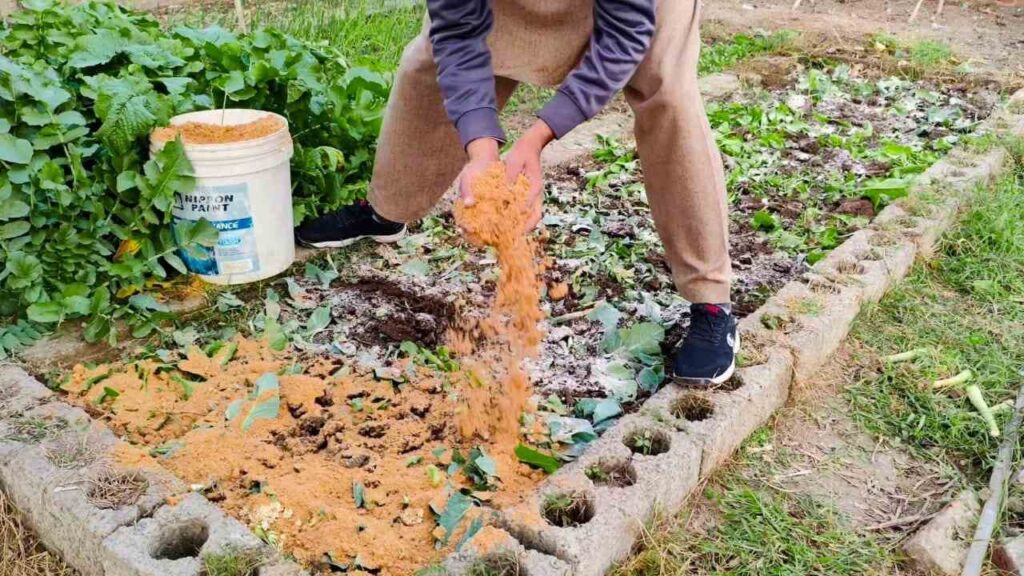
Step 8: Add Bone Meal and Neem Cake to Improve
Sprinkle a layer of neem cake powder over the compost or manure to finish your plant bed. The neem cake, a natural result of the neem tree, is a great complement to your garden bed for several reasons. It keeps harmful insects away from your plants by acting as a natural pest repellent. It also adds more nutrients to the soil, hence promoting plant health and development. Add one more layer of bone meal to increase the nutritious value even further. Neem cake and bone meal work together to make sure your garden bed has the correct components to promote robust plant growth and fend against pests.
Last Advice for Success
Following these guidelines will help you to create a garden bed full of nutrients, structure, and organic content. Your plants will have all they need to flourish from this bed. But, before planting, it is essential to let the bed rest for at least 6 to 8 weeks. Your plants’ roots may develop in the perfect atmosphere created by this resting time, which lets the materials break down and settle. The organic material will decay during this period, hence further nourishing the soil. Your garden bed will be a vibrant, sustainable ecosystem supporting healthy plant development if you are patient and take appropriate care. Enjoy your gardening! 🌱🌿