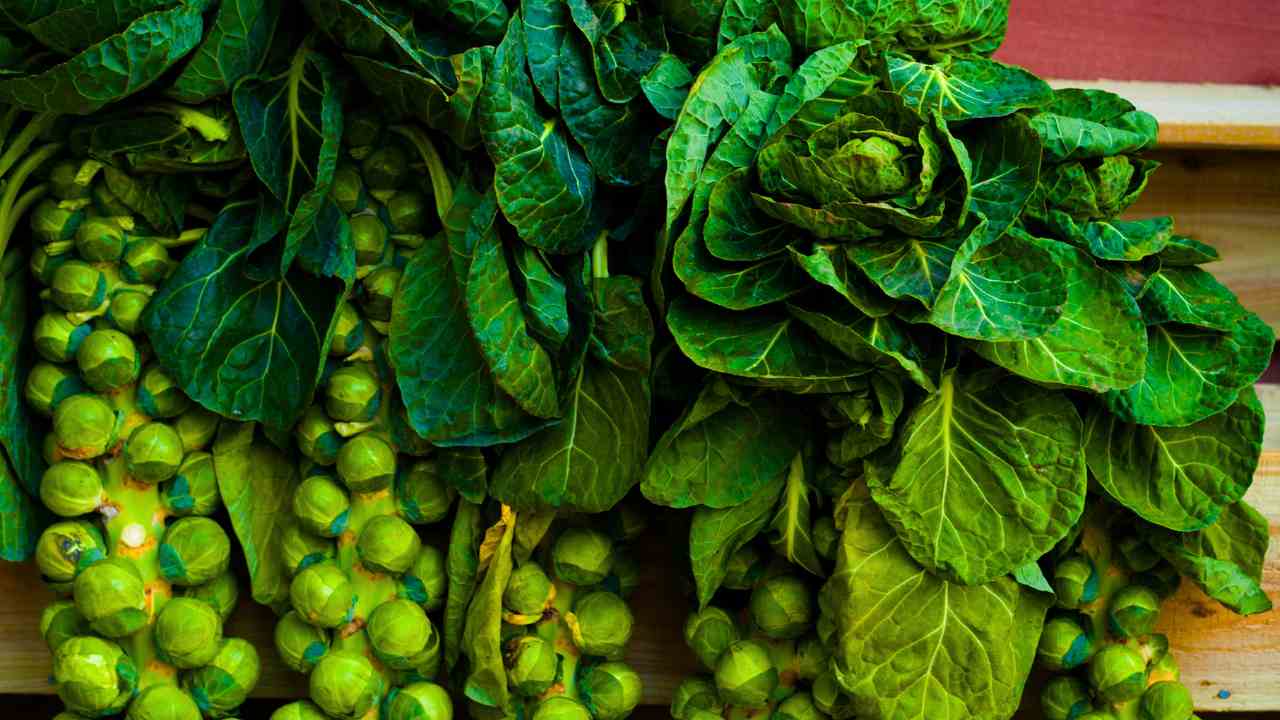
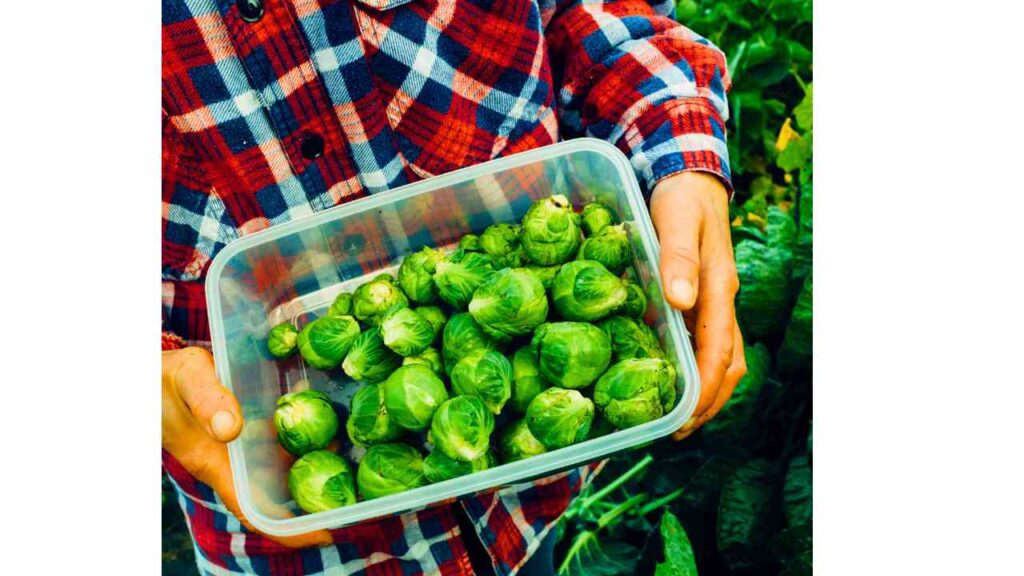
It’s adorable when things are small, right? That makes Brussels sprouts the cutest vegetable ever! Despite their cuteness, these baby cabbage-like things often receive a negative reputation.
But that’s usually just a user mistake. Many people dislike the smell of overcooked Brussels sprouts due to their gas release.
As long as you cook them right, though, they have a tasty, nutty taste. With a little love, care, and seasoning, Brussels sprouts can become the focal point of your yard and kitchen. Let’s give them a try!
Brussels sprouts became well-known and got their name in Brussels, Belgium. The 1200s brought this little vegetable to the US, but it wasn’t until the 1800s that it gained popularity. Most of the US’s Brussels sprouts come from California these days. You don’t have to live in California to grow these adorable vegetables, though.
We’ll show you how to grow Brussels sprouts, pick them, and cook them in this guide. After reading our tips, you might change your mind about how much you like these adorable baby cabbages.
Quick Care Guide
Names: Brussels sprouts, Brussels sprouts, sprouts
Brassica oleracea var. gemmifera is its scientific name.
Age : 90–110 days until harvest
Light: Sun full
Water: Wet all the time
Soil: Rich, sandy, and drains well
Plant Food: Pests at least twice a season, maybe more
Pests like cabbage worms, cabbage loopers, flea bugs, and root maggots
Getting Sick Signs: There is blackleg, black rot, and Alternaria leaf spot.
How to Grow Brussels Sprouts

Despite its distinct appearance, this vegetable shares similarities with kale, cauliflower, cabbage, and broccoli. All of these are types of wild cabbage, Brassica oleracea. We have tamed wild cabbage into several groups, including Gemmifera, our favorite sprout.
If you look closely, Brussels sprouts share many similarities with other Brassica plants. Some of the healthiest foods are those that store nutrients well. They also produce seeds through silique fruit, which consists of dry valves containing seeds. Additionally, brassica vegetables typically flower after two years of growth, a phenomenon known as a biennial.
At first glance, Brussels sprouts look a lot like cabbage. But as they grow, the cabbage-like leaves shoot up from a strong main stem that is 24 to 36 inches tall. The leaves keep getting bigger and hang over the plant.
Push those leaves away, and a small, round Brussels sprout grows right out of the stem. By the time it’s time to pick, sprouts will cover the whole stem.
You can pick from a lot of different kinds of Brussels sprouts. Try the Dagan or Jade Cross cultivars for standard green sprouts that are about the size of a thumb. You can also pick a type that blooms early, like Churchill or Tasty Nuggets (the former has tiny sprouts).
If you want to make your garden a little more interesting, you can choose a colorful version. The Red Rubine and Redarling plants have beautiful purple-red colors. You can also choose the Falstaff strain for a more blue color. Most colored strains have a slightly sweeter taste and retain their color when cooked.
Seeding Brussels
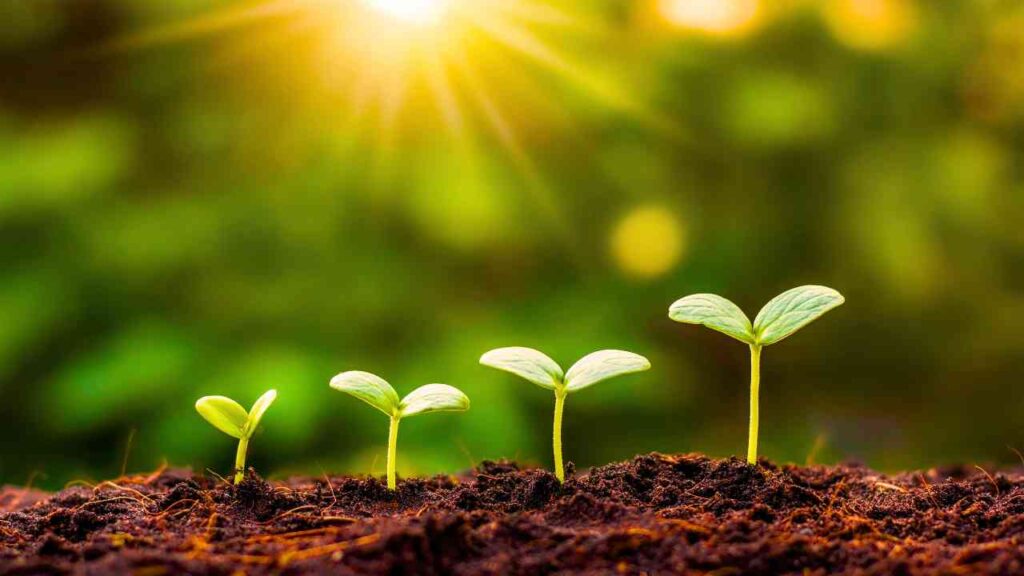
You should plant the seeds about 4 weeks before the first fall frost if you want to gather right after that. In most places, that means putting the seeds in the ground in June or bringing indoor late bloomers in May. If you live somewhere warm, you’ll put the seeds in the middle of summer and harvest them in late fall or early winter.
Start with well-draining dirt, then add organic matter for fertility. Then, put Brussels sprout seeds 3 to 4 inches apart and ½ inch deep. When the plants have five to seven strong leaves, you can move them outside or, if they’re already there, space them 18 inches apart.
Put your Brussels sprouts somewhere that gets a lot of sun but not direct heat. You might also want to cover the plant’s base with mulch. This will help keep the soil wet and weeds away. You should press down the soil tightly, but not pack it down, whether you use mulch or not.
Care for Brussels Sprouts
For your baby cabbages to grow well, you’ll need to give them extra care. Believe us, though—it’s worth the work!
The Sun And The Weather
Put Brussels sprouts somewhere that will get full sun for at least six hours a day. Do not put them in the shade, as this can slow their growth. Because these plants do best in cool weather, they do best in zones 2 through 9.
The best temperature range is between 45° F and 75° F, but they can be a little different. But heat waves that last for a long time can make the sprout taste bitter.
The Brussels sprouts plant can handle a light cold, so they usually do well in warm places where the temperature doesn’t drop below 20°F in the winter. If you live somewhere colder, it’s best to grow them as annuals.
Wetness and Humidity
Find a balance by making sure the dirt is always wet without giving it too much water. If it’s warm enough, you should give the Brussels sprout plants about 1 to 1.5 inches of water every week. For healthy plants, only water the base of the plant. Leave the stem and leaves dry. A waterhose is useful for this task.
Also, water your plant in the morning to ensure it has enough water for the day. When it’s hot outside, these sprouts need a lot of water. If you start them in the summer, make sure the soil stays wet until it gets cooler.
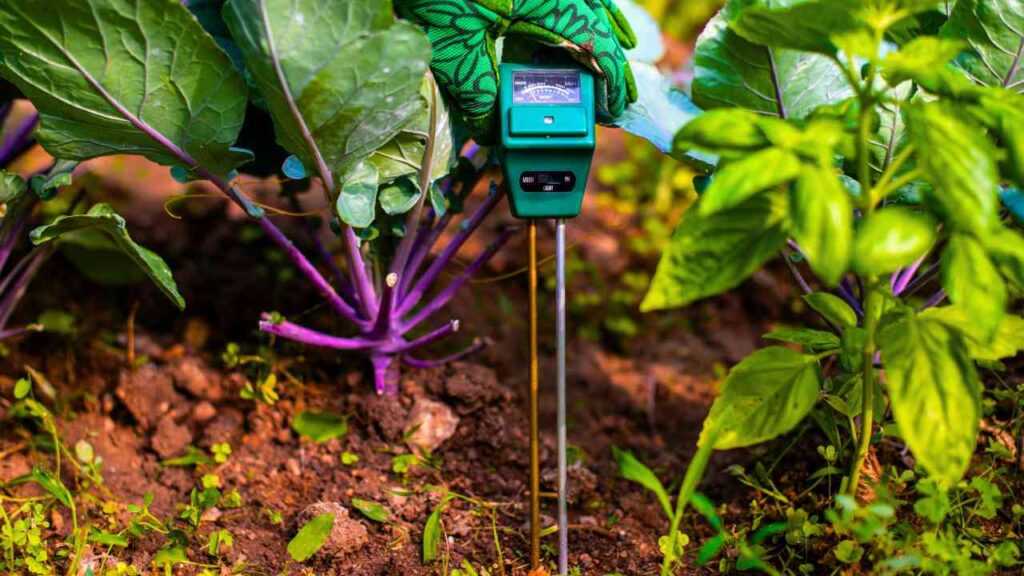
Soil

Soil that is loose and drains quickly is best for plants. If it doesn’t have a lot of organic matter already, add some well-composted organic matter before you plant.
These plants like fertilizer made from plants as well as cow and horse manure. This veggie grows best in neutral or slightly alkaline soil, but it will also grow in 6.5-acid soil.
Feeding Plants

During the growth season, feed your Brussels sprout plants at least twice. When the plants are about a foot tall, sidedress them once. After that, you can feed every three to four weeks, or every three weeks if it rains every day.
Try to find a fertilizer that is high in nitrogen, but don’t go too far. If there is too much nitrogen, the plant will grow a lot of leaves but not enough shoots along the stem. It can be a 10-20-10 or a 13-13-13. Choose a 5-5-5 or a 5-7-5 if you want an organic choice with less NPK. Use it every two weeks. Adding blood meal to the soil before planting can give the plants a quick boost of nitrogen that they can use to grow.
Pruning

You don’t have to prune Brussels sprouts in order to grow them, but doing so at the right time can help them grow. By pruning to shift the plant’s energy, you can make the growing season last longer and help it produce better sprouts.
Cut off the plant’s bottom 5 to 8 leaves when the first sprouts appear at the base of the stem. Instead of sending energy and nutrients to the leaves, use them to grow the sprouts. As the lower leaves turn yellow and begin to die, keep doing this every so often. Avoid removing more than ⅓ of the leaves to avoid harming the plant.
Spreading

Brussel sprouts are biannual plants, which means they grow up and produce seeds every two years. To save seeds from your plant, you’ll need to let it flower the next fall after it has snowed. Cross-shaped yellow flowers will grow on top of the plants, which is how they got their name.
As it ripens, the dry, valve-shaped fruit known as siliques will produce seeds.
If you don’t do anything, the siliques will break open over time, letting the seeds spread. Without picking the siliques first, you may have to fight birds for the seeds! Just cut the siliques off and crack or slice them open. Keep the seeds somewhere dry and use them within 4 years.
Some gardeners have been able to grow sprouts from real ones, even ones they bought at the store. Because Brussels sprouts grow slowly, it’s easy but takes time.
Get close to the stem when cutting a bud. Then, stand it up straight in clean water until only the base is underwater. To make things easy, just fill a plastic bottle all the way to the top and place the sprout on top of the hole. If you keep the water level high, the sprout will begin to grow white, long roots. After this, you can either put the cutting in the ground or move it to a permanent hydroponic system.
Harvesting and Storing
Who would have thought that pumpkin, squash, and sprout harvests would start so early in the fall? They will go from the ground to the plate very quickly!
Harvesting
Frost makes food taste better, so don’t pick Brussels sprouts until after the first fall frost. As the plant gets ready for winter, the bottom leaves will turn yellow. If the plant is only in its second year, it will also produce seeds.
Depending on the type, the buds should be about an inch long and grow from the bottom up. If you leave them on the stem for too long, they might break and taste bad.
It is simple to pick Brussels sprouts. Snapping the sprouts off the stem with a twist lets you pick them one at a time. You can also cut the stem off at the base and leave the sprouts on until you’re ready to use them.
If fortune favors you, the initial harvest may yield a smaller batch. To make this happen, use straw mulch and row covers to make the growth season last a little longer.
Storing
As Brussels sprouts get older, their flavor gets stronger and more bitter. This is why the best time to eat them is 3–4 days after picking. In a plastic bag in the fridge’s crisper box, they can last a week. Get rid of any yellow or rotten leaves before putting them away. Don’t wash the Brussels sprouts until you’re ready to eat them. The Brussels sprouts will stay fresh longer if you leave them on the stalk until you cook them.
Brussels sprouts are simple to freeze and will stay fresh for up to a year. Blanching the sprouts first will give them the best taste. If not, just soak them to get rid of any dirt. After drying, place the sprouts in a freezer bag that you can reseal.
How to Fix Problems
The best way to learn how to grow Brussels sprouts is to follow the care instructions and replace the crops every year with plants that aren’t cruciferous. Sometimes things go wrong, though, so here’s what to watch out for.
Growing Issues
If your Brussels sprouts plants aren’t growing or are only giving you a few seeds, they probably need more food. Add fertilizer as needed and make sure the dirt is full of organic matter.
Another possible problem is sprouts that are too fluffy or not packed. Generally, this issue stems from the variety, insufficient fertility, or excessively loose soil.
You can pull off a leaf of a Brussels sprout without the whole plant popping up if the roots are strong enough. Studies have also revealed that hybrid varieties produce the most densely packed sprouts.
Picking sprouts before it gets cold often results in them tasting bitter. Plant your crops so that they are ready to pick after the first frost. This will give you the best flavor. You may also want to use the right-sweet fruit.
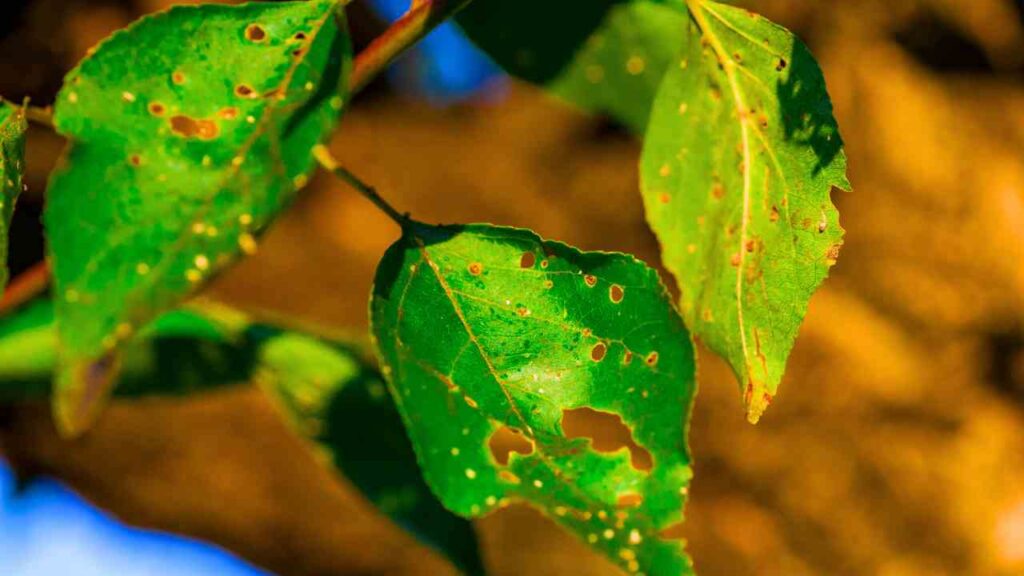
Bugs
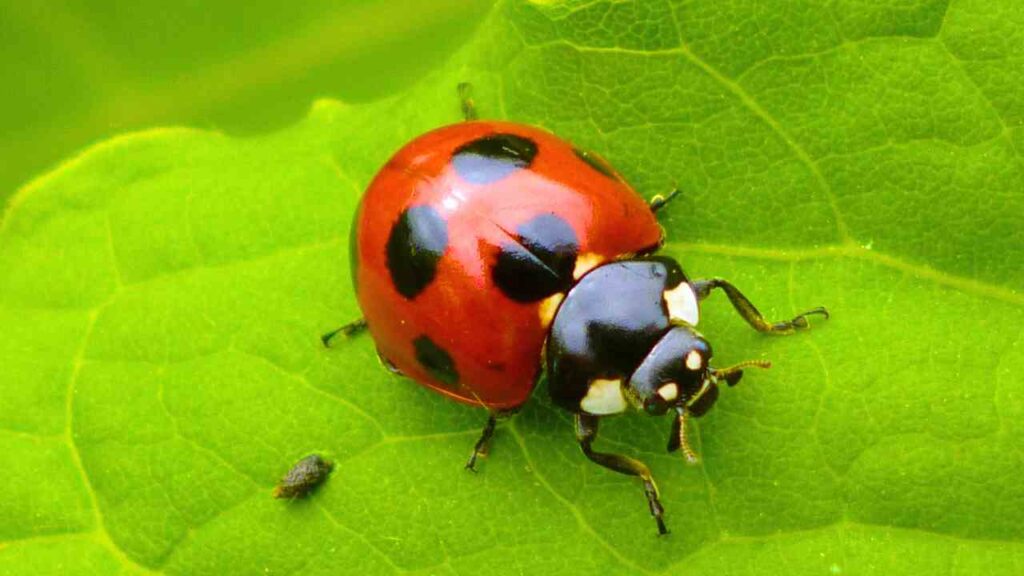
The cabbage loopers and cabbage worms love cruciferous plants, and Brussels sprouts are no different. These larvae eat holes in the leaves and leave spots on the undersides of the leaves.
Do not let these worms stay on your plants. Instead, use BT or pyrethrin spray to get rid of them.
Flea bugs lay their eggs in the ground and then eat leaves. Spinosad or pyrethrin spray can get rid of them. Use floating row covers or neem oil to keep them from attacking your plants in the first place.
Maggots that live in the roots like to live on the other end of the Brussels sprouts plant. These young flies will eat the plant, which will turn yellow, get weak, and finally die.
To keep these pests away, switch up your crops every year and till the ground after you gather Brussels sprouts. For already existing groups, beneficial nematodes can help you get rid of maggots.
Diseases
Blackleg is a dangerous fungus that likes it when it’s warm and wet. You might not get as many sprouts, or the plant might even die from it. Since there isn’t a surefire way to get rid of this fungus yet, it’s important to avoid getting it in the first place.
Clean up any trash on the ground and make sure your plants stay dry. Do not forget to clean your gardening tools every time you use them, as the germs can easily stick to them.
If you still have black legs, get rid of all the infected plants and don’t put anything else in that soil for at least 4 years. As an extra safety measure, you might want to solarize the dirt.
Black rot is caused by bacteria that turn leaves a v-shaped shade of yellow. If you don’t treat it, it can kill the trees. You should keep your plants dry, just like you would with blackleg. You can use copper pesticides to treat infections, but the best treatment is still prevention.
Brussels sprouts can also develop Alternaria leaf spots. The plant will exhibit wet, dark spots, which often have a yellow ring surrounding them.
Use neem oil or Bacillus subtilis spray to stop problems before they happen. You can treat your plants with a copper fungicide or a sulfur-based pesticide if the disease has already spread.