Allow me to assist you if you are considering producing vegetables but are unsure of where to begin. Are you aware that veggies may be grown in a small greenhouse? Greenhouses act as a barrier between your crops and the elements. As a result, they enable longer growing seasons and potentially better ones.
They are employed to shield plants from heat, cold, and pests. It is utilized in every nation on the planet. Additionally, there are several kinds of greenhouses. In the 21st century, it has become a very obvious decision.
When building a little greenhouse, always choose a location that gets plenty of sunshine. PVC pipes and plastic sheets can be used to create an inexpensive greenhouse, or you can invest a few dollars to create a sturdy and long-lasting greenhouse using corrugated plastic, a heater, a cooling fan, and a thermostat to regulate the inside temperature of your tiny greenhouse.
Advantages Of A Compact Greenhouse
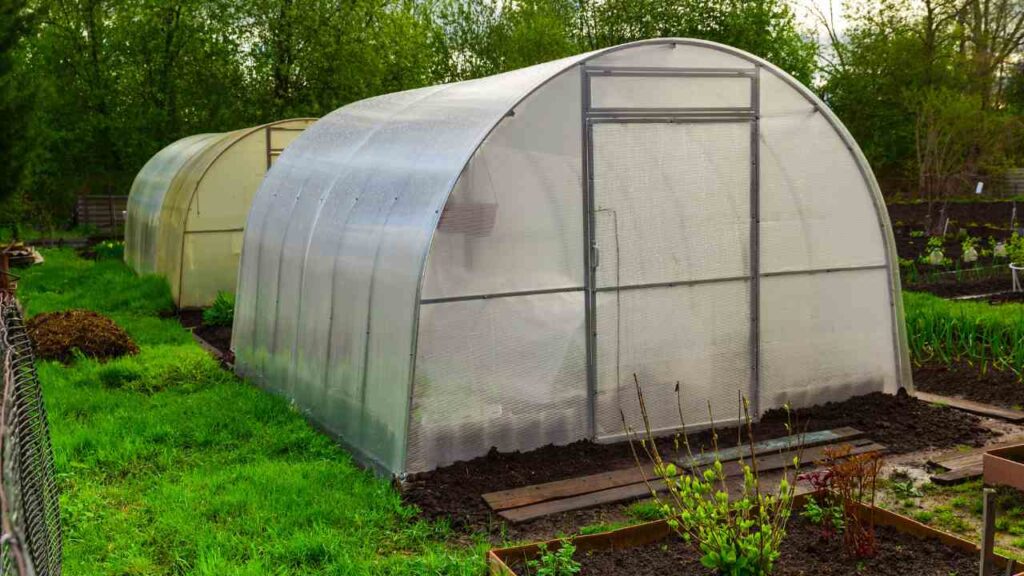
1. Extended seasons for growth. As previously mentioned, the growing season can be significantly extended in greenhouses. You can mimic settings to suit your needs because the inside conditions differ from the external ones. Vegetables can be planned throughout the year.
2. Plant a garden in any climate. In fact, you can cultivate seasonally appropriate veggies in greenhouses. You can have vegetables all year round in this way. Vegetables can also be protected from inclement weather, such as rain and thunderstorms.
3. Defense against predators and pests. You can defend yourself from predators and pests by keeping a greenhouse. Your vegetables may be trampled underfoot by foxes or squirrels. Vegetable pests can be avoided thanks to greenhouses.
4. Free of pesticides. You can protect the environment and yourself from harmful pesticides. They are not required to be used within the greenhouse. Pesticides damage human and marine life as they run off the soil.
Constructing a Compact Greenhouse
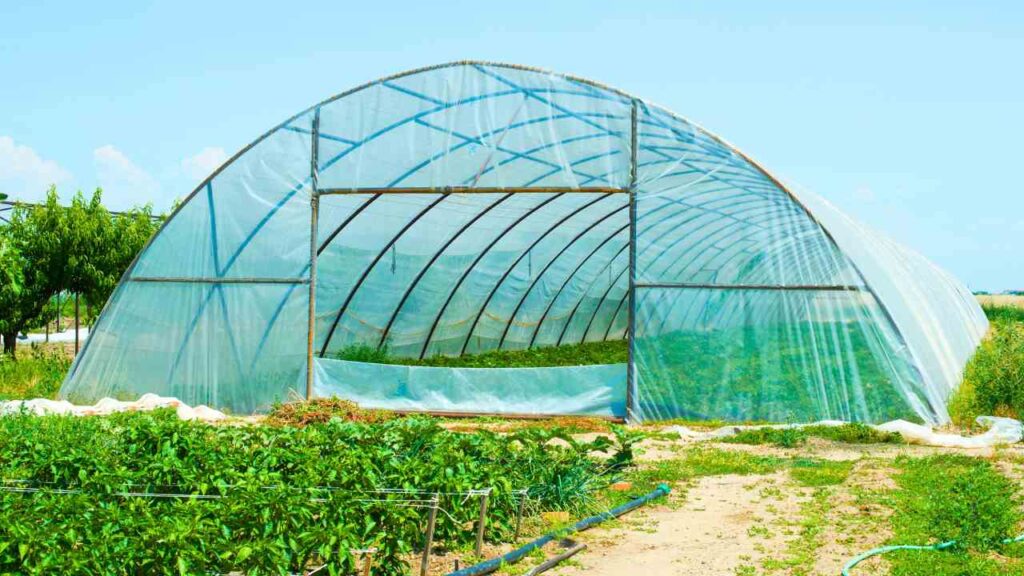
The first step is to determine the amount of space required for a greenhouse. Given that a greenhouse is a long-term solution, you should assess how much you wish to cultivate. Many times, after building a greenhouse, people discover that their area is insufficient after a year.
Equipment and supplies
Depending on the kind of greenhouse you want to create, different tools and supplies may be needed. Nonetheless, the following standard tools and equipment are required for these projects:
- Materials for framing
- Materials for covering
- Simple hand instruments
- Safety equipment
- Perform a drill
- Driver of impact
- nailer for framing
- Level
- Miter noticed
- The sawhorse
- Horse table
- The scissors
- Fabric for landscapes
- The gravel
- Concrete (for foundation construction)
Step 1: Decide on a greenhouse
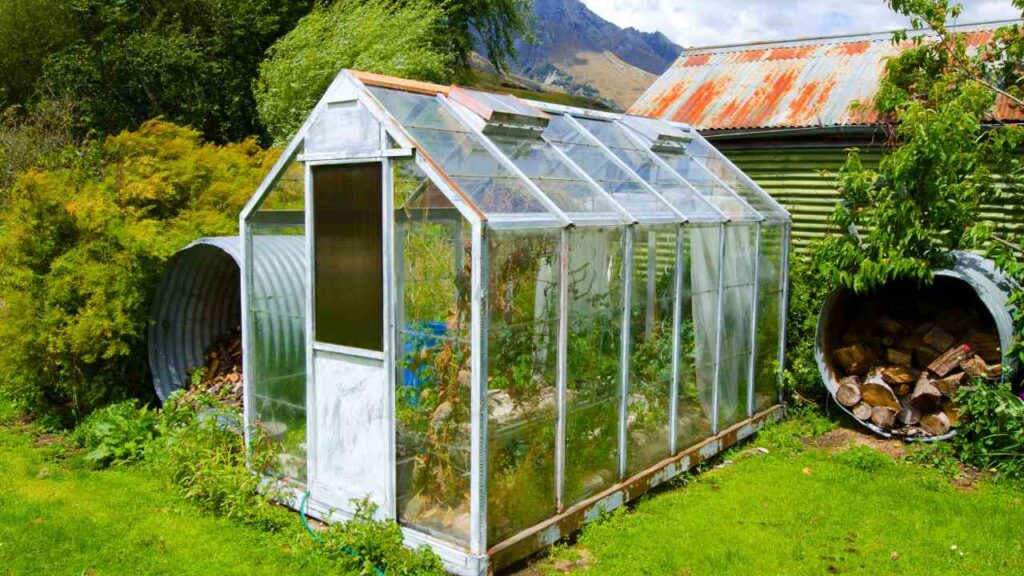
You can choose from a wide variety of greenhouse kinds, including various sizes, forms, and styles. Although there are a lot of greenhouse design designs on the internet, you may also create your own. Additionally, you may purchase a do-it-yourself greenhouse kit or even turn an existing building into a greenhouse.
Determining whether your greenhouse will be an attached or standalone construction is one of the most crucial decisions you will ever make. Think about these choices:
The lowest and most basic type of greenhouse is a cold-frame greenhouse. They can only hold a few small potted plants, such as herbs, and are usually affixed to the side of a house. There is no heat source in these tiny greenhouses.
As the name implies, connected greenhouses are affixed to an existing wall, much like a house. They usually have a heat source and are larger than cold-frame greenhouses. Usually, they are able to share electricity with the building to which they are linked.
Freestanding greenhouses are known as standalone greenhouses. If they are not near an existing structure, they will require a heat source and an electrical connection.
Step 2: Select the framing material
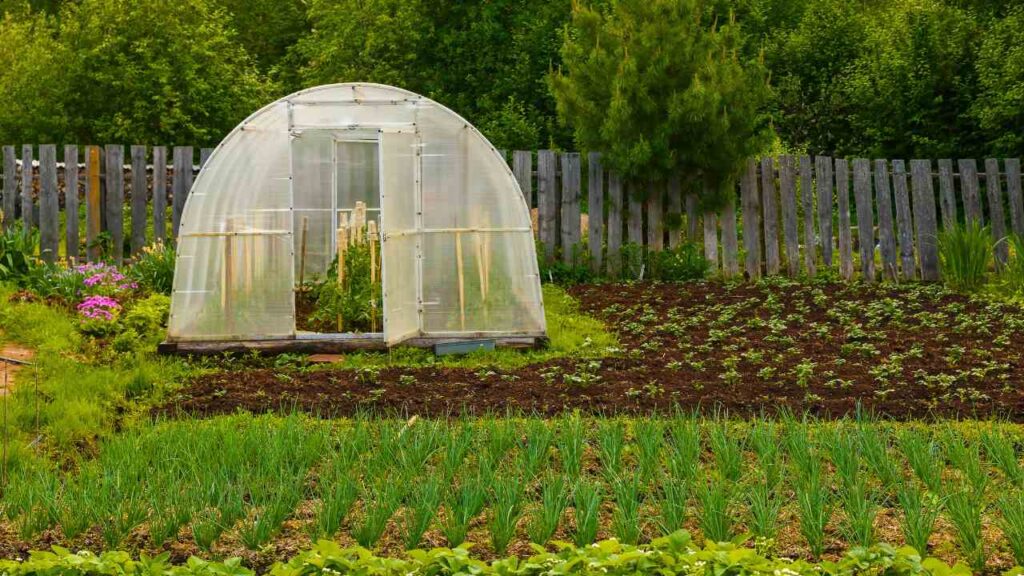
To sustain strong winds and the overall weight of the greenhouse structure, a frame must be strong. There are numerous options available to homeowners for framing their greenhouse:
Aluminum: Despite being one of the priciest materials for a greenhouse structure, aluminum is lightweight, sturdy, and resistant to rust.
PVC pipes: Although they are the least expensive frame material, PVC pipes are also the least resilient. To extend their lifespan, make sure to use pipes that are resistant to UV light.
Wood: Although wood has a certain allure, untreated wood will decay in moist conditions. Use treated wood wherever possible, but be mindful of the sort of treatment—some wood treatments aren’t suitable for use with food. Additionally, some wood species are resistant to decay by nature.
Commercial growers are the ones who usually employ galvanized steel. Although it can corrode and is costly, it is incredibly durable.
Step 3: Select your covering material
Certain kinds of framing materials complement certain covering materials better than others. Choose a covering material that complements your build. Think about the following choices:.
Sheeting of clear plastic
Although inexpensive, lightweight, and readily available, plastics like UV-stabilized polyethylene are short-lived. Additionally, BPA, which is poisonous and dangerous for food cultivation, is present in some plastics.
Low-density polyethylene (LDPE), which is more costly but non-toxic and has a longer lifespan, is a good option if you’re going with clear plastic film for your greenhouse cover. Every several years, greenhouse plastic will need to be changed.
Double-walled, hard plastics
Since polycarbonate is up to 200 times tougher than glass, these plastics are more resilient than ordinary clear plastic. However, BPA is present in the majority of polycarbonate panels.
Acrylic (Plexiglass) is a non-toxic alternative that allows more light to pass through but is less resilient.
Fiberglass
Although this material is clear, UV-resistant, and long-lasting, it is not inexpensive. If you’re creating a framed greenhouse, it’s a good choice, but if aesthetics are a concern, you’ll probably need to replace it. Fiberglass becomes hazy and yellow with time.
Glass greenhouses are undoubtedly the most exquisite, but they also have a number of drawbacks. Even when it is repaired, glass is costly and brittle. Positively, if it’s not broken, you don’t have to replace it.
If you’re concerned about your greenhouse breaking, especially if hail is common where you live, think about obtaining tempered or safety glass. Consider recycling outdated windows, glass, or even greenhouse panels if you want to save money.
Step 4: Select a site
The most crucial element affecting a greenhouse project’s success is most likely the site selection. You shouldn’t expect your plants to develop well if you put your greenhouse in a shaded spot. Additionally, you should choose a location with good drainage and electricity availability.
Even in the winter, you should face your greenhouse toward the south or southeast to maximize its exposure to sunlight. If you reside somewhere that doesn’t get very hot, you can also put your greenhouse in the southwest.
Make sure the area you pick for your greenhouse is free of trees and shrubs that could shade it, especially evergreens like pines.
Step 5: Get the greenhouse location ready
After obtaining your building supplies, you must get the site ready. The greenhouse location can be prepared in two ways. You can construct a foundation or use gravel or another type of weed barrier, or both.
No foundation
You will need to level any uneven ground at the location where you intend to build your greenhouse. Usually, a rake is used to smooth out the topsoil once it has been added. You can refer to our tutorial on leveling an uneven lawn for more thorough advice.
Because uneven ground can cause water to pool, leveling the ground is essential. In general, building on level ground is also simpler.
After leveling the greenhouse site, cover it with a substance that drains well and prevents weeds from growing there. Bricks, landscape fabric, or gravel can be used. For an additional layer of weed prevention, you may even spread gravel over landscape fabric.
The foundation
Digging away a few inches of topsoil to accommodate your greenhouse is necessary if you decide to create a base. To keep your plants warm during the winter months, you should put your base below the frost line if you reside in a region that has extremely low temperatures.
Verify the levelness of the ground. Next, install a foundation that is just a little bit bigger than your greenhouse’s base. Concrete can be poured or a timber foundation can be constructed. Use pressure-treated, contact-rated wood if you plan to use a wooden foundation.
If you plan to use heavier building materials, like glass, you should think about constructing a foundation.
Step 6: Build the framework
The greenhouse plan you choose will have a significant impact on this process. Observe the guidelines that come with your DIY greenhouse kit or greenhouse plan.
Step 7: Cover the frame
Continue to follow your greenhouse design or kit directions for the most part. Use studs or sealant to connect the covering to the frame as tightly and firmly as possible. Make room for the door and ventilation.
Step 8: Include temperature control and ventilation
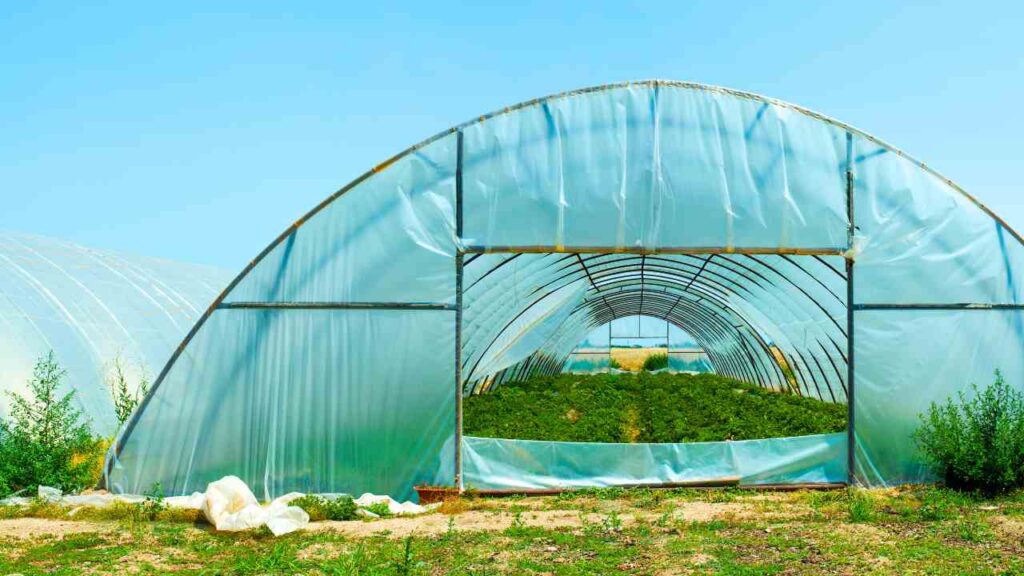
In addition to controlling temperature, ventilation is essential for healthy air movement, which prevents the growth of mold, mildew, and other undesirable organisms on your plants. To increase airflow, install fans and roof vents (or other vents). In order to disperse heat uniformly during the winter, the fans should ideally be able to be adjusted and run continuously.
You should definitely think about getting some kind of greenhouse heater for temperature control. The cleanest alternative is an electric heater, but it requires an electrical source. An electric supply is not required for wood- or oil-based heaters, but you will need to exhaust the smoke outdoors. Read more about heating a greenhouse in our article.
Highly recommended: Make elevated beds
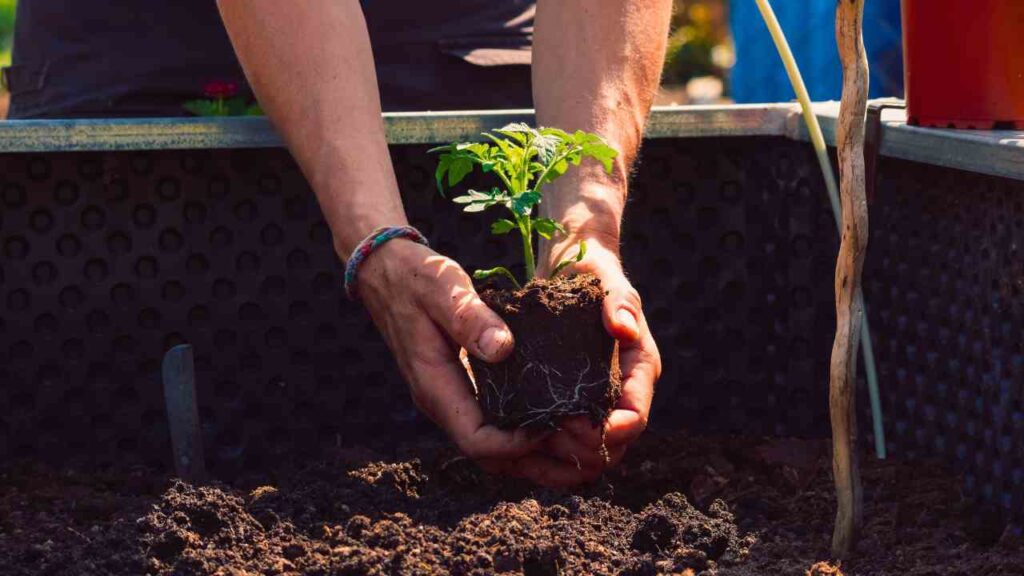
Raised bed gardening has several advantages, including improved accessibility and drainage—you won’t have to stoop so far to water your plants! They can even improve the appearance of your greenhouse. Raised beds will probably need to be made if you’re constructing a greenhouse base.
If you decide to include this phase in your plan, have a look at our detailed instructions for building a raised garden bed.

