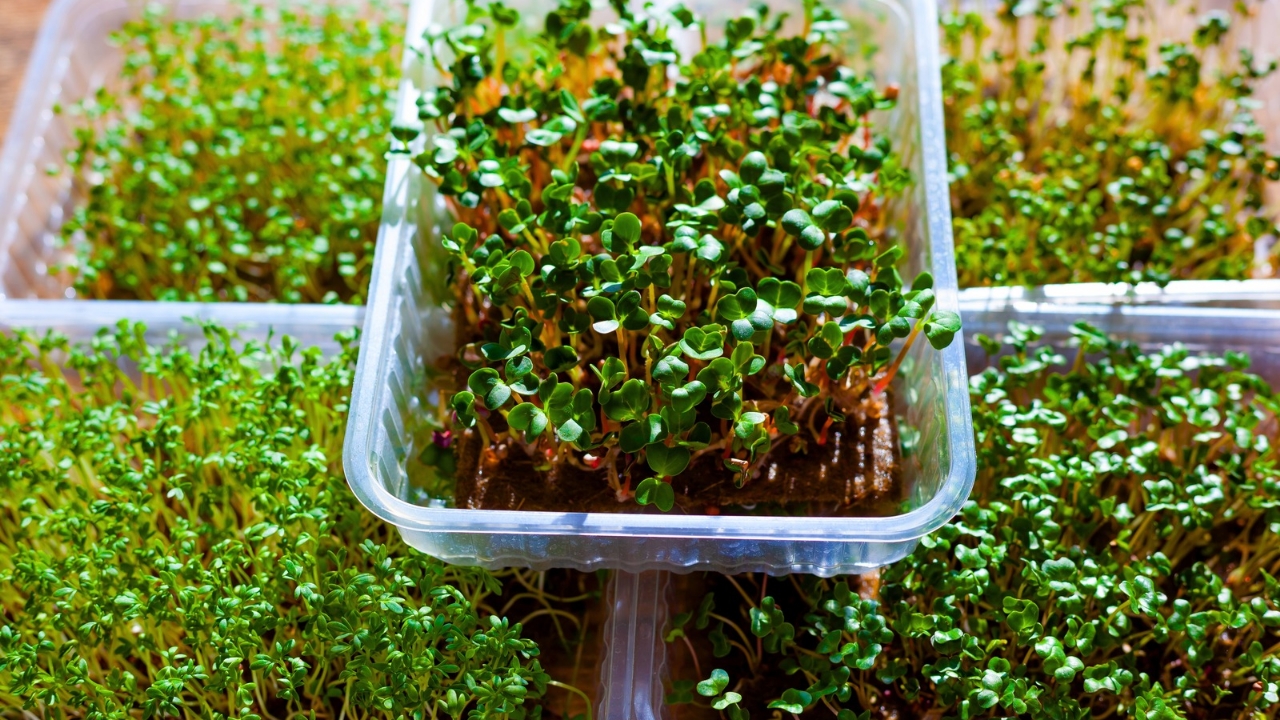
A healthy diet and regular physical exercise are part of a healthy lifestyle.
Going to the food store can be harder because of rising prices. As a result, many people have changed their shopping habits by going less often, which may mean they miss out on buying the most perishable greens.
Many people are buying a home garden to grow their own fresh veggies and reap the benefits of gardening as a way to relax. If you don’t have room for a garden, think you don’t have a “green thumb,” or have had bad experiences growing in the past, don’t give up! You might get a new chance with microgreens.
With 2,000 calories, the Dietary Guidelines for Americans say that you should eat 2 1⁄2 cup-equivalents of veggies every day. Many important nutrients for our health can be found in vegetables. These include dietary fiber, pro-vitamin A, vitamin C, vitamin K, vitamin E, vitamin B6, folate, thiamin, niacin, and choline. Vegetables also contain minerals like potassium, iron, zinc, copper, magnesium, and manganese.
What are Microgreens?
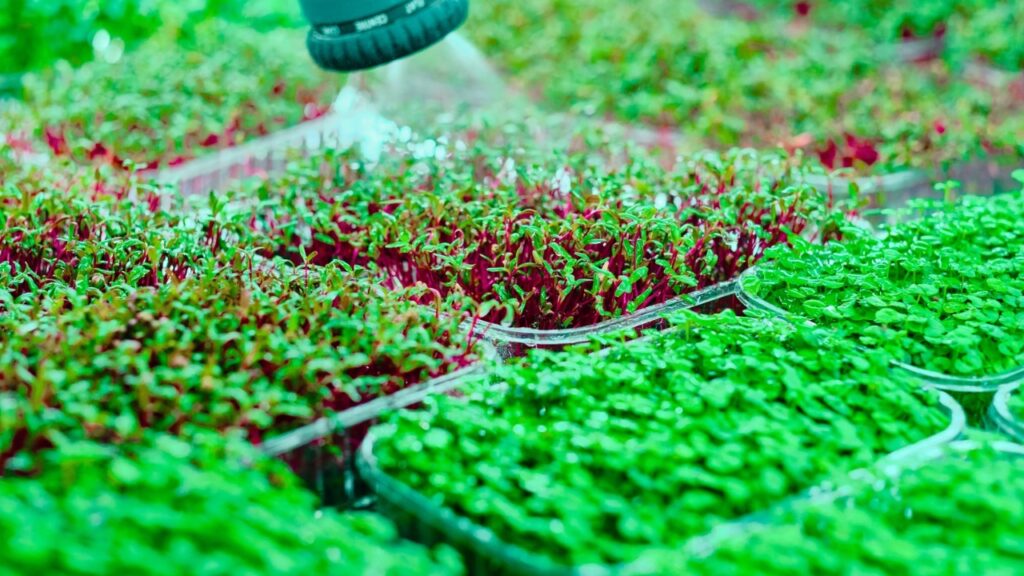
Surely everyone knows what sprouts are? Microgreens are the more advanced cousins of sprouts. Sprouts are grown without a growing medium and are eaten with their roots still attached. Microgreens, on the other hand, are grown in a growing medium and have their roots cut off before they are eaten.
After a couple of weeks and the growth of their first real leaves, microgreens are ready to be picked. But sprouts are eaten as soon as their cotyledons turn green. The cotyledons are the first set of leaves that come out of the seed. Microgreens are easier to care for than sprouts, but they take a little longer to grow.
These baby greens are full of health benefits and have a lot more antioxidants than their mature cousins. They are considered a superfood. Because they are fragile and don’t last long, these tasty treats are usually only used as decorations in high-end restaurants. But because they are simple to grow and don’t take up much room, you can grow them at home all year long.
Microgreens are tiny, nutritious greens that can be grown in a small place and a short amount of time, even on a windowsill or in the kitchen. Because they are very healthy and there are many kinds you can grow, microgreens can give you both healthy greens and the relaxing experience of working in your home garden.
So Why Should You Grow Your Own?
There are many good reasons to grow microgreens at home, but here are the main ones:
- It’s not hard to grow in a small area.
- Quick turn-around—if a crop fails, not much time or money will have been wasted, and it’s easy to start over.
- An easy and cheap way to make sure you always have fresh, high-nutrient greens at home.
- A great way for people who are new to farming to start.
- Because the temperature is controlled inside, there are no climate limits.
- Living food that is incredibly healthy and can be added to a healthy diet.
- Microgreens are great to add to soups, smoothies, and almost any other food. Try putting them on top of your next meal for a tasty crunch!
What You Need to Start a Home Microgreen Garden?
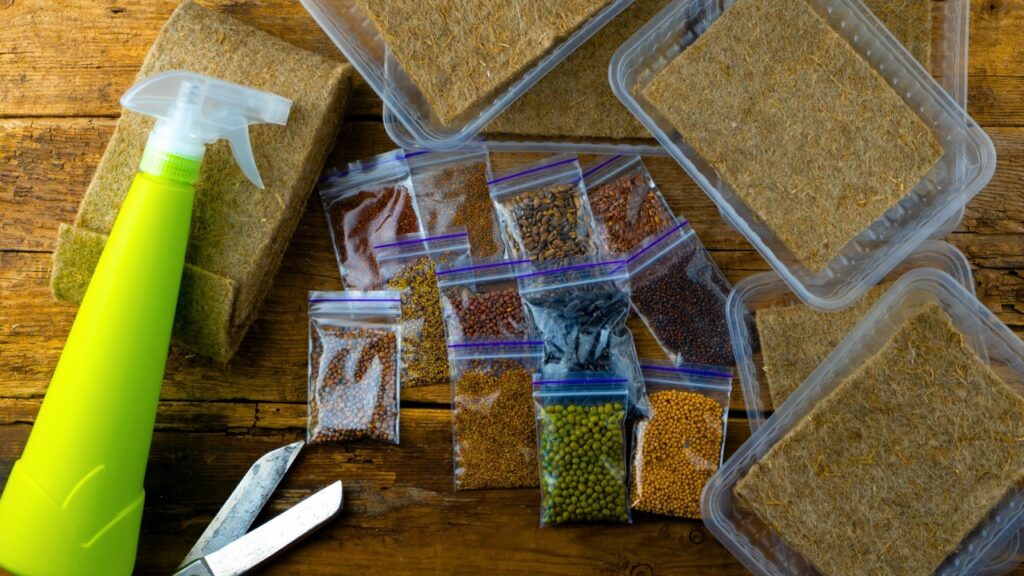
Apart from the seeds, everything you need for microgreen production for self-consumption in a household should be available at home or in any store that sells household products (Figure 1). Investing in some growth trays and little tools made especially for producing microgreens could be useful if you intend to grow them consistently for more effective output.
Growing Trays
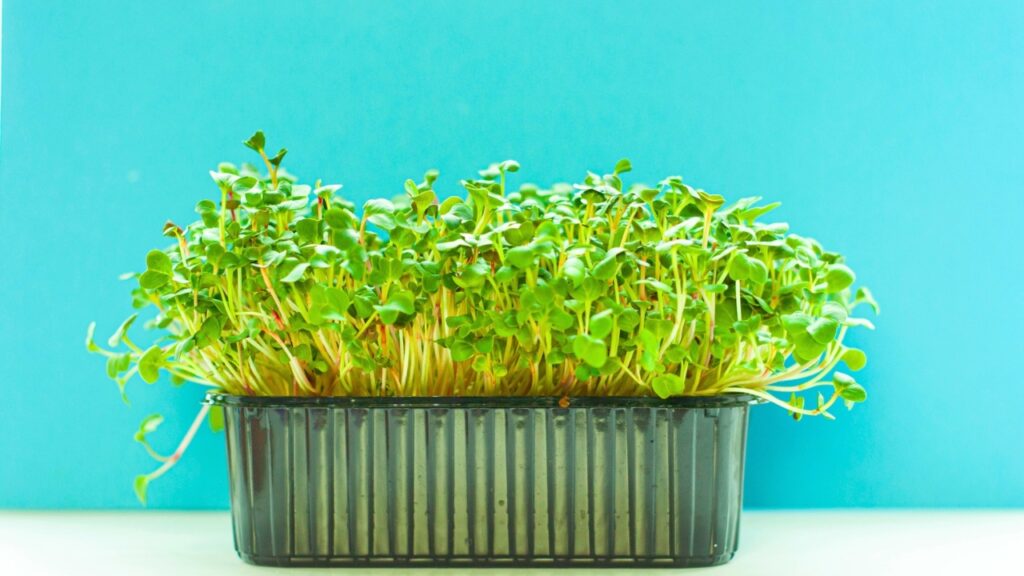
What conditions are suitable for growing microgreens is not set in stone. For novices, we suggest a microgreen tray; any brand will do.
Growing Medium
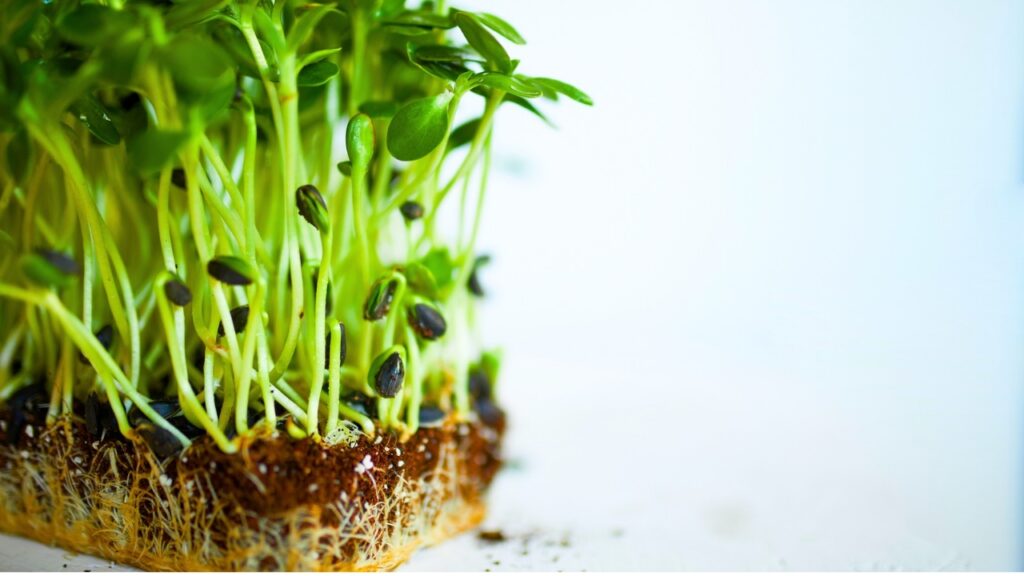
Selecting the right growing medium is one of the most crucial choices you will ever make. While some growers are devoted to using potting soil, others use soilless media such as coconut coir. Fox Farm potting soil is our first choice if you’re taking the soil route with your microgreens. You may get it at certain local gardening centers or on Amazon.
Making a customized potting mix at home is another option. It’s always a good idea to try different things to see what works best for you, and it never hurts to discover what makes a great growing medium.
Verified Organic Seeds
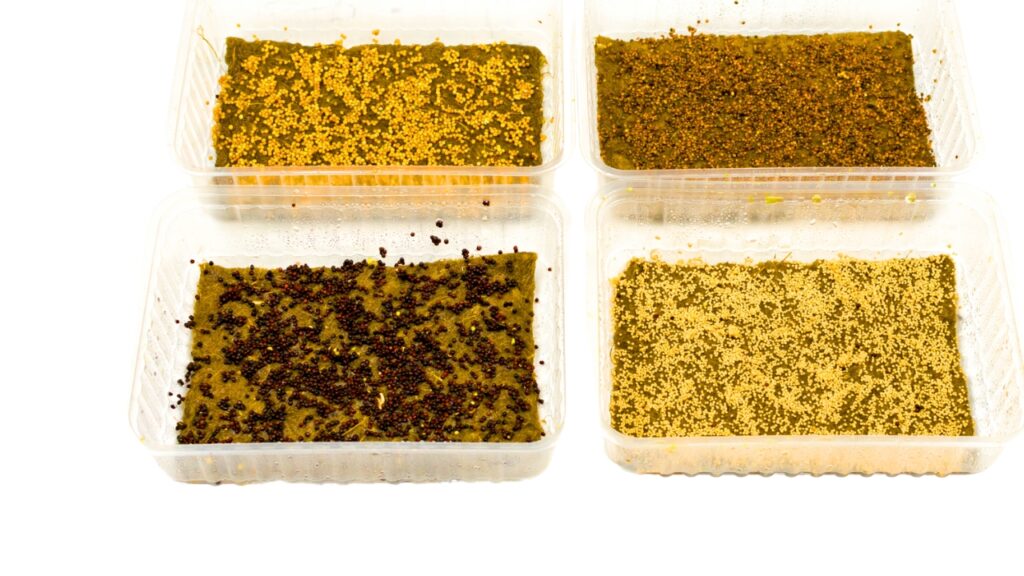
The safest and best alternative will be to use certified organic seeds, as was previously discussed. Costs can be reduced by purchasing in bulk, but it’s wise to try a few different varieties before investing heavily in a big batch of seed.
Grow Light
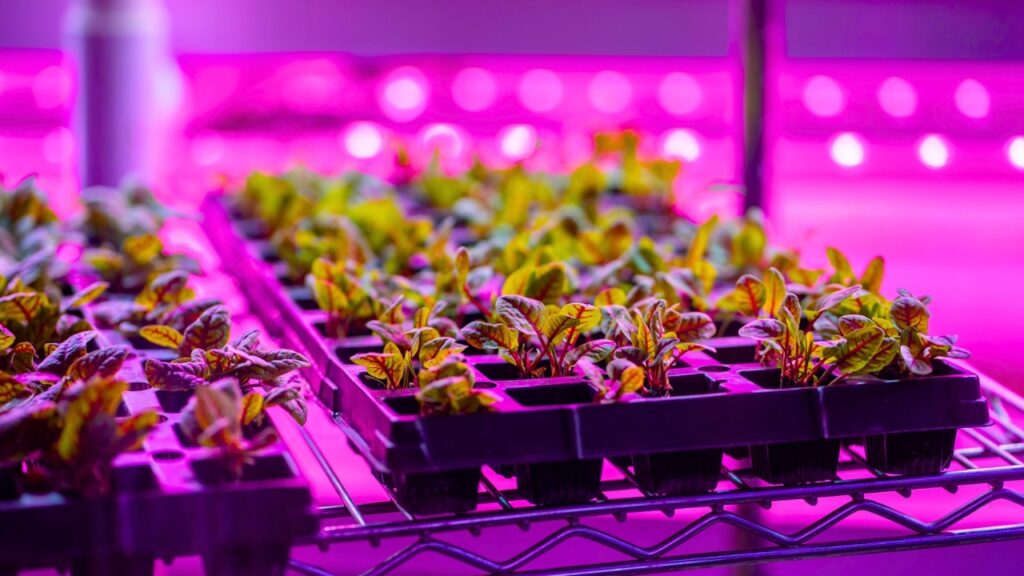
There are several reasonably priced and useful lighting alternatives available. Enough light will be available from a decent 30-watt LED system to sustain a microgreen crop grown entirely inside. Excellent microgreens can be grown in moderate light, according to studies.[1] Keep in mind that experimentation with growing microgreens is frequently best done in a bright, south-facing window. For good growth, 4–8 hours of direct sun each day are required.
Watering Can or Spray Bottle
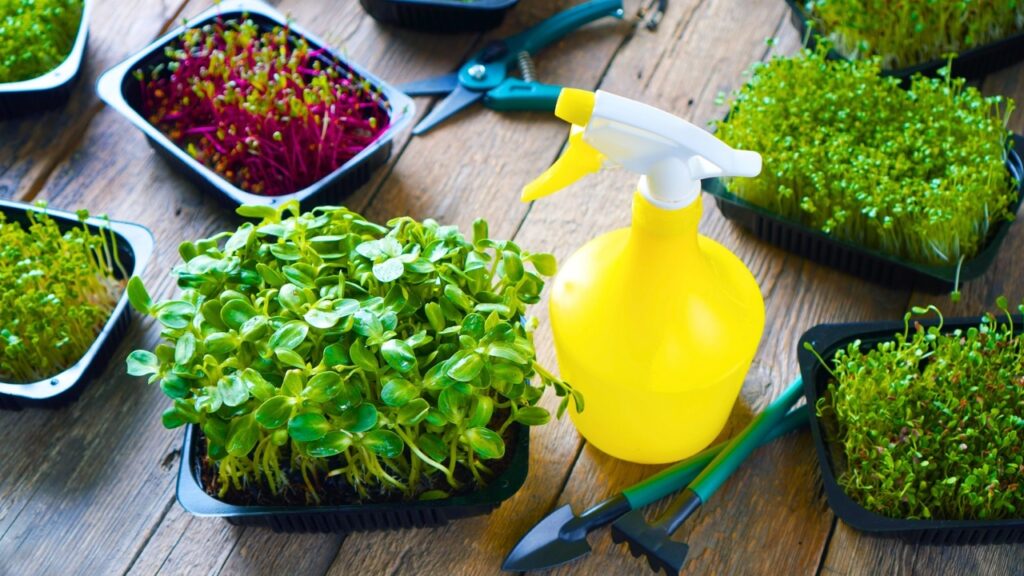
This one is a little contentious, believe it or not. Some growers recommend spritzing emerging seedlings, while others oppose it, preferring to water from below with a watering can (more on that in the following section). Each arrangement is slightly different, so it will require some trial and error to get it just perfect.
Labeling Notebook and the Materials
Although it’s not required at first, maintaining records has many advantages. If this turns into a long-term project, having a grasp of germination rates and what works are helpful resources.
You might need a few cups to soak the seeds in water for certain species that need it, as well as a small strainer to rinse the seeds once or twice before they germinate. Depending on where you intend to cultivate microgreens, you will need a spotless surface or shelf on which to set the growth trays.
Although microgreens may usually be grown in natural sunshine behind windows, on balconies, or on small porches, artificial lighting designed specifically for plant growth can be added to the natural light source. Furthermore, some species can thrive in complete darkness and don’t need light at all from seed to harvest.
A crucial component required for the production of microgreens is the growing media. Peat-based mixtures, coconut coir, and mats made of synthetic (rockwool) or natural (cotton, kenaf, hemp) fibers are the most widely used media. The growing medium is crucial because, among many other factors, such as the quality of the microgreens and the availability of nutrients, it determines how well the soil retains moisture and how often watering should be done. It is advised to use what is easily accessible and reasonably priced, making sure it is safe, clean, and environmentally sustainable.
How to Grow Microgreens
Step 1: Determine The Ideal Seed Quantity For Your Trays By Measuring And Computing
Once you’ve decided the species of microgreens to grow and have bought some seeds, use this calculator to figure out how many seeds you’ll need for your planting trays (square, rectangular, or circular).
A little scale that you might have in your kitchen can be used to count the seeds. Once you know how many seeds to use for a tray, you can use measuring cups or spoons to determine how much more seed you’ll need.
Left: An illustration of a scale for calculating how much seed to use in a tiny tray. To measure the amount of seed for a tiny tray, use the example teaspoon and tablespoon on the right.
Step 2: Set Up Your Growth Material And Trays
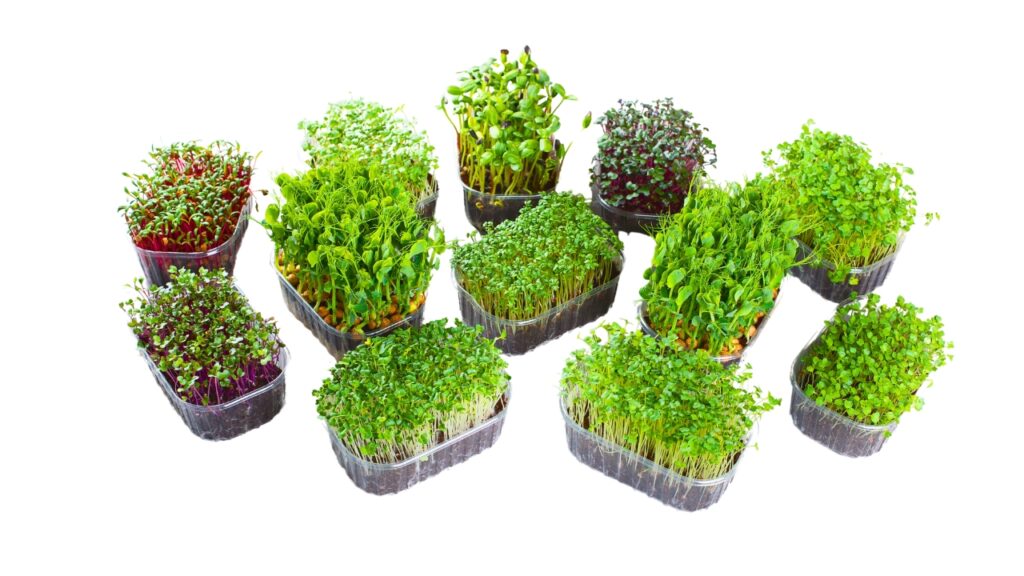
To plant microgreens, use trays or containers of various sizes and shapes. Regular nursery pots are often not favored over flat trays because microgreens don’t need a lot of medium to develop on. Food packing containers can also be recycled, even though you can buy microgreen planting trays in various sizes from different vendors. The primary advice is to ensure that the material you are using is clean, appropriate for producing food, and has drainage holes at the bottom of the trays. This will let the extra water drain and allow you to water the trays from the bottom without getting the water on the leaves.
Once the trays have been filled or the growing medium placed, you can slowly moisten the medium from the bottom using a clean, hole-free container filled with drinking water. Once the medium is sufficiently wet, you can let the surplus water drain. The medium’s dampness will aid in the small seeds’ adhesion to the surface and maintain their moisture content throughout germination.
Step 3: Fill The Trays With Seeds
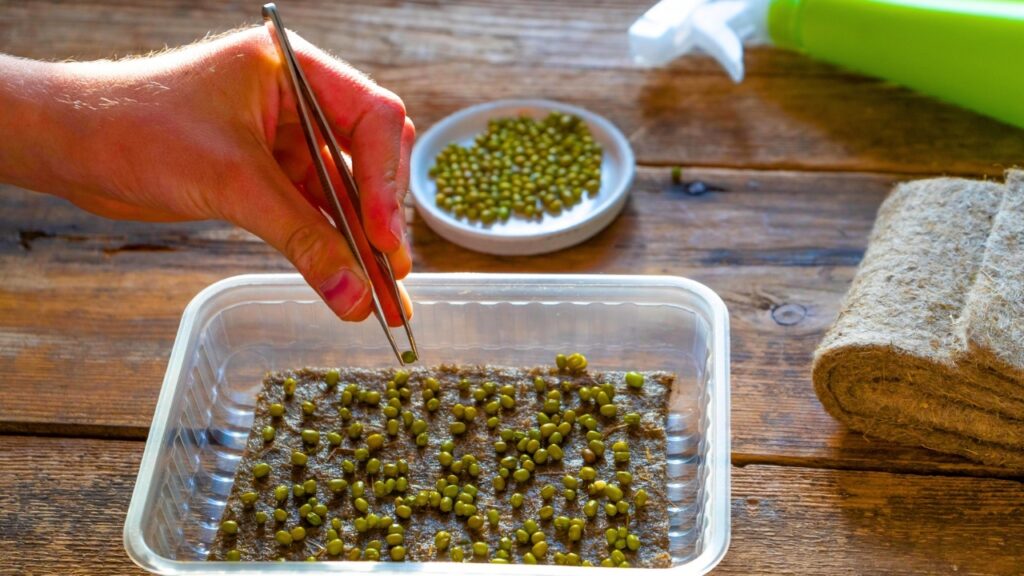
Now that the growing area of each tray has been defined, you can begin seeding by dispersing the specified number of microgreen seeds uniformly throughout it. The majority of microgreen seeds don’t need to be treated. On the other hand, pre soaking seeds in water can quicken the germination process for certain species that have larger seeds or a tougher seed shell. You can soak seeds in water for eight to twelve hours at night. Rinse the seeds under running water a few times during this procedure to give them a bath and to allow them to absorb some oxygen.
It is not required to cover the seeds with dirt after they have been distributed on the growing media surface; in fact, it might be preferable to leave the sprouts uncontaminated. Applying water after sowing is sufficient to keep the seed moist throughout germination; occasionally, a spray bottle can be used for this purpose. To speed up the germination process and maintain a suitable moisture level, it is advised to place the seeds in a dark place for a few days. This is readily accomplished by placing a covering that blocks sunlight over the microgreen trays.
It is advised to place some weight on the seeds of some species, such as sunflower and peas, during germination in order to maintain soil contact. It also helps the seed hulls to separate from the cotyledons in sunflower and other species when weight is kept on top of the shoots during germination.
Step 4: Growing and Managing Microgreens
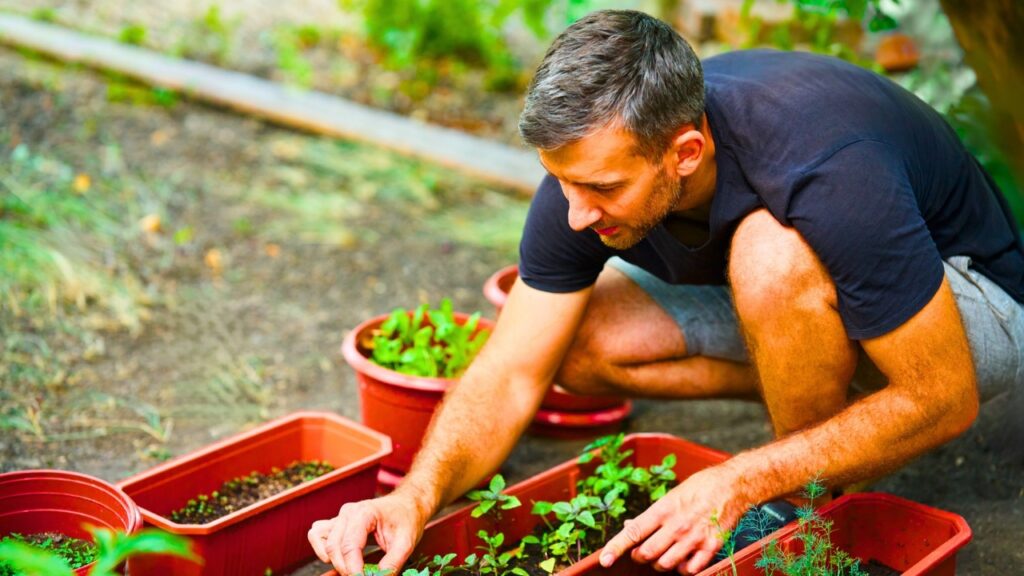
The trays can be opened and the sprouts exposed to sunlight once the germination process is finished and the seedlings reach a specific height. When choosing a location for your microgreens, keep in mind that, similar to other plants, they thrive on bright, direct sunlight. So, choose an area with enough light. A window facing southwards in a house or apartment will often get more light than one facing north. If there is not enough light for the microgreens as they grow, you will see that the shoots are tilting toward the light. A sufficient amount of sunlight is necessary for healthy growth, and plants create more antioxidants when exposed to sunlight.
The only thing left to do is make sure the seedlings are getting enough water at this time, aside from checking the light. Water should only be supplied when absolutely required; mold development can be avoided by permitting drainage and avoiding excessive wetness. Watering the trays from the bottom is advised to reduce the amount of water that comes into touch with the leaves. It may also be helpful to periodically open the window to improve air circulation and prevent too much dampness.
Step 5: Harvesting Microgreens
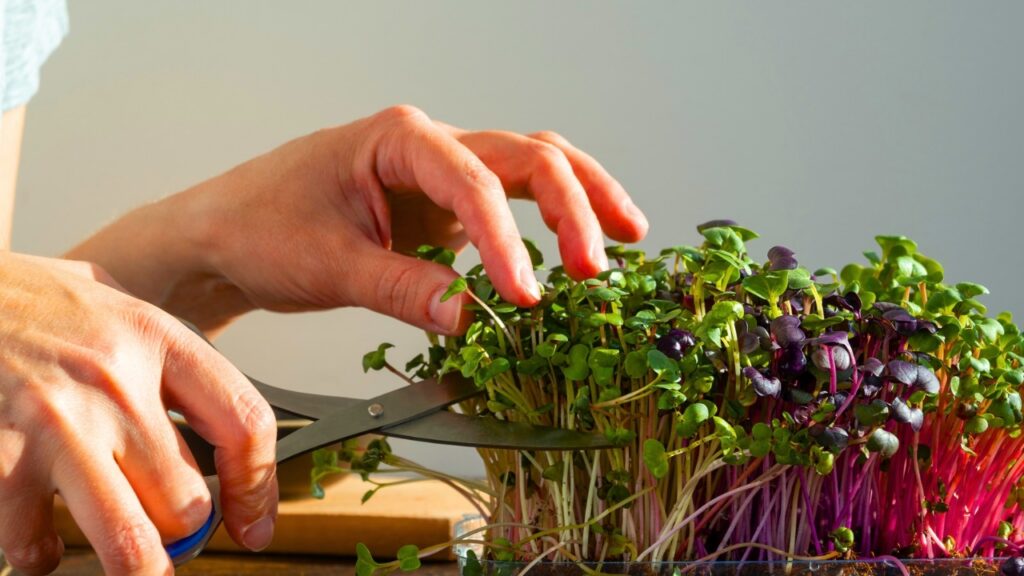
After germination is complete, microgreens can be harvested in a few days or a few weeks, depending on the species and growing conditions. Before being utilized for any preparation, microgreens can be harvested with a pair of scissors or a clean, sharp knife. It is always advised to wash microgreens in fresh drinking water before eating them. But keep in mind that the tissues of microgreen plants are extremely delicate, and washing them can significantly shorten their shelf life. Another method would be to wash microgreens just before using them, bag them, and keep them at a low temperature.
If your growing medium is organic, you can compost it after harvesting your microgreens. You can also wash and repurpose your planting trays or pots.
Growing Suggestions
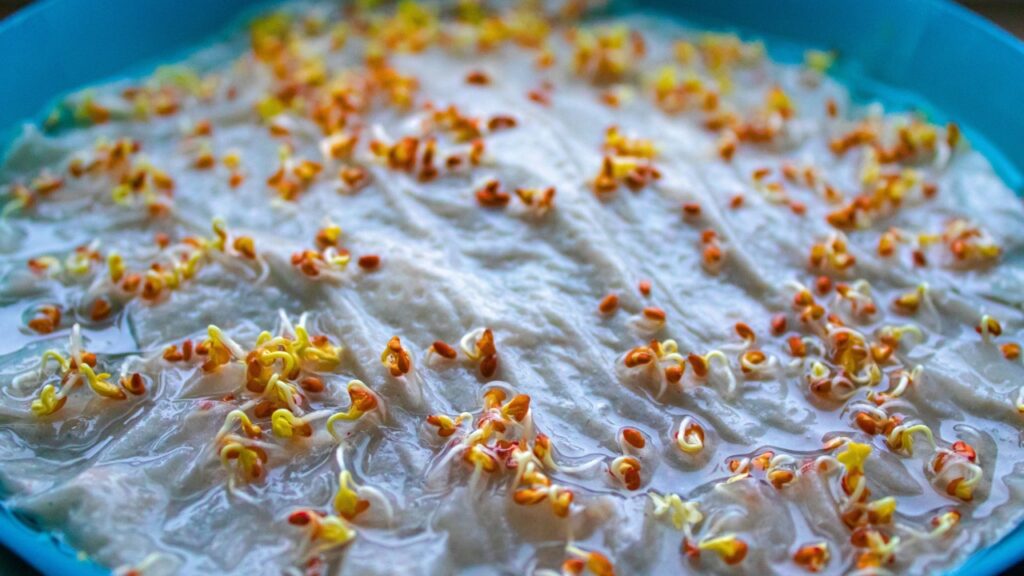
Fungus is the most frequent issue that microgreen farmers deal with. Over Spraying water on the growing surface can promote the growth of mold, which can destroy a crop. Because of this, some growers favor bottom watering, which involves utilizing a growth tray with drainage holes and allowing water to seep up from a solid tray that has been moistened below.
The best course of action is to cut only what you need and high enough above the soil line that no rinse is necessary because washing microgreens shortens their already limited shelf life. One of the best things about growing microgreens at home is that you can grow them without ever having to worry about the harmful chemicals or fertilizers that were used on your food.
Microgreens should be stored like cut flowers after harvesting. The cut ends of the stems should be placed in a shallow container of water and refrigerated for later use. When kept this way, microgreens can keep for up to a week.
As a Microgreen, What Can Be Grown?
The variety of plants that can be produced as microgreens is surprisingly wide, even though the ones that are typically found in grocery shops are mostly those with a longer shelf life. Salad greens, leafy vegetables, edible flowers, herbs, and even some root vegetables are among the microgreens that are frequently grown.
Large seeds make growing microgreens the easiest; smaller seeds are more difficult.
Large Seeds Of Microgreens
Although the greater seed size of these types tends to make them easier to grow, plant density will be lower. Still, the plants themselves are usually a little larger, and these big seeds result in stouter microgreen yields. Presoaking most of these before seeding would be beneficial.
Large seed microgreens that are frequently grown include wheatgrass, beets, chard, cilantro, dill, fennel, kale, parsley, pea shoots, and sunflower.
Mild Microgreen Seeds
These types are going to be easy to grow, and many of them will benefit from a presoak, though it’s not required until directed. Compared to larger microgreens, these will have a higher plant density per tray.
Greens like arugula, basil, broccoli, cabbage, chia, mustard, radish, spinach, and turnip are frequently cultivated from medium microgreen seeds.
Tiny Seeds Of Microgreens
Since it’s hard to spread these tiny seeds evenly across the planting media, they are a little trickier to grow—many of them are from herbs. Still, if sown heavily, they would create a very dense mat of plants and, save for alfalfa, have quite strong flavors.
Small microgreen seeds including alfalfa, amaranth, celery, mint, oregano, sage, and thyme are frequently planted.
FAQ
After being clipped, do microgreens grow back?
Certain varieties of microgreens may not always regrow when the tops are chopped or harvested. The majority of varieties are “one and done,” which means that they cease to grow after the first harvest. But after harvesting, some plants—like kale, beans, and peas—may reappear, particularly if you leave at least one healthy leaf.
Potting soil reuse: is it possible for microgreens?
Potting soil can indeed be reused after growing a batch of microgreens. Some choose to break up any clumps that may have formed in the potting soil by simply turning it over or mixing it. Sterilization of the media might be beneficial if you decide to use it repeatedly.
Could you cultivate microgreens with old seeds?
Absolutely, you may cultivate microgreens from older seeds. It is less significant if the viability is lower because you are planting so densely that the germination % isn’t as critical as it would be when planting a few seeds. For this reason, some people specifically grow microgreens from older seeds rather than discarding them.

