
We frequently discard the leaves, peels, and other portions of fresh vegetables that we don’t consume when we collect them from our garden. We usually focus on the edible part of the fruit or vegetable and discard the rest. These plant leftovers, however, are not at all worthless; they are nutrient-rich and can greatly improve your garden. We can recycle them into natural fertilizers that will nurture your plants instead of throwing them away. There are two basic methods for using these leftovers: a time-consuming, traditional method and a faster, more efficient method that produces benefits right away. The quicker method—making a liquid fertilizer from vegetable peels and leaves—will be the main topic of this article.
Method 1: Composting Vegetable Scraps
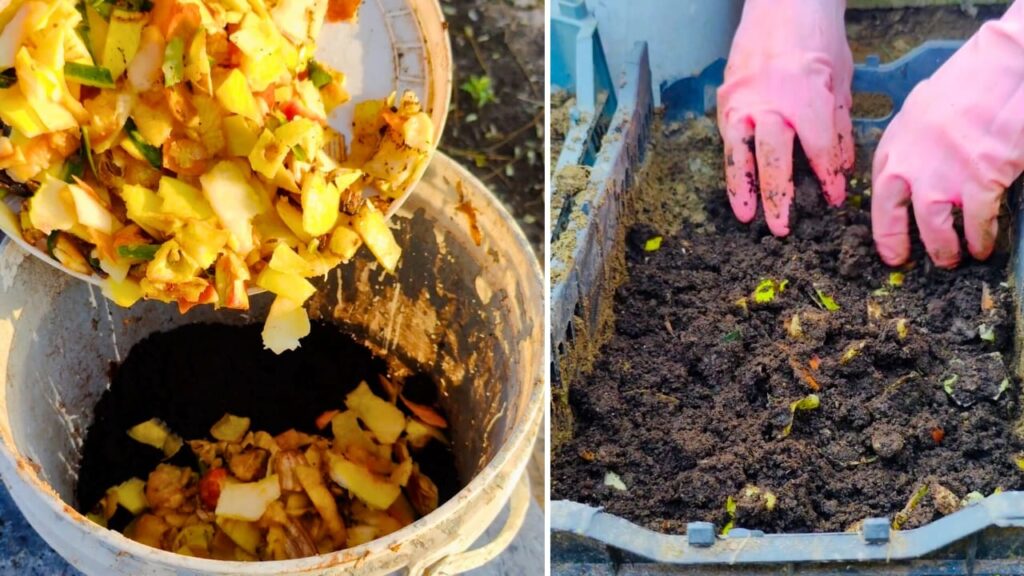
Composting is the first way to use vegetable peels and leaves. Plant waste is gathered and allowed to decompose organically over a period of months. Upon completion, the compost transforms into a nutrient-rich, crumbly, dark substance that may be added to your garden soil to enhance its quality. Compost can take four to six months to fully grow using this method, which is very effective but does require patience. This wait may seem excessive to gardeners who want faster results; thus, the following procedure is perfect for those seeking a quicker fix.
Method 2: Turning Vegetable Scraps into Liquid Fertilizer
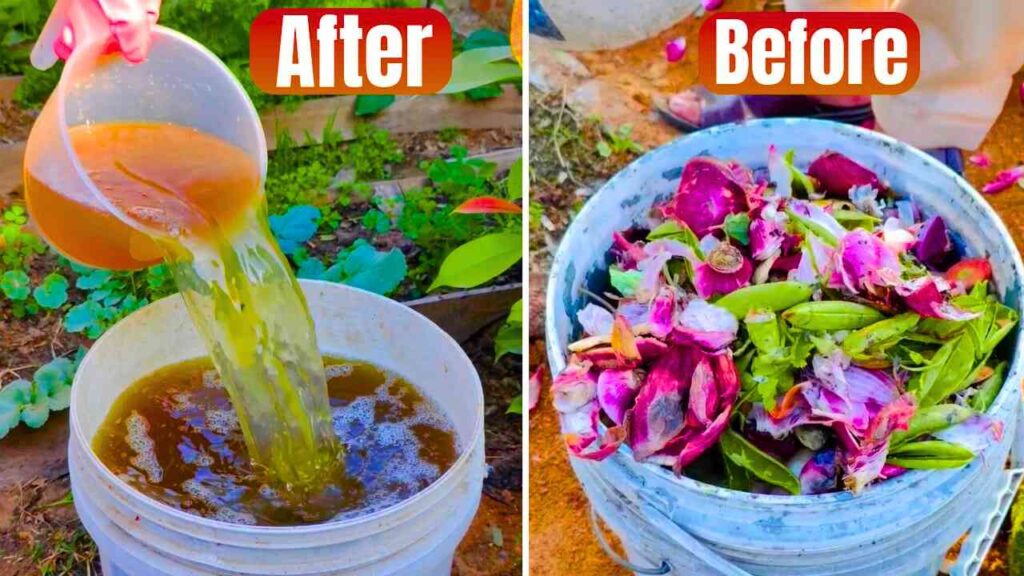
The second, quicker method uses vegetable peels, leaves, and other kitchen trash to make liquid fertilizer. For gardeners who wish to recycle kitchen garbage and feed their plants nearly instantly, this method is ideal. Any gardener can use this approach because it’s easy to do and only requires a few basic supplies. Let’s dissect the process of creating liquid fertilizer.
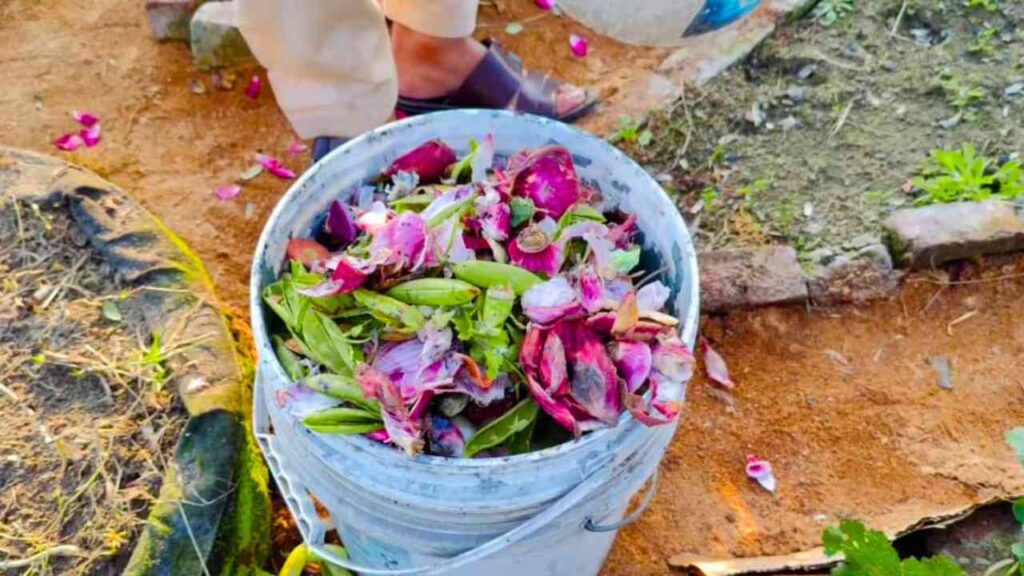
Step 1: Gathering and Getting the Scraps Ready
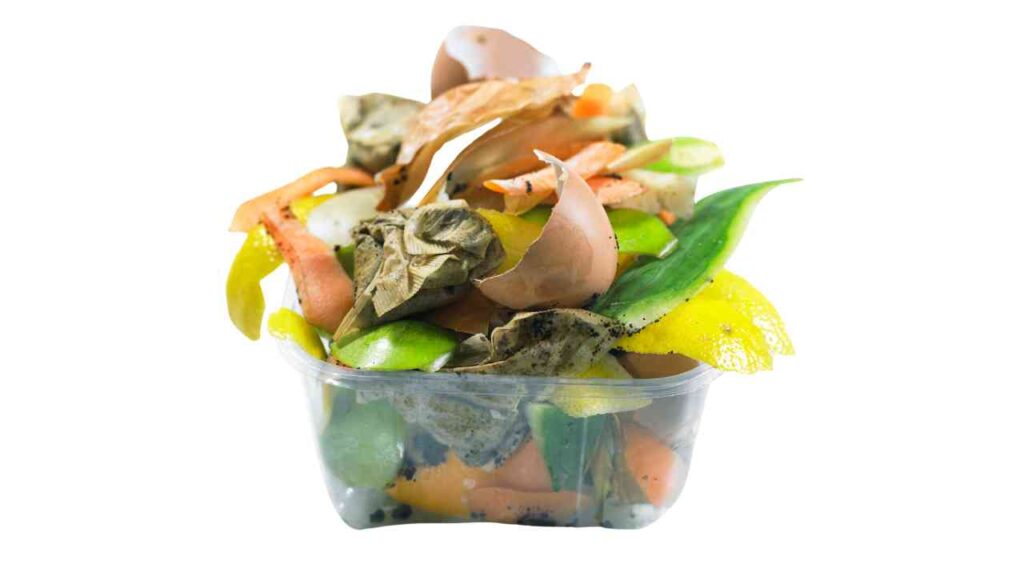
Gather the vegetable peels, leaves, and other leftovers from your kitchen first. You can use any edible plant scraps, like potatoes, carrots, cabbage, or lettuce. Cutting the waste into little pieces is essential since it speeds up their breakdown during fermentation. Once you have cut everything, you are ready to proceed to the next stage.
Step 2: Layering the Scraps in a Bucket
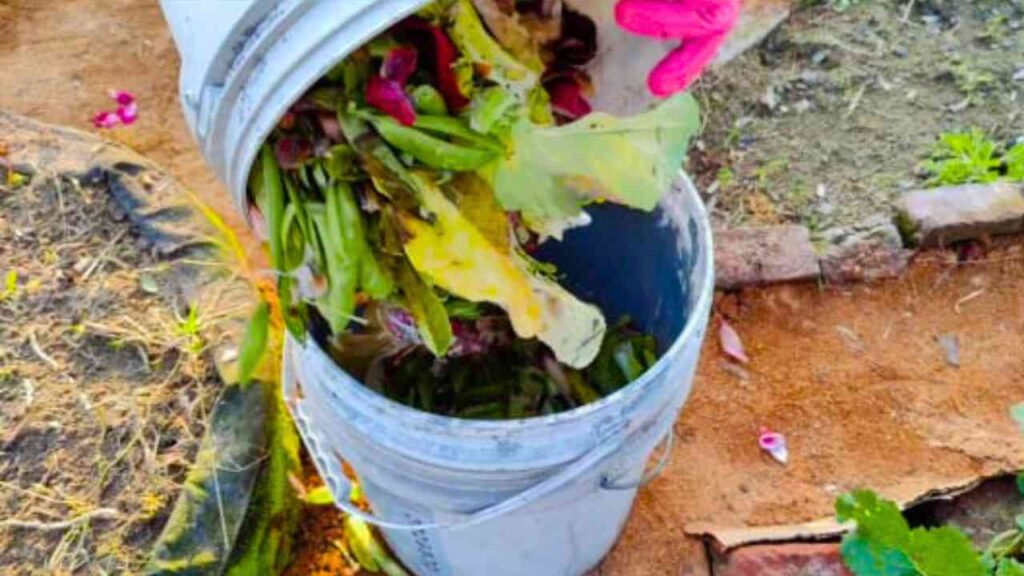
You’ll need a 5-gallon bucket for this method because it has enough room to hold the mixture. Start by covering the bottom of the bucket with a layer of chopped vegetable scraps. Next, cover the scraps with a thin layer of compost or well-decomposed manure. By adding vital nutrients and helpful bacteria, the compost or manure accelerates the fermentation process. Add chopped vegetable scraps and compost one layer at a time until the bucket is about halfway full. The ideal conditions for fermentation will be produced by the alternating layers of compost and garbage.
Step 3: Adding Water to Start the Fermentation Process
It’s time to add water after the layers are in position. For this phase, non-chlorinated water is crucial since chlorine can damage the helpful microorganisms that are involved in fermentation. Rainwater is a great option if you have it because it is naturally chlorine-free. To allow the chlorine in tap water to dissipate, let it out for a full day. Fill the bucket with water until the compost and vegetable scraps are completely submerged. Thereafter, thoroughly combine everything to guarantee that every layer is equally wet.
Step 4: Covering the Bucket for Fermentation

Once the contents have been combined, place a lid on the bucket, being careful not to seal it tightly. A small amount of room must be left for ventilation because the mixture requires some airflow to ferment properly. For at least seven days, leave the bucket alone. Beneficial microorganisms will decompose the organic debris at this time, releasing important nutrients into the water. The bucket will start to smell strongly by the end of the week, indicating that the fermentation is progressing. The scent is a normal part of the process and signifies that the organic matter is breaking down and becoming a fertilizer that is rich in nutrients, so don’t be worried by it.
Step 5: Diluting the Fertilizer
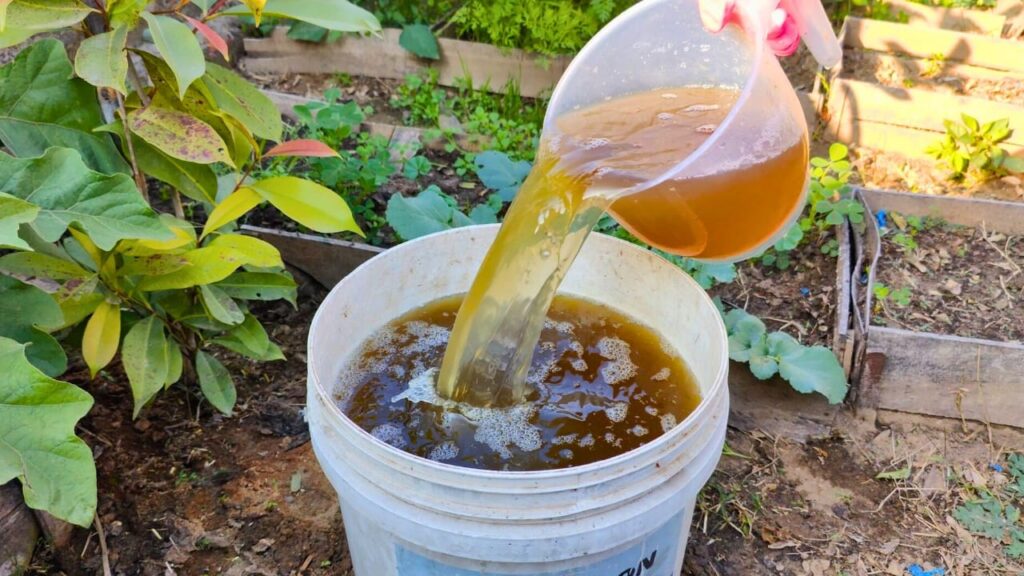
It is necessary to dilute the liquid fertilizer before using it because the concentrated mixture will be quite potent. It could damage your plants if you use it undiluted. One part liquid fertilizer to ten parts water is a safe dilution ratio. For instance, to make one cup of liquid fertilizer acceptable for your plants, combine it with ten cups of water. Your liquid fertilizer is ready to use once it has been diluted.
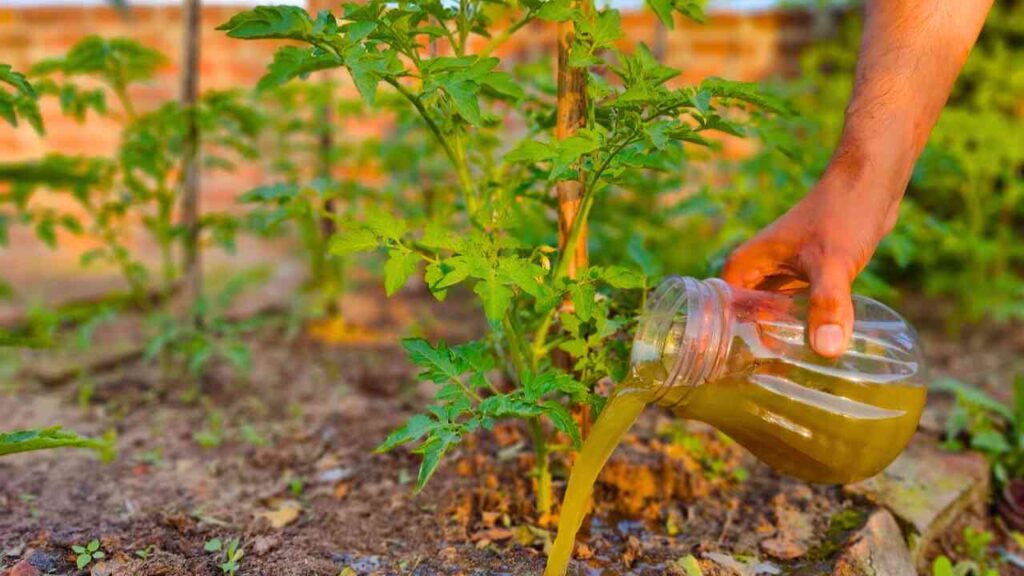
Step 6: Applying the Liquid Fertilizer

Apply the diluted fertilizer directly to the soil surrounding your plants, paying special attention to the root zone where it will be rapidly absorbed. This liquid fertilizer is perfect for strengthening roots, increasing plant growth, and enhancing soil health. The fertilizer’s microorganisms will continue working in the soil to provide a wholesome environment for plant growth. Because it promotes long-term soil health without endangering the ecosystem, this natural fertilizer is also a fantastic substitute for chemical fertilizers.
The Advantages of Making Your Own Liquid Fertilizer
This method’s environmental friendliness is among its best features. Vegetable peels and leaves can be recycled into something useful rather than being thrown away. This method helps you maximize your harvest while minimizing waste. You don’t need to buy expensive fertilizers because you have everything you need in your kitchen and garden. You may support a self-sufficient and sustainable gardening practice by turning vegetable leftovers into liquid fertilizer.
Effectiveness for Various Plants
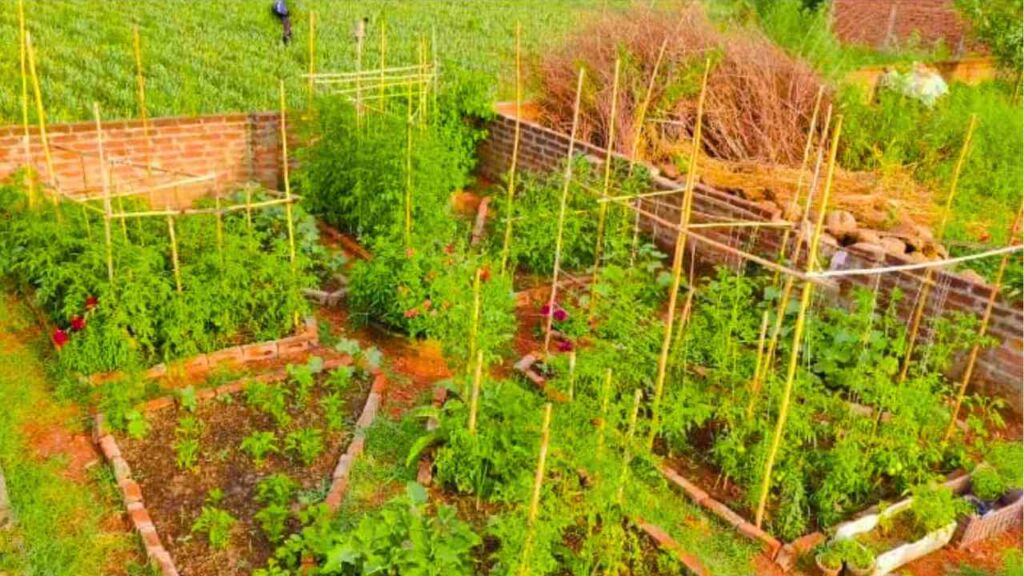
Fruit trees, flowers, veggies, and other plants all benefit greatly from this DIY liquid fertilizer. During the growing season, when plants need more nutrients to flourish, it is very helpful. Your garden will probably look much better after applying the liquid fertilizer. In addition to producing more fruit and growing healthier, plants will also become more resistant to illnesses and pests. The outcomes demonstrate the value of recycling organic matter and the effectiveness of natural fertilizers.
Dealing with the Smell
There’s no reason to be concerned, even though the fermenting process produces a strong stench. After diluting the mixture and applying it to your garden, the odor goes away. The advantages greatly exceed the short-term annoyance of the odor, particularly when you observe the favorable outcomes in your plants. Additionally, knowing that you’ve transformed food scraps into something so valuable for your garden is immensely fulfilling.
Conclusion: A Simple and Rewarding Process
Although it may seem difficult, turning vegetable waste into liquid fertilizer is a simple and satisfying procedure. It not only benefits your plants but also reduces waste and increases the sustainability of your garden. You can improve plant health, enrich your soil, and maximize each crop by converting your vegetable peels and leaves into liquid fertilizer. Discover the impact this technique has on your garden by giving it a try now. With only one easy step, you can take care of your garden and the environment, and your plants will flourish.