With the correct technique, making your own liquid fertilizer at home can be simple and efficient. Among the most straightforward and effective methods for accomplishing these goals is the “bucket method.” Making a nutrient-rich fertilizer that is full of helpful microbes—which are crucial for encouraging healthy plant growth—is made easy with this method. The advantage of this approach is that it eliminates the need for manual mesh or cloth filtering because the liquid will naturally strain itself over time. Let’s get started on how to make your own powerful, natural liquid fertilizer with little work.
Step 1: Select the Ingredients for Your Base
Choosing the appropriate ingredients for your liquid fertilizer is the first step. Anything high in organic materials that will break down and release nutrients over time makes a wonderful base. Compost, manure, or plant stuff like leaves, grass clippings, or even kitchen trash like apple cores and vegetable peels could be suitable options. Numerous minerals that your plants require, including potassium, phosphorus, nitrogen, and other micronutrients, are present in these materials.
The kind of water you plan to utilize is another crucial factor. Since chlorine can destroy the good bacteria in your fertilizer, non-chlorinated water is preferable. If it doesn’t rain, filtered water or water that’s been out for a day will do. Over time, chlorine will evaporate from the water, leaving it safe for microorganisms.
Step 2: Get the bucket ready
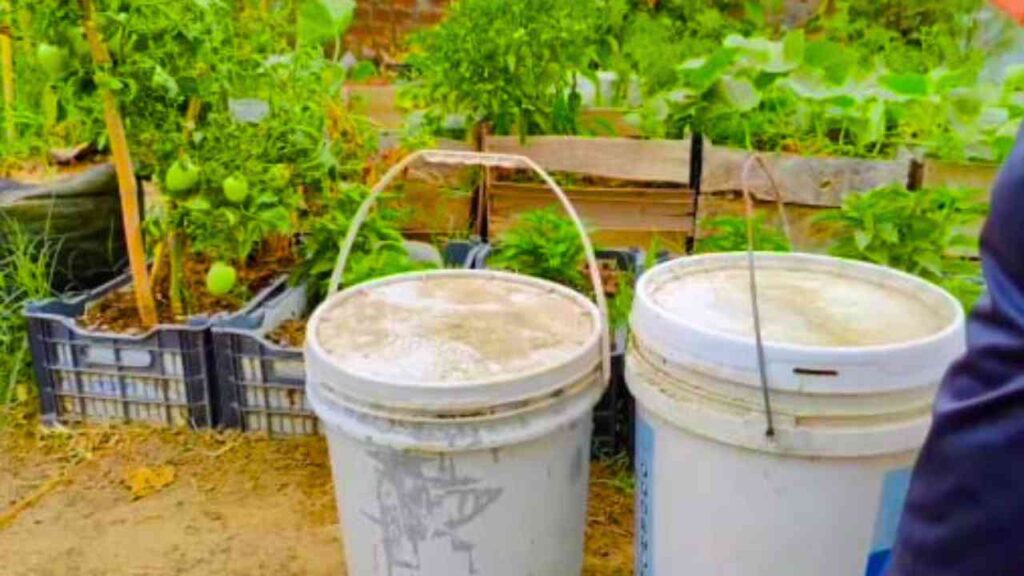
After gathering your materials, get a big, spotless bucket and cover it. Depending on how much liquid fertilizer you want to make, you can change the size of the bucket, but a 5-gallon bucket works nicely. To avoid contaminating your homemade fertilizer, make sure the bucket is clear of any chemicals or residues.
It’s a beneficial idea to leave space in the bucket for the liquid and ingredients if you’re making a big quantity so that it can ferment properly without spilling.
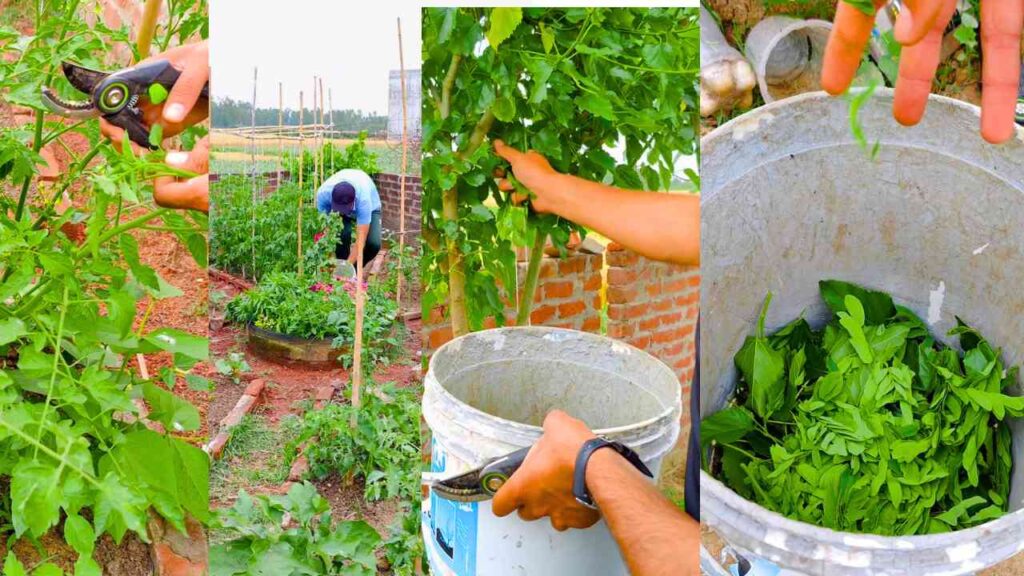
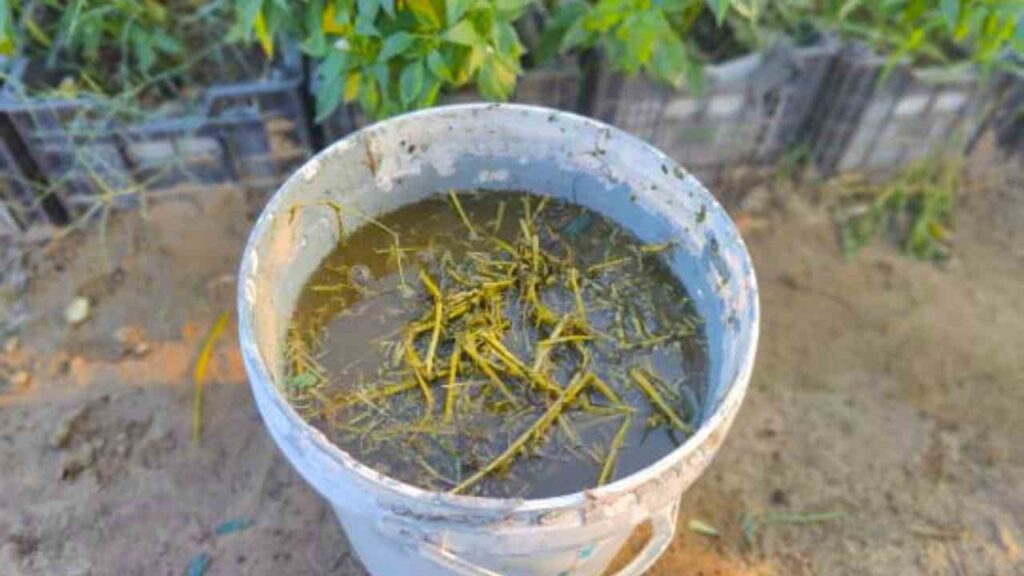
Step 3: Fill the bucket with organic matter
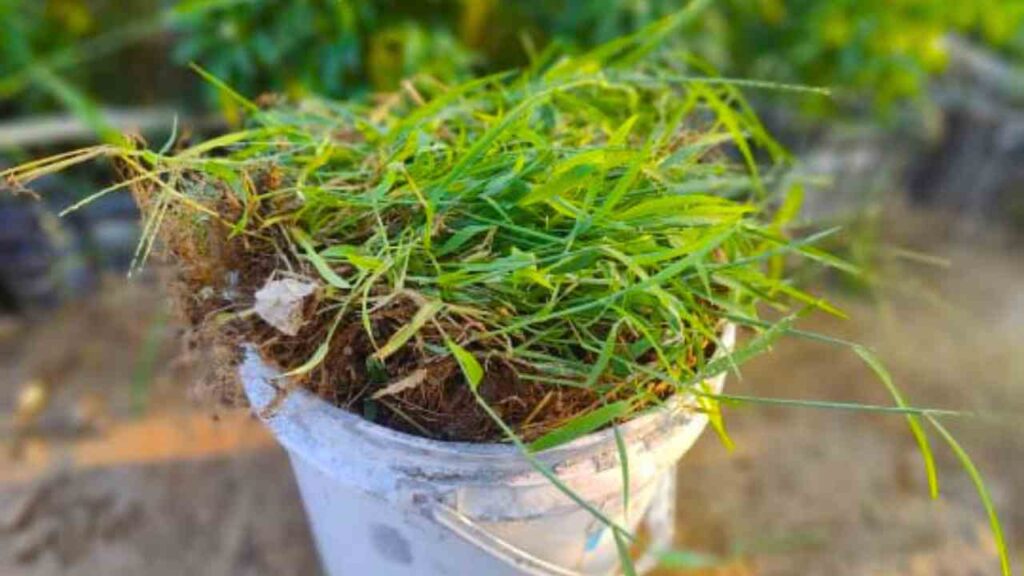
Then, start filling the bucket with the organic materials of your choice. Here’s where you can use your imagination. For instance, just fill the bucket with a substantial amount of manure or compost. To hasten the decomposition process, you can cut up any leftover cooking waste into smaller pieces. As long as they haven’t gone to seed, you can also include fresh, green plant materials like leaves, grass clippings, or even weeds.
Creating a blend of elements that will break down over time and release nutrients into the water is the goal here. In time, this mix will turn into your liquid fertilizer. The finished mixture will be richer in nutrients, which is beneficial for your plants, if your organic matter is more varied.
Step 4: Add Water
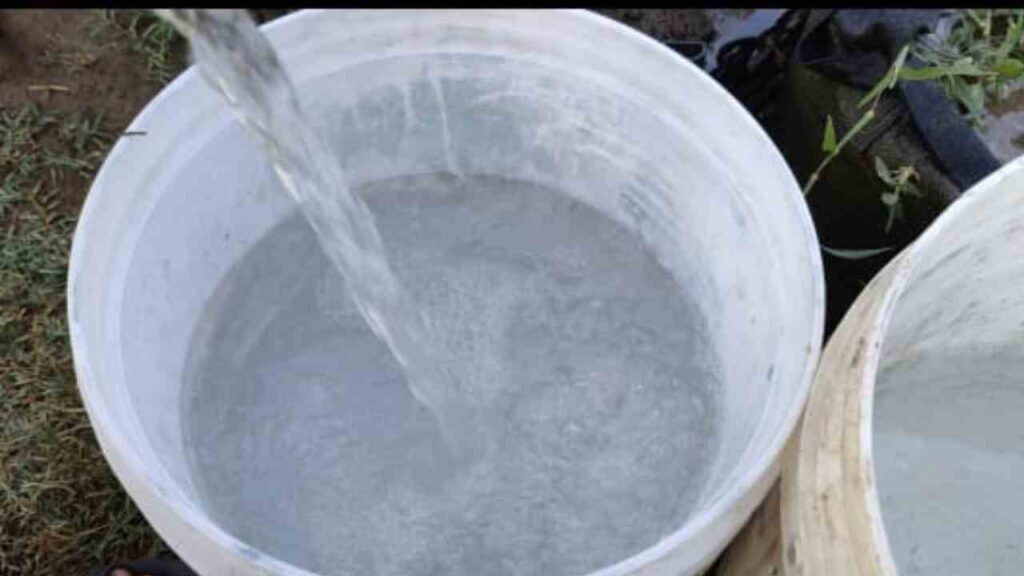
It’s time to add the water after you’ve introduced your organic ingredients. Pour non-chlorinated water into the bucket until the organic material is completely submerged. Enough water should be present to cover the materials, allowing them to break down and release nutrients into the water. To assist in dispersing the organic material more equally, try gently stirring the mixture as you add the water.
Here, it’s important to utilize just enough water to provide a liquid that is rich in nutrients without drowning the organic material. If you want the organic material to break down effectively, it’s useful to maintain equilibrium between water and organic matter.
Step 5: Let Nature Take Care of Itself
The waiting game is now underway. Put a lid on the bucket, but do not seal it securely. Since the microorganisms require oxygen to decompose the organic material, the lid should permit some air to enter and exit. Place the bucket in a partially or fully covered area to avoid overheating the contents and possibly killing the beneficial bacteria.
Give the mixture at least seven to fourteen days to settle. Beneficial microbes will begin to decompose the organic stuff during this time. A nutrient-rich liquid will be produced when the decomposition process slowly releases nutrients into the water. Your fertilizer will get more concentrated the longer you allow the mixture to sit. To promote an even distribution of nutrients and hasten the decomposition process, stir the mixture once every two days.
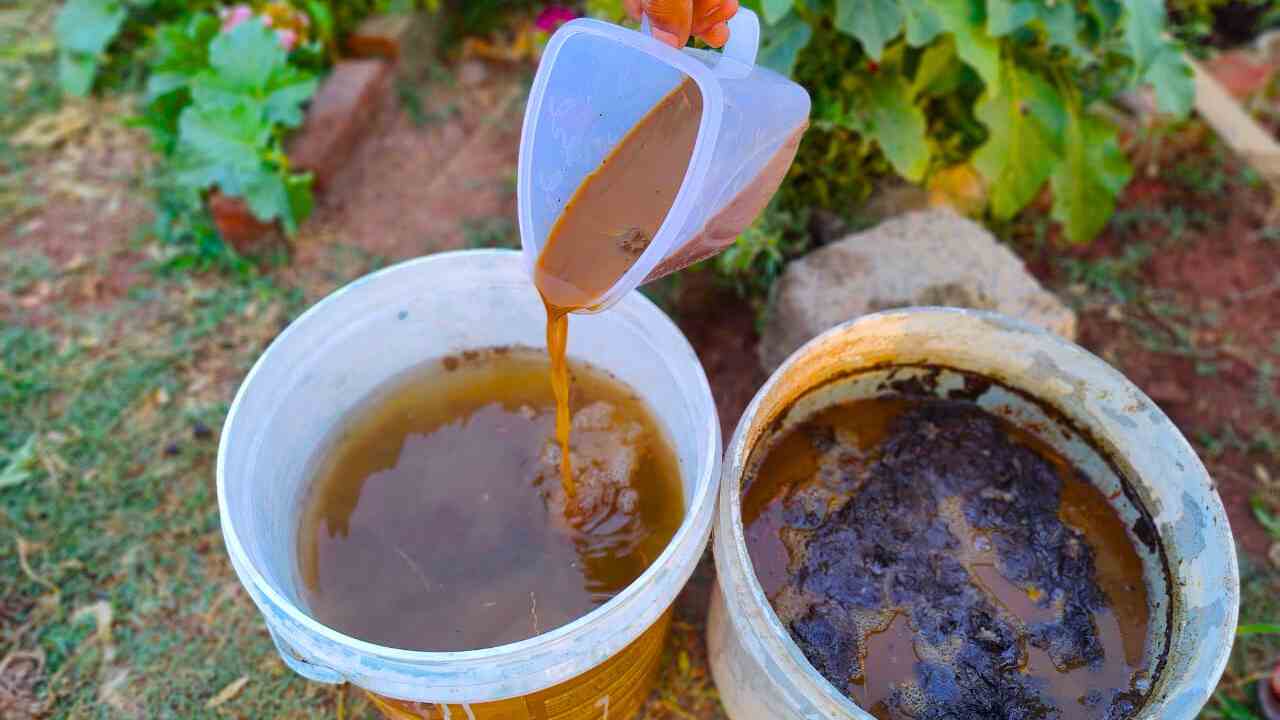
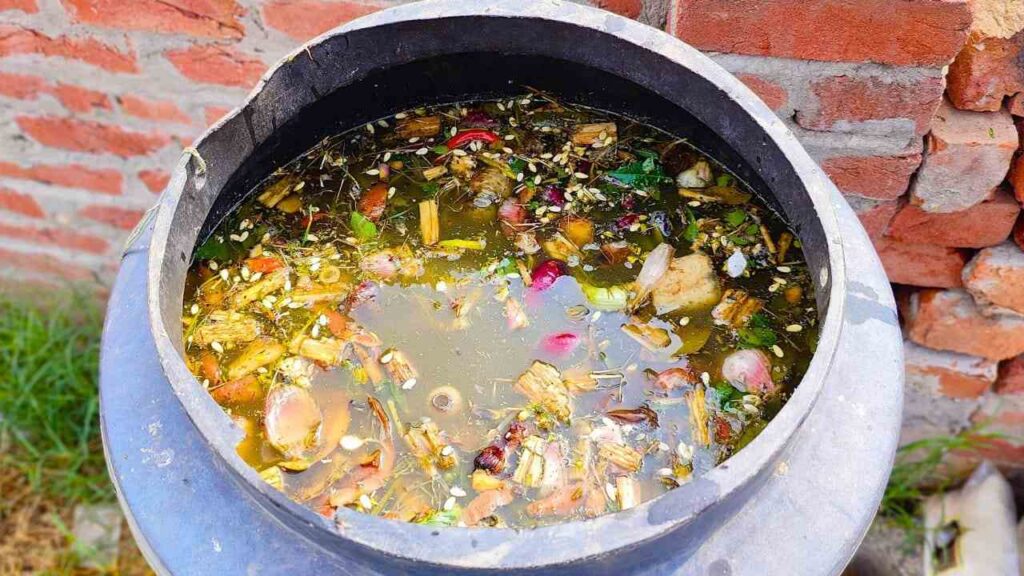
Step 6: The Process of Natural Straining
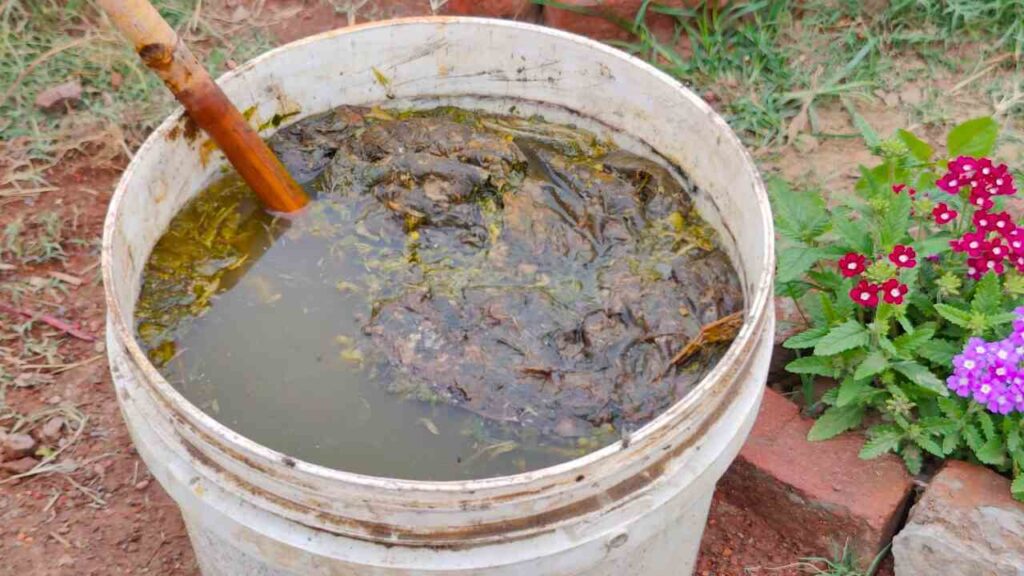
The bucket method’s ability to do away with the necessity of manually filtering the liquid is one of its main advantages. The liquid will eventually rise to the top of the bucket, while the organic materials will inevitably gradually sink to the bottom. Rich in vital nutrients and helpful microorganisms, this liquid serves as a fertilizer ready for application to your plants.
If you want to accelerate the breakdown process, you can stir the mixture gently or leave it undisturbed for the entire fermentation period. In any case, you’ll see that the liquid has turned into a nutrient-rich, black solution after the waiting period.
Step 7: Use the Fertilizer
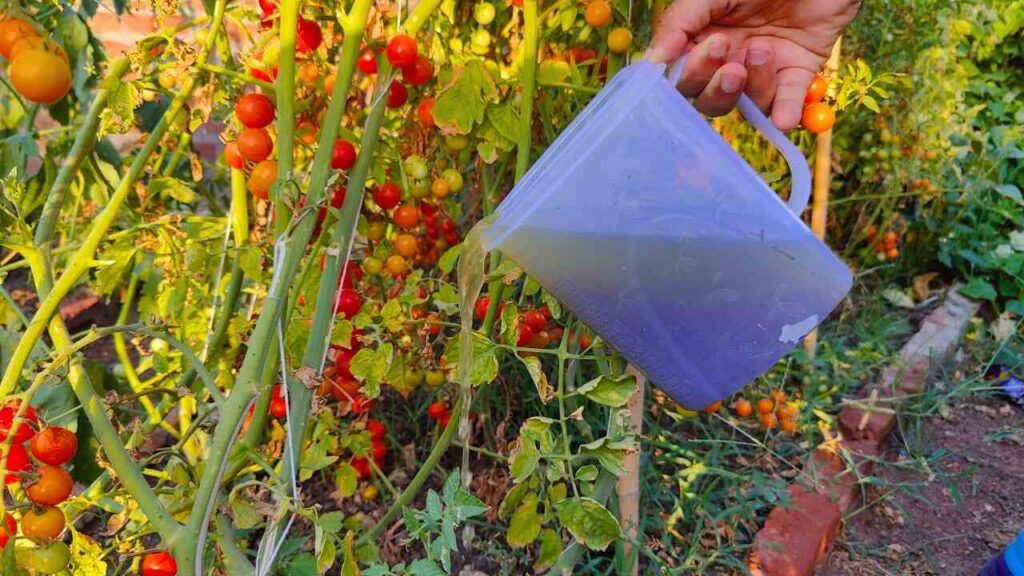
It’s time to apply your liquid fertilizer to your garden once it’s ready. Just dilute the concentrated liquid fertilizer with water before applying. One part fertilizer to ten parts water is a typical dilution ratio, though the amount might change based on the mixture’s strength. Start with a milder solution and progressively raise the concentration for more delicate plants.
Use the diluted liquid fertilizer as a foliar spray to hydrate the leaves or pour it straight onto the soil surrounding your plants. The plants will rapidly absorb the nutrients in the liquid fertilizer, resulting in robust growth, higher yields, and vivid blooms. Additionally, the solution’s bacteria will support your garden’s natural microbial ecosystem and enhance the soil’s structure.
Step 8: Store Any Leftovers
You can save any fertilizer that is left over for subsequent use. Simply place the bucket in a cool, shaded spot and keep the top loosely closed. The fertilizer may continue to ferment if you intend to store it for a long time, so make sure to check it frequently to make sure it’s still working and hasn’t started to smell bad.
To guarantee optimal potency, utilize the fertilizer within a few weeks, just like you would with any homemade fertilizer. However, your plants might still benefit much from this fertilizer even if it is kept for a longer period of time.
The Benefits of This Method

There are several advantages to using this DIY liquid fertilizer, which makes it a great option for gardeners who wish to enhance plant health and encourage sustainability. Above all, the nutrients in this homemade fertilizer greatly increase the growth and vitality of plants. The mixture contains many vital elements, such as potassium, phosphorus, and nitrogen, which are all necessary for strong root systems, healthy plant growth, and more fruit or flowers. This natural remedy is a beneficial substitute for conventional fertilizers since it promotes healthy plants that flourish in their surroundings.
This technique enhances plant health and increases soil fertility. The decomposition of organic matter releases important nutrients, enriching the soil and enhancing its composition and structure. The helpful microorganisms added to the soil will eventually be essential in more effectively decomposing organic matter and assisting the soil in holding onto moisture and nutrients. This method produces a nutritious, well-balanced growing medium that promotes long-term plant health and growth, unlike synthetic fertilizers, which often provide only temporary boosts without improving soil quality over time.
This method’s capacity to transform organic waste and undesired garden weeds into a useful resource is among its most important benefits. Weeds and other plant components can be recycled and given new life by adding them to your fertilizer mix rather than discarding them. In addition to cutting down on garden trash, the practice also lessens the usage of artificial chemicals that could be harmful to the environment. By reusing items that you would otherwise throw away, you support a more sustainable gardening method that benefits both the environment and your plants.
Eliminating the mess and inconvenience of filtering liquid fertilizers is another significant advantage. The liquid must frequently be filtered using cloth or mesh in traditional procedures, which can be messy and time-consuming. By using the bucket method, you can quickly collect and use the nutrient-rich liquid without the need for additional filtering because the organic material breaks down naturally and sinks to the bottom. As a result, the procedure is less time-consuming, cleaner, and more convenient.
Last but not least, if you have a large garden, making homemade liquid fertilizer will save you money on store-bought fertilizers, which can mount up over time. You may guarantee that your plants receive high-quality nutrients without having to pay for commercial fertilizers by making your own fertilizer from common, everyday ingredients. This economical method is ideal for both novice and expert gardeners, enabling you to keep expenses down while maintaining a flourishing garden.
In conclusion, by lowering waste and doing away with the need for pricey, chemical-laden fertilizers, this approach not only improves soil fertility and enhances plant health but also advances sustainability. Together, the organic matter and bacteria improve the soil’s structure over time, making it more durable, fruitful, and able to support robust plants for many years to come. This approach provides a straightforward, efficient, and reasonably priced way to enhance the health of your garden or implement more environmentally friendly habits.
Conclusion
A simple, mess-free approach for making potent homemade liquid fertilizer is the bucket method. Without the trouble of straining or complicated procedures, you may turn organic waste into a nutrient-rich solution for your garden that will promote plant development and improve soil health. Regardless of the size of your vegetable patch or balcony garden, this simple method will provide your plants the nutrition they require to flourish while encouraging sustainability and cutting down on waste. Have fun with your gardening!