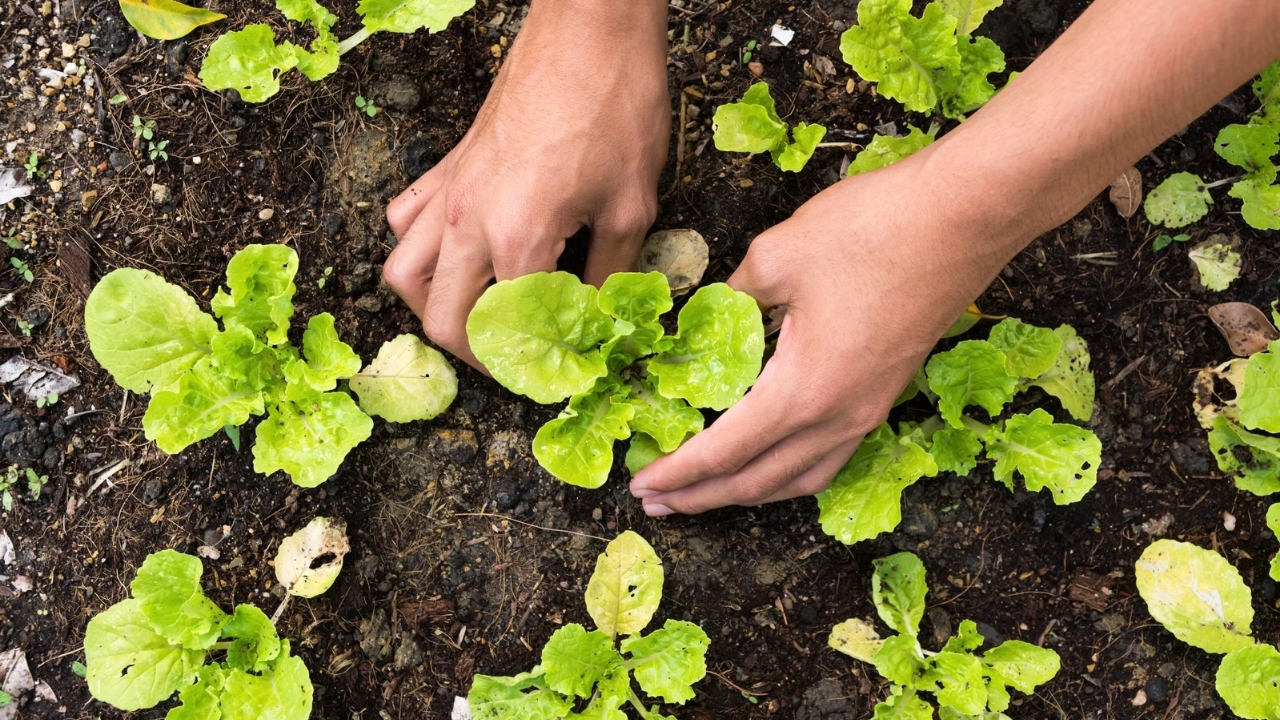
You may grow your own food, spend time outdoors, get some exercise, breathe clean air, and rejuvenate yourself by cultivating a vegetable garden in your backyard. Even if you have no gardening knowledge, you can do everything from picking the spot, sowing seeds, and planting to watering and pulling weeds. You may start your project with expert knowledge if you follow our advice on how to establish a vegetable garden for the first time.
The best ways to begin a vegetable garden:
1. Let’s start with a small area.
2. Choose a bright area for your vegetables.
3. Recognize your soil
4. Put in a drip irrigation system.
5. Pay attention to the wind.
6. Select plants that are easy to grow in your area.
7. Concentrate on your favorite or pricey, difficult-to-find vegetables.
8. Have a well-defined garden plan.
9. Consider using a plant spacing chart for a square foot garden.
10. To make the most of your space, use vertical gardening.
11. To increase production, space out the crops.
12. Benefit from companion planting
13. Make a calendar for gardening.
14. Obtain the essential gardening equipment.
15. Gain knowledge from the experiences of others.
16. Make use of mulching’s full potential.
17. Think about a polytube or a greenhouse.
FAQ
1. Let’s start with a small area

Growing your own vegetables requires time, money, and labor, but it’s also satisfying and soothing. Take things slow if you’re a novice because you’ll have a lot to learn about planting, watering, and weeding in the first year. If you wish to expand, start with a tiny garden and a few vegetables.
Your new garden should ideally be around 100 square feet. Up to 25 plants can be grown here, depending on the crops you choose to grow. Combine three to five different kinds of vegetables and herbs, and try your best to understand the proper way to cultivate them.
The primary advantages of a home garden in a limited area are:
- more time for each plant’s observation and maintenance. Higher harvests and healthier plants are typically the results.
- It’s a fun experience that doesn’t run the risk of being tedious.
- the opportunity to put everything to the test and find out how long it takes to water, weed, prune, and harvest.
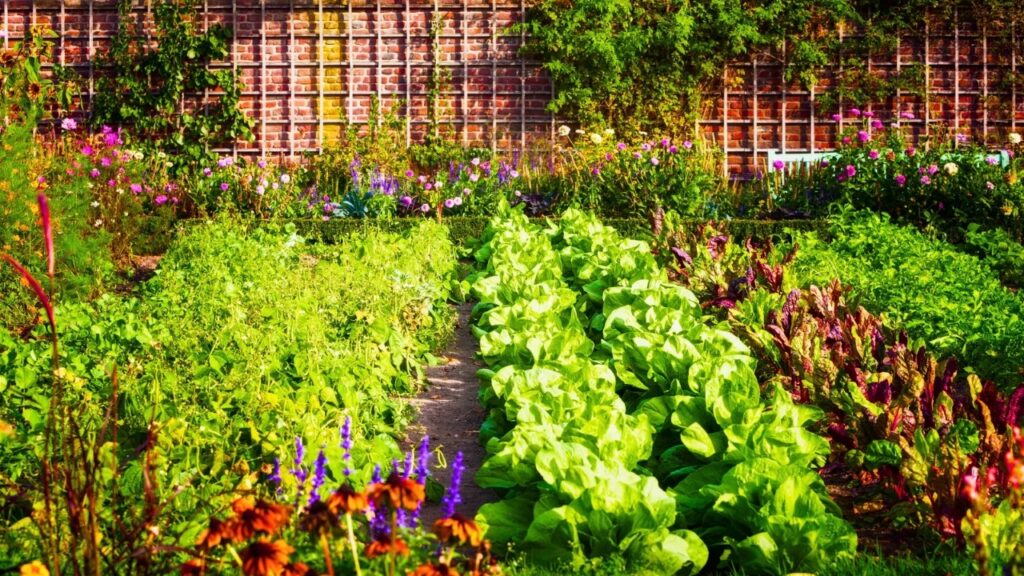
2. Choose a bright area for your vegetables
Place your garden next to a water supply and in an area that receives plenty of sunlight. The majority of herbs and vegetables require six hours or more of direct sunlight each day. They become slender, susceptible to pests and illnesses, late to maturity, and less productive when exposed to low light levels.
Make sure full sun vegetables receive at least 8 hours of sunshine if you live in the north, where the light is less intense. In the sunniest parts of your garden, you should always grow watermelons, tomatoes, eggplants, cucumbers, zucchini, chiles, and pumpkins. Your vegetable need more sunlight the larger the fruit it produces.
Are there few sunny spots and your yard is shaded? Do not be concerned. You can still grow some vegetables. Select cool-season vegetables, such as arugula, spinach, radishes, and lettuce, which are also referred to as shade vegetables. Three to five hours of full light every day are sufficient for their growth.
3. Recognize your soil

Easy gardening and robust, healthy plants are the results of good soil. Before you grow herbs and vegetables, find out what you have underfoot. Taking a few soil samples and having them evaluated at the Cooperative Extension Office in your county is the most reliable and straightforward approach. For $15 to $20, a basic soil test reveals:
- The kind of soil and its composition (clay, silt, loam, or sand).
- content of organic stuff.
- How to address shortages in certain nutrients.
- pH of soil and how to adjust it if needed.
You’re in luck if your soil is loamy. It is a well-balanced blend of silt, clay, and sand particles with a somewhat loose texture, adequate drainage and water-holding capacity, and typically high in organic matter and nutrients. Most vegetable plants can grow on loam.
To maintain the fertility of loam soil, apply a layer of compost each year.
Sandy soil has a low capacity to hold water and a loose texture. It is a weak soil that frequently requires fertilizers because nutrients readily wash away from its structure. In the heat, it also needs a lot of water and dries quickly.
Not all sandy soil is terrible. Because of the permeable nature of the sandy soil, roots can grow easily in root vegetables including turnips, carrots, radishes, and beets. Manure and compost are the best additives you can utilize. Vermiculite, coconut coir, and sphagnum peat moss enhance water retention without contributing any beneficial nutrients. Before choosing a commercial blend, always take organic fertilizers into account.
Soil made of clay is dense and heavy. It is a fertile soil because of its excellent water-holding capacity and good nutrient retention. But when it gets dry, it tightens around the roots and becomes stony soil that is difficult to dig or aerate. It also has poor water absorption and drainage.
Broccoli, cabbage, onions, lettuce, and other vegetables with shallow roots thrive on clay. Its wet, rich texture facilitates water and nutrient absorption without requiring extensive soil excavation.
The greatest technique to improve the texture of clay soil is to add organic matter. The best ones to attempt are well-rotted manure, compost, and leaf mold.
Silty soil is prone to erosion because it is usually low in organic matter and high in minerals. It works well with a variety of crops, breaks down more readily when dry, and puts less mechanical strain on plant roots.
Because of its weak structure, gardening with reduced or no tillage is advised. The delicate interior structure that bacteria have created is destroyed by digging. In winter, plant protective ground coverings and amend with organic matter.
Pro advice on vegetable garden soil: Use raised garden beds that are 6 to 2 feet high and filled with high-quality garden soil, or think about container gardening, if you have poor soil that is difficult to correct.
4. Put in a drip irrigation system
Select an area near a clean water supply. Watering seedlings and transplants a few times a week is necessary until they develop strong roots. Generally speaking, established plants require less watering—roughly an inch once each week. Nevertheless, a timer-equipped watering system is a good method to conserve money, water, time, and effort.
Opt for a soaker hose system or drip irrigation. They work well with all kinds of soil and gradually supply water at the roots of the plants.
Watering a vegetable garden with a sprinkler is not the ideal option, particularly if you frequently water your garden in the dark. The risk of sunburns and fungal illnesses is significantly increased by wet leaves. Evaporation is another way that sprinklers lose a lot of water.
Expert advice on watering your vegetable garden: Don’t overwater your crops and always monitor the quantity of rainfall.
5. Pay attention to the wind
To reduce fungal infections and promote stronger plant growth, air currents are crucial. However, winds might harm your vegetable plants if they are extremely strong or persistent.
Strong air currents have the potential to destroy young plants, dry up the soil, make leaves close their pores to prevent dehydration, and interfere with pollinators’ ability to do their jobs.
Don’t put your garden in a windy spot. Installing windshields or planting plants for windbreaks are the only options left.
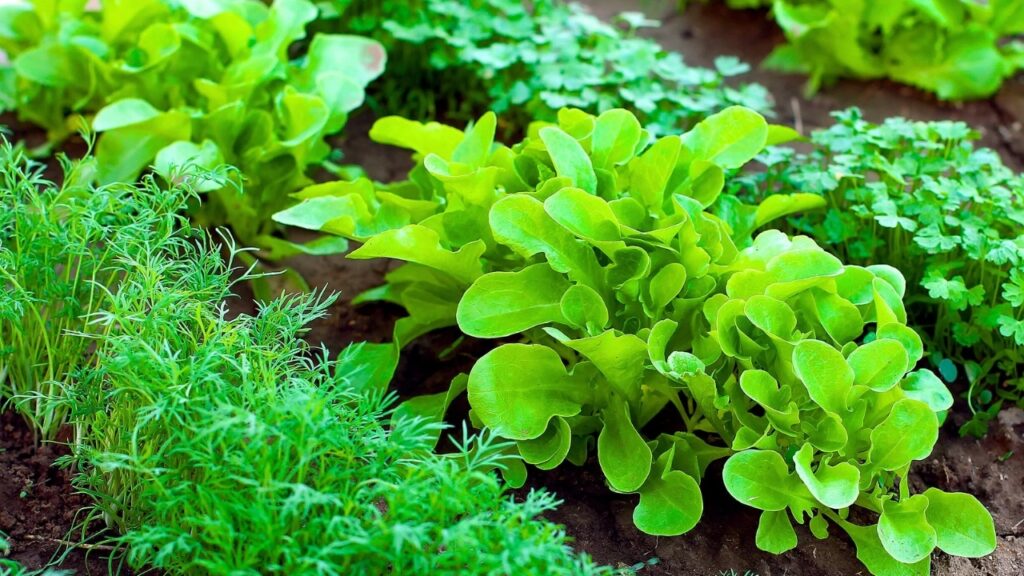
6. Select plants that are easy to grow in your area
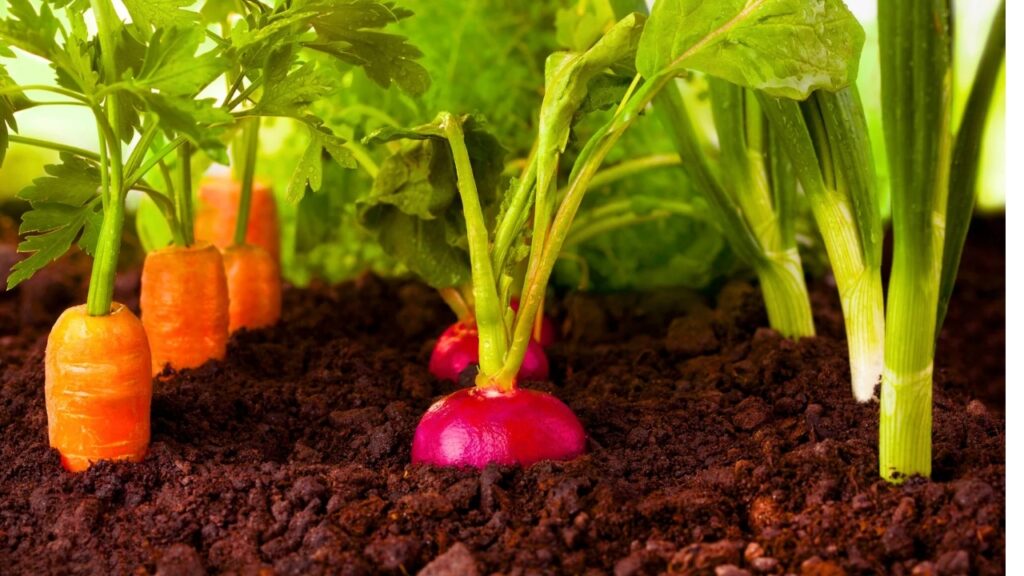
Green beans, peas, arugula, spinach, radishes, and lettuce make great starting vegetables. They are less particular about soil and weather, and their growing season is shorter—less than two months. Carrots are a fifty-fifty crop, depending on the soil, but they are also a short-season crop. They can be difficult to grow in clay and prefer a sandy texture. How about tomatoes? Squash, tomatoes, and peppers are other good choices for novice gardeners, even though they have a longer growth season. These vegetables are frequently regarded as great first garden choices because they are low maintenance and resistant to transplanting.
What should you not do the first time? Onions are light-sensitive. They require 12 to 16 hours each day, depending on the species, and if they are not adequately watered, they get little and dry.
Sweet potatoes require hot soil, thus they can only thrive in 100 days of hot weather. In the South, they grow wildly with little help, but in the North, they are a challenging crop.
Head lettuce, cauliflower, celery, and artichokes are also among the most difficult vegetables to cultivate, so wait until you have more gardening experience.
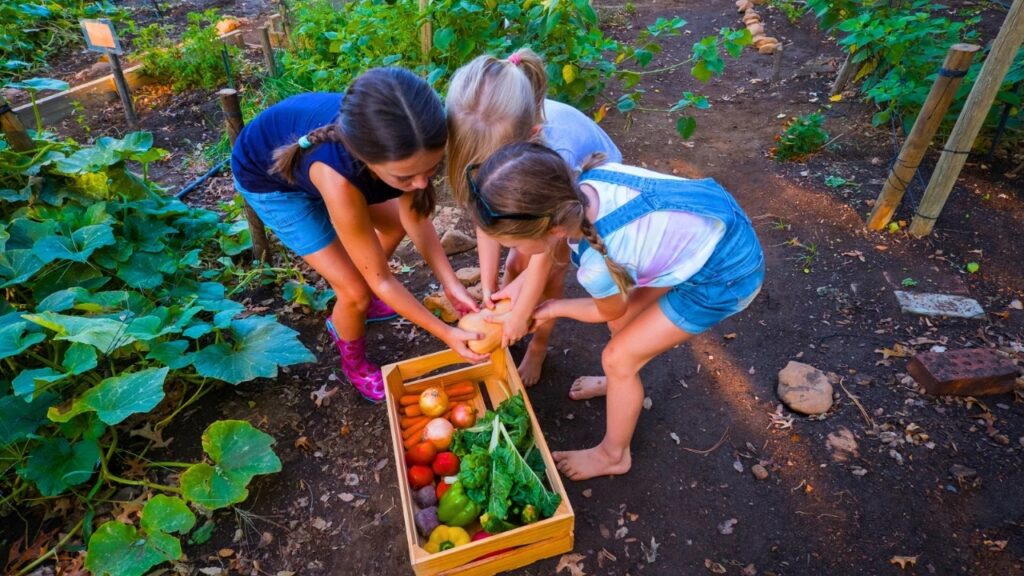
7. Concentrate on your favorite or pricey, difficult-to-find vegetables
Keep in mind that you have a restricted amount of time, a tiny garden area, and a certain budget. Spend your money on pricey plants. Vegetables that you enjoy eating and can easily preserve are always the finest to grow.
Price and availability are two wise factors to consider when choosing what to grow. Put vegetables that you enjoy eating but that are more difficult to get in supermarkets or are more expensive at the top of your list.
8. Have a well-defined garden plan
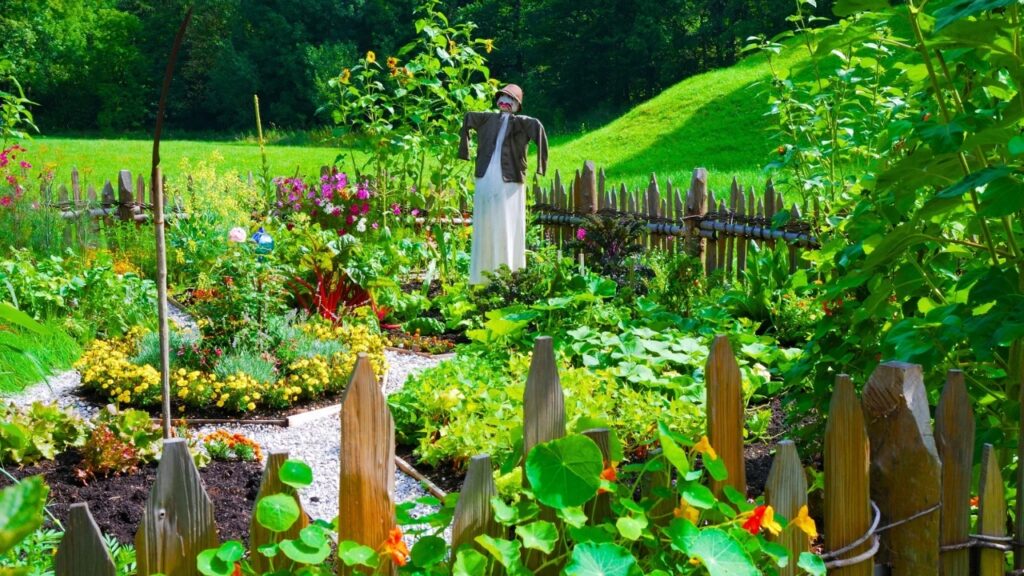
Write down your thoughts. It’s the simplest method for designing the ideal layout for your tiny backyard garden. Make a sketch of the planting beds and the paths you plan to use to cross them.
To allow you to reach inside the garden beds without stepping in, make sure they are no wider than four feet. 4×4 or 4×8 vegetable beds are popular choices for novice gardeners. They are accessible without trampling on the soil and provide ample room for planting.
Plan for a 4×4-foot garden:
Plan for a 4 x 8-foot garden:
Reduce the width of the garden bed if it is in a corner or close to a wall. Keep in mind that you can only reach the plants from two or three directions.
Mark the location of each plant on your garden planner. Make sure each plant has ample room by following the instructions on pot labels and seed packets.
9. Consider using a plant spacing chart for a square foot garden
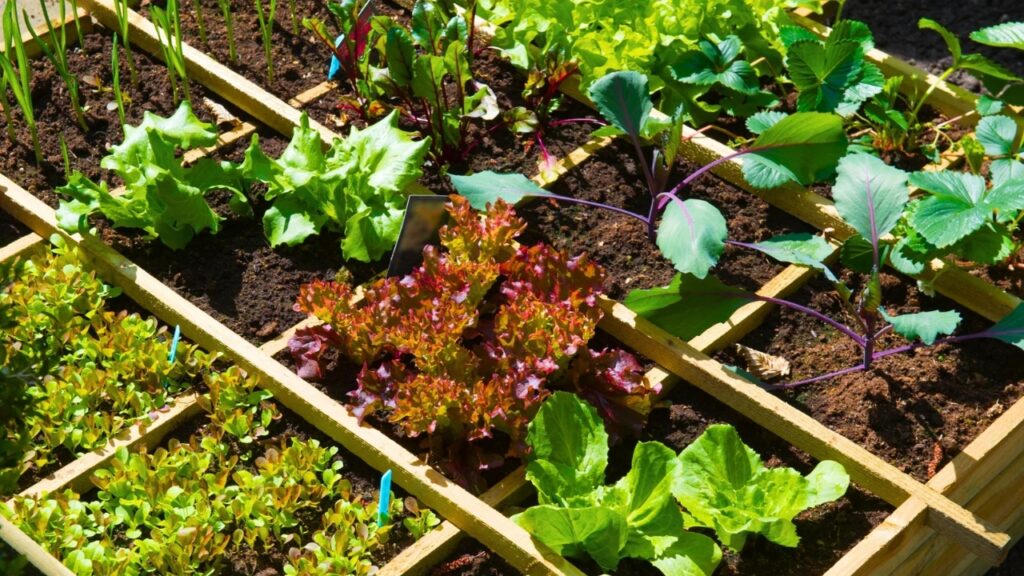
Plant placement and measurement across plant beds can occasionally become challenging. Use the one-square-foot spacing chart to make it simpler.
Create the chart by dividing your garden layout into one-square-foot pieces, then deciding how many vegetables or herbs to include in each square. In each space provided, write the names and numbers of the plants.
The most popular starting veggies and herbs are shown in these two tables, along with the maximum number that can be placed in a one-square-foot space.
Veggies
| Vegetables | Maximum Number of Plants per Square Foot |
| Tomatoes | 1 per 4 square feet |
| Pepper | 1 |
| Cucumber | 1 |
| Eggplant | 1 |
| Peas | 8 |
| Pole Bean | 8 |
| Radish | 16 |
| Carrot | 16 |
| Beet | 9 |
| Turnip | 9 |
| Spinach | 9 |
| Arugula | 4 |
| Kale | 1 |
| Swiss Chard | 4 |
| Shallot | 4 |
| Squash | 1 per 2 to 4 square feet |
| Herbs | Maximum Number of Plants per Square Foot |
| Basil | 4 |
| Cilantro | 9 |
| Oregano | 1 |
| Parsley | 4 |
| Dill | 4 |
| Mint | 4 |
| Rosemary | 1 |
| Tarragon | 1 |
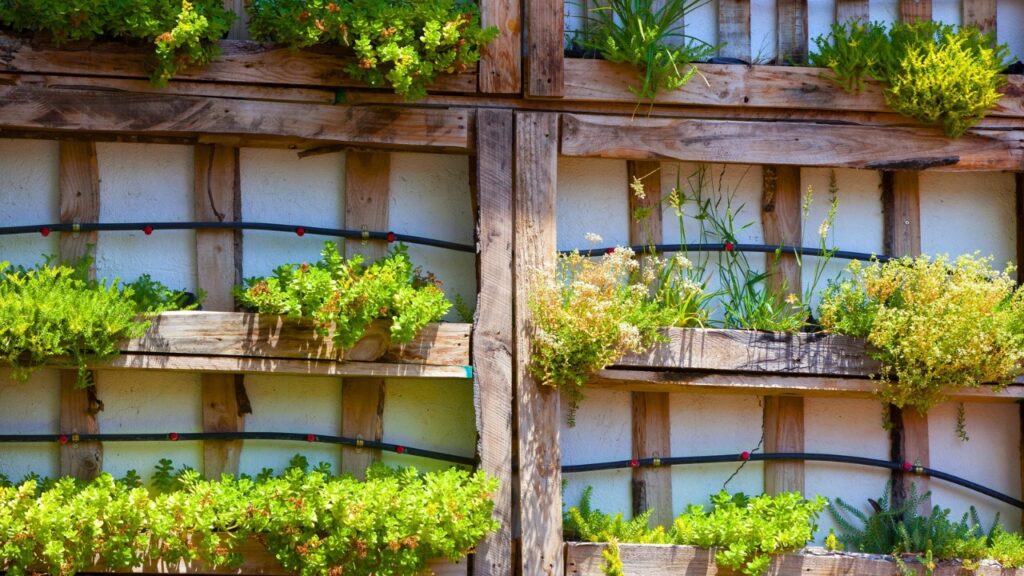
10. To make the most of your space, use vertical gardening
Purchase climbing peas, green beans, cucumbers, and squash and cultivate them in vertical cages or on trellises. It’s a great way to make the most of the space in a tiny backyard. Additionally, if you plant indeterminate tomato varieties, utilize cages. They will spread out over the ground and impede other plants if you don’t support them.
Examine the height and size of your vegetables, then look for cages and trellises that can support the mature plants. Put them so they don’t shade other vegetables that like the sun.
For instance, the northwest side of your garden is the ideal location for trees and tall plants if it receives the most sunlight in the morning and midday. Plant tall and climbing vegetables in the northeastern corner of the garden if it receives the majority of its afternoon light.
Is your garden area next to a fence or a wall? Install vertical garden planters for herbs and vegetables with shallow roots using the structure. Increasing yield per square foot is a smart move.
11. To increase production, space out the crops
A clever and simple technique to guarantee consistent and repeating crops on the same plot of land is succession planting. In early spring, start with cool-season vegetables that develop quickly. Plant carrots, arugula, spinach, radishes, and lettuce.
To provide room for warm-season crops like tomatoes, peppers, and eggplants, harvest until late spring or early summer. Late summer to early fall is when these are ready to be picked. Plant some lettuce, spinach, and other cool-season vegetables as a second crop after harvesting the warm-season vegetables.
Planting the same vegetable in repeated rounds is another option to employ this method. This is ideal for one-time crops that grow quickly, like carrots and radishes.
For instance, you could plant radishes in one row right now, the next in seven to ten days, and so on. By doing this, you may have fresh radishes all spring long and free up space for other vegetables by gathering them one row at a time.
12. Benefit from companion planting
Growing plants that sustain one another in the same location is known as companion planting, and it’s a common gardening technique. For instance:
Sage, chives, and radishes keep pests away from tomatoes.
Corn provides a foundation for cucumbers to climb on, peas add nitrogen to the soil to support the growth of cucumbers and other plants, and dill and oregano help cucumbers avoid pests.
Calendula, kale, and onions deter pests from eggplants. When grown in the shade of eggplants, carrots, and radishes help to aerate the soil.
13. Make a calendar for gardening

Good crops depend on knowing and honoring the planting time. Early spring planting of plugs can cause them to freeze and perish. If seeds are dispersed too late, their fruits may not have enough warm time to ripen.
To determine the ideal time to plant, plant, and harvest each plant and kind you’re cultivating, consult the labeling on seed packages and plant pots. Look for the ideal temps to start your plants outdoors rather than dates. This makes it simpler to adjust to the climate where you live.
Inquire at your neighborhood nursery, garden center, or Extension Office, or search online for this information. To keep track of your gardening project’s progress, use it to make a gardening calendar.
Expert advice on maintaining a gardening calendar: If you’re producing vegetables in the north, erect a greenhouse to extend the growing season, purchase plugs and potted plants rather than seeds, or learn how to start your seedlings indoors.
14. Obtain the essential gardening equipment
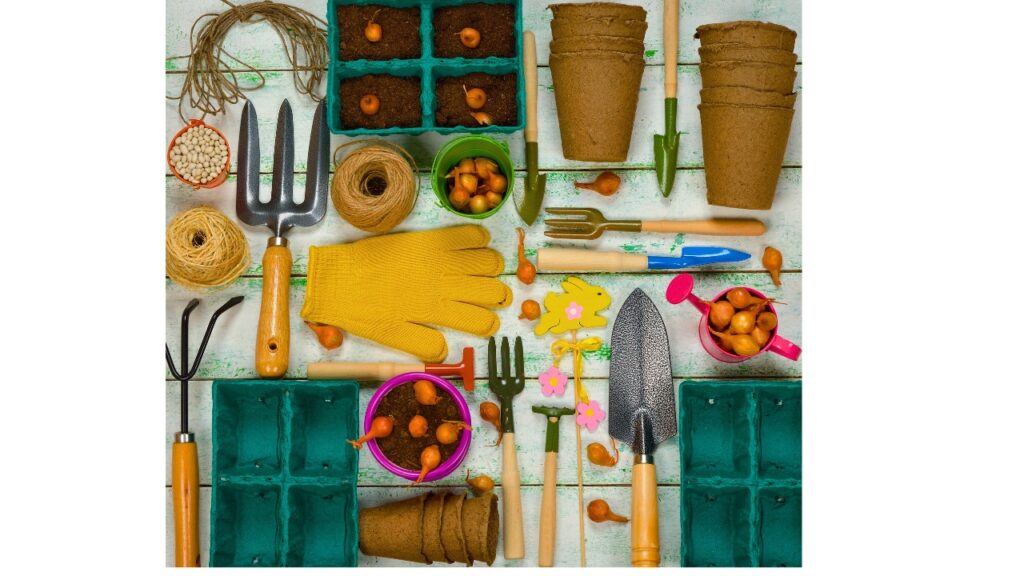
Growing veggies in a tiny backyard doesn’t require many tools, but these are necessary:
- shovel for the garden
- Shovel with a square spade
- Trowel for the garden
- The Rake
- A wheelbarrow
- Using gardening scissors
- Gloves for gardening
- nozzle-equipped watering can
- A nozzle-equipped garden hose or an irrigation system
Before you begin your gardening effort, make sure you have all of these things. Maintain their cleanliness and well-being.
15. Gain knowledge from the experiences of others.

Learn as much as you can from your neighbors or friends that cultivate vegetables on their property:
- Which types and types of veggies thrive in your region, and which ones do not?
- When they attack, what they cure, and the most prevalent vegetable diseases they deal with.
- Which bugs cause more harm? Is it better to put in an underground fence for rabbits or a tall one for deer? Should you think about installing bird netting?
- The number of practical gardening advices that are applicable to your area will astound you.
16. Make use of mulching’s full potential
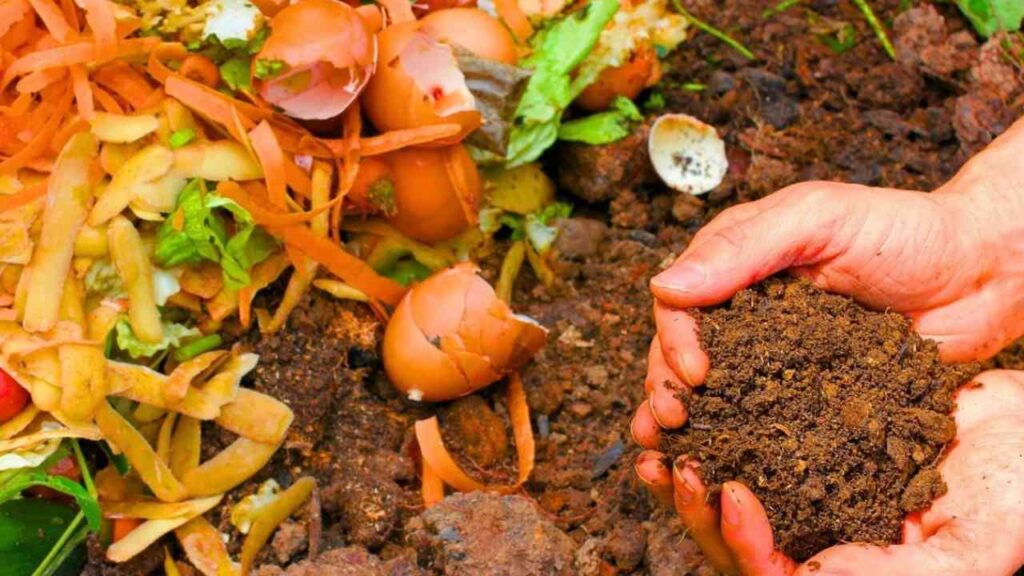
Most gardening publications recommend mulching as a beneficial way to preserve soil and increase production. In addition to reducing water evaporation, soil erosion, and compaction, mulch also enhances soil fertility and the microbiota.
Dead leaves picked up from your lawn, grass clippings, garden trimmings, wood chips, hay, straw, or even compost are some of the most popular kinds of organic mulch that you can utilize.
After every seedling has appeared, spread a layer of mulch. Keep it two inches or less from plant stems and make it two to three inches thick. Plant stems shouldn’t be embraced by your mulch. Because it retains moisture at the stem level, it raises the danger of fungal illness.
Over time, organic mulch breaks down. You will have to reapply in two or three months.
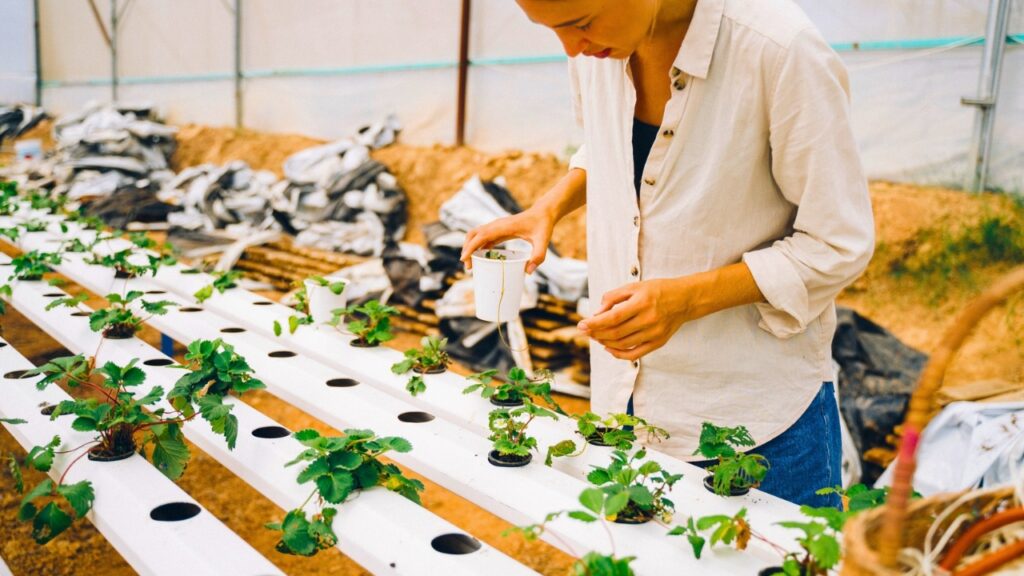
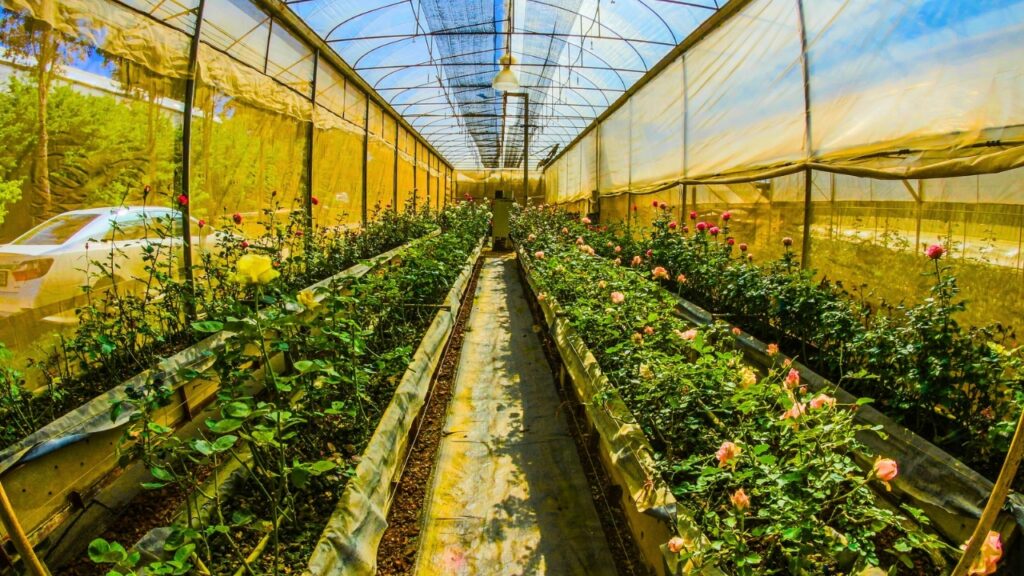
17. Think about a polytube or a greenhouse
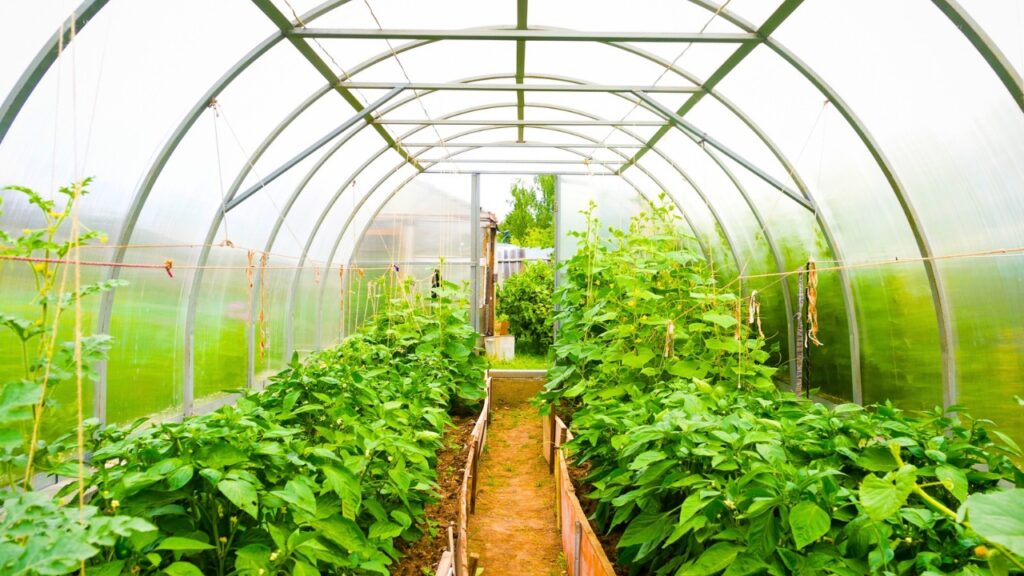
With warmer evenings, less wind, and a slower rate of evaporation, a greenhouse provides a better regulated environment for producing vegetables. If you live in Montana, Minnesota, Washington, or other northern states, this function is really helpful because it lets you extend the growing season.
Similar structures, but simpler, smaller, and less expensive are polytunnels. In addition to local garden centers and home and garden stores, you may purchase greenhouses and polytunnels online. You can also construct a do-it-yourself greenhouse to better suit your demands and available area if you have the time and are skilled with tools.
Frequently asked questions about planting your first veggie garden
Which vegetables are the best for novices to grow?
With two growing seasons, radishes, lettuce, spinach, kale, and peas require little maintenance and free up your summer for a well-earned getaway. If you are a year-round grower, add cucumbers, tomatoes, and peppers to your list.
How much room is required for a vegetable garden?
A simple 4×4-foot raised bed or a few plant pots can be your starting point, and you can eventually grow a 12×24-foot garden. A 4×8 raised bed and 6×6 or 10×10-foot planted portions are used in the most popular projects. If this is your first endeavor, start small and progressively increase the planted area.
How can a vegetable garden be started on a tight budget?
Here are some ways to cut costs on your gardening project if money is short. Grow your own seedlings by purchasing seeds rather than plugs or potted plants. To improve the planting beds, use garden or bed soil rather than pot soil. Instead of purchasing mulch, use garden waste and clean the lawn. Create your own organic fertilizers and compost. Save seeds for subsequent crops.
Is it possible to transform your grass into a garden?
It is possible to transform your grass into a garden. To improve the soil, just remove your grass lawn and either place it in your compost bin or leave it inverted on the ground. Create planting beds, test the soil to determine the appropriate amendments, and begin gardening.