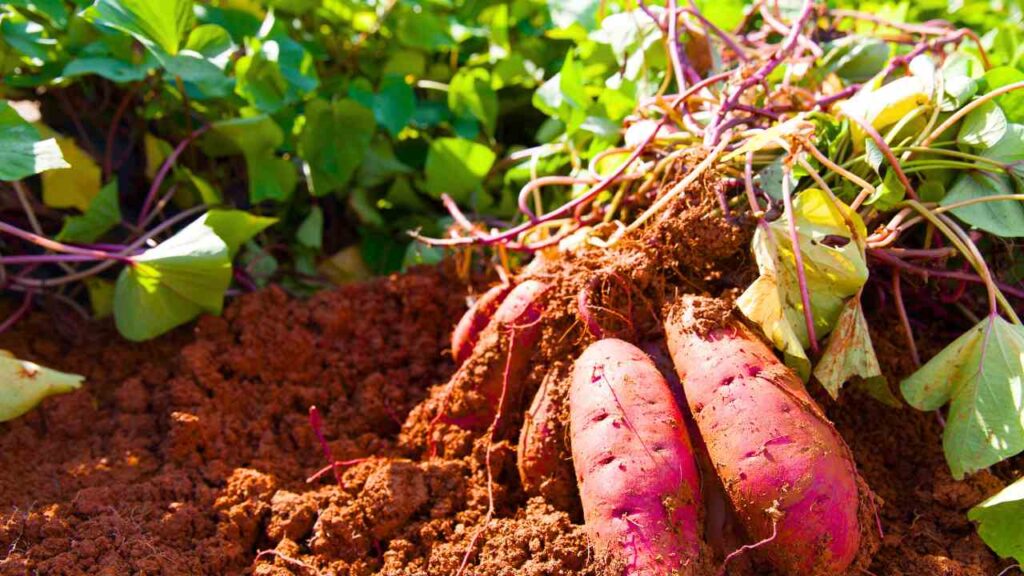
It’s natural to wash vegetables grown underground before eating. Many gardeners, meanwhile, ignore a buried treasure that accompanies these vegetables: the root balls themselves and the dirt clinging to their roots. This soil is not just dirt; it is alive with beneficial bacteria, little organisms that can greatly promote plant health and growth. By increasing nutrient availability, encouraging root development, and shielding plants from dangerous diseases, these bacteria are crucial in maintaining soil health. Using the bacteria in the soil will enable us to assist other plants in developing faster and stronger, thereby transforming a simple cleaning chore into a potent gardening instrument.
Soil Microbes: A Secret Boost for Your Plants
A little bit of soil from the garden bed always clings to the roots of harvested veggies. Alive with bacteria, fungi, and other microorganisms, this soil is full of living organisms working together to sustain good soil. These bacteria are good for plants since they promote nutrient cycling, enhance soil structure, and even provide defense against pathogens. Pulled from the ground, the vegetables carry these good bacteria with them, therefore enriching the soil’s value. Collecting and conserving these microorganisms helps you to create a more fruitful and healthy garden.
Preparing Microbe-Rich Water for Your Plants
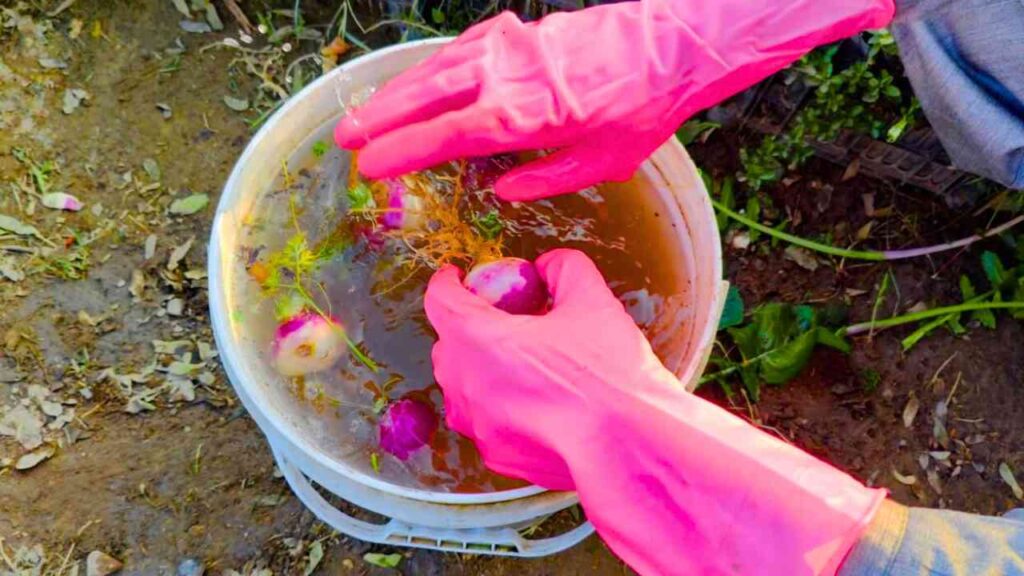
You can use this procedure to gather these useful bacteria rather than throwing away the soil and washing your crops in basic water. A clean bucket and non-chlorinated water—such as rainwater or filtered water—will help you to accomplish this. Chlorine can kill beneficial bacteria; hence, unless tap water has been permitted to sit for at least 24 hours to let the chlorine disperse, it is crucial to avoid using it. Using this bucket, wash your freshly picked veggies and gently shake them to let the soil and germs from the roots escape into the water. This easy approach produces a nutrient-rich solution that can feed your plants by collecting the microbial life from the soil.
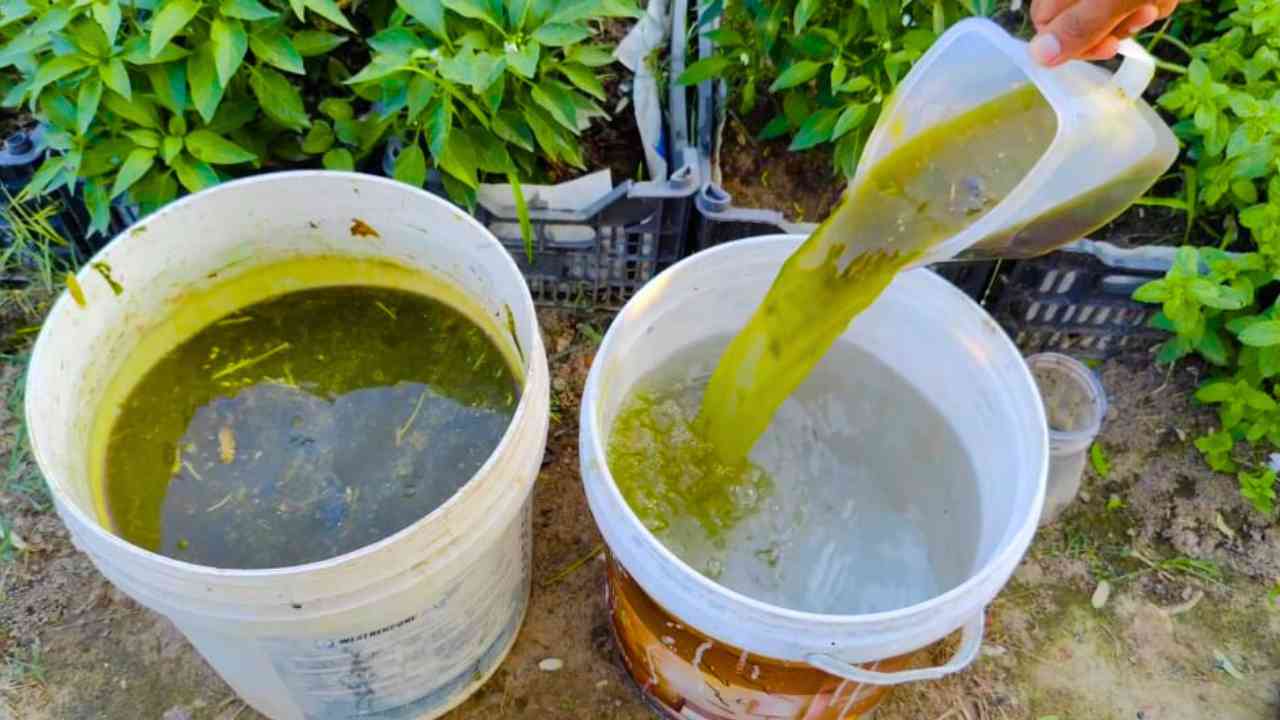
Transforming Microbe-Rich Water into Nutrient Fertilizer

Adding vegetable scraps to the bucket will help to even further increase the nutritious content of the microbe-rich water. Perfect additions include leftover vegetable tops, such as carrot greens, radish leaves, or outer cabbage leaves. These vegetable scraps provide vital nutrients, including nitrogen, phosphorus, and potassium—three main components plants require for robust growth. Adding these scraps to the water increases the nutritional value and helps to cut garden waste. Over time, the scraps decompose, hence releasing more nutrients and enhancing the efficacy of the liquid fertilizer. Combining plant-based resources with microorganisms will produce a strong fertilizer that supports your garden and encourages sustainable farming methods.
Fermentation Process: Letting the Magic Happen
The fermentation process starts after your microbe-rich water and vegetable waste have been combined in the bucket. To let some air movement and keep insects and debris out, cover the bucket loosely with a lid or cloth. An aerobic process, fermentation uses oxygen to help break down the organic material and support microbial activity. Allow the mixture to rest in a shady location for roughly seven days. The bacteria will start to decompose the vegetable waste during this period, therefore changing it into a nutrient-dense, green liquid fertilizer. A more powerful mixture will result from prolonged fermentation, which will enable even more advantages for your plants.
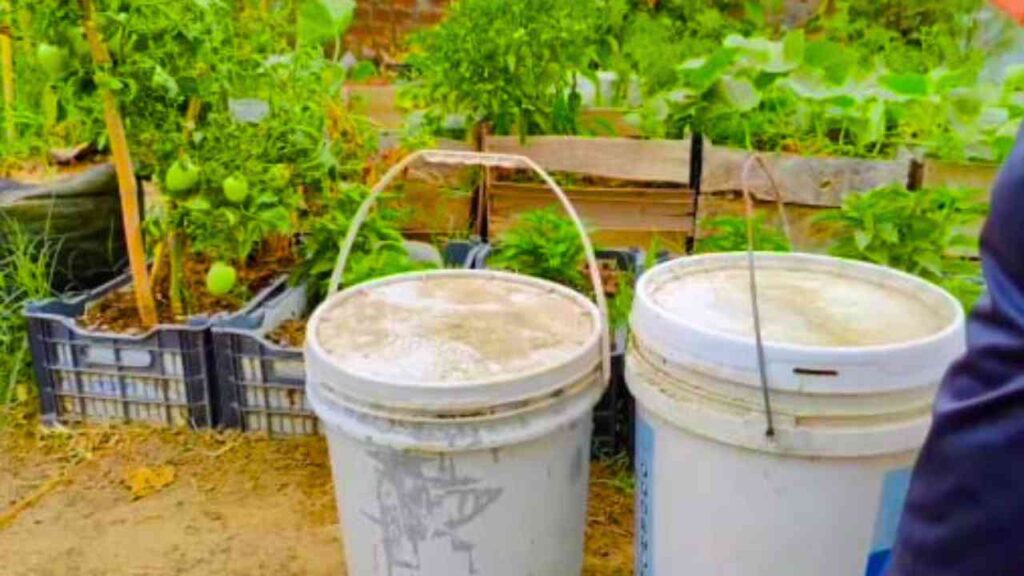
Dilution and Application of Your Homemade Fertilizer

Your homemade liquid fertilizer is ready to use after seven days of fermentation. Its application, nonetheless, calls for dilution to guarantee it is not too strong for your plants. Usually, one part of the fermented liquid The dilution ratio is one part fertilizer to ten parts water. For instance, combine ten cups of water with one cup of liquid fertilizer. This diluted solution is perfect for providing a balanced nutrient boost without causing stress to your plants. You can spray or sprinkle fertilizer on the leaves. The solution’s microorganisms and nutrients will be taken up by the plants, hence encouraging growth and enhancing general plant health.
Final Thoughts: Homemade Fertilizer for a Sustainable Garden

Recycling your veggie scraps and harnessing the good bacteria in the soil helps you to establish a sustainable cycle of growth and regeneration for your garden. By recycling kitchen garbage that would otherwise be thrown away, this approach not only improves your soil and feeds your plants but also cuts waste. Your garden gains from this nutrient-rich, homemade fertilizer, thereby supporting a more environmentally responsible, low-waste gardening technique. Including this easy, efficient approach in your gardening practice will help to create a vibrant, healthier garden that grows year after year.
Should you find this advice useful, please remember to like, share, and subscribe to our channel for more gardening ideas and tricks. Let us work together to build beautiful, sustainable gardens!