Greetings from my channel again! In this video, we’ll show you how easy it is to make a homemade liquid fertilizer that is high in nutrients using fruit peels. This environmentally safe fertilizer is ideal for floral plants, fruit trees, and vegetables. In addition to saving money, reusing kitchen garbage promotes plant development and helps create a more sustainable environment. Now let’s get started using this simple yet powerful gardening method!
Collecting Fruit Peels

Gathering the fruit peels you have on hand is the first stage in this process. Peels from oranges, bananas, apples, and any other frequently consumed fruit might be included in this category. Making use of the nutrients that are already in these peels is the secret to this technique. Potassium and phosphorus, which are critical for supporting plant health and improving fruit development, are abundant in them. Instead of throwing these peels away as waste, we may use them to make a valuable resource that will increase soil fertility and feed our plants.
Peels Chopped for Quicker Decomposition

Cutting your fruit peels into tiny pieces is the next step after gathering them. By expanding the surface area that comes into contact with water, chopping the peels aids in accelerating the breakdown process. Smaller fragments decompose more quickly, facilitating the more effective release of nutrients into the water. This promotes quick development and health by guaranteeing that your plants receive the most benefit from the fruit peels as soon as possible.
Making the Mixture

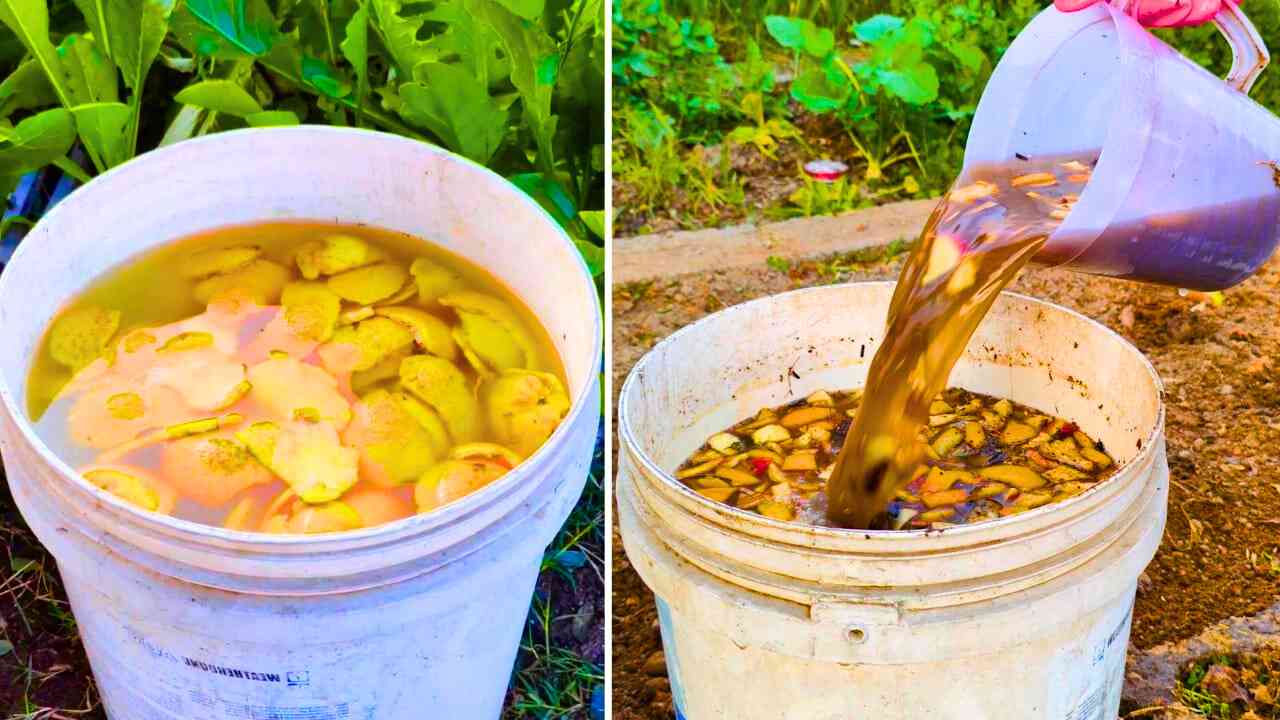
After chopping the fruit peels, it’s time to get the mixture ready. Select a large container that can accommodate the peels and water, such as a clean bucket. Avoid packing the container too full while adding the chopped peels. Then pour water into the container. Because chlorine can damage the helpful bacteria that are essential for fermentation, it is better to use non-chlorinated water, such as rainwater. These microorganisms will aid in the breakdown of the peels and turn them into a nutrient-rich liquid fertilizer.
Adding Garden Soil for Microbial Activity
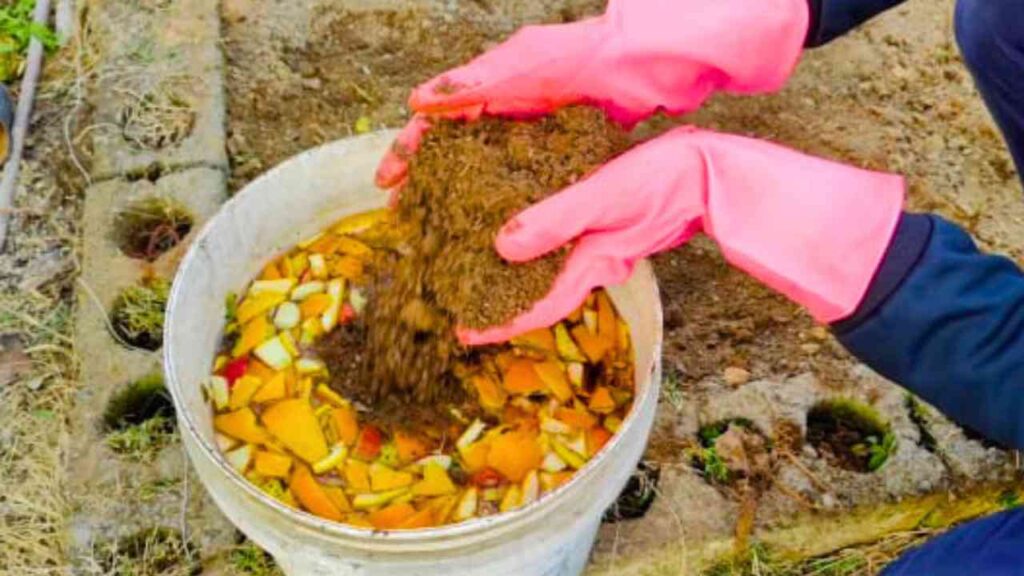
A few handfuls of garden soil can be added to the mixture to accelerate the decomposition process even more. Despite its strange appearance, garden soil is home to a wide variety of microorganisms that are vital to the decomposition of organic materials. These microscopic creatures put up endless effort to break down the peels and transform them into a fertilizer that is rich in nutrients. To make sure the peels, water, and soil are evenly dispersed, give everything a good stir. As a result, the perfect conditions for microbial activity will be created, which is essential for making high-quality liquid fertilizer.
Fermentation and Covering
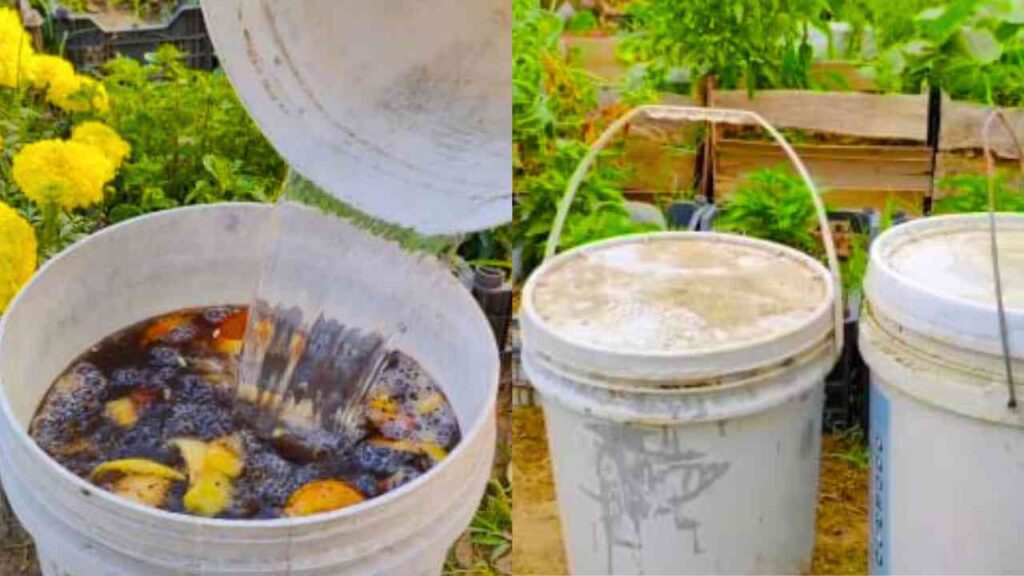
After everything has been mixed together, it’s important to loosely cover the container with a cloth or lid. While keeping insects and detritus out, the cover will still let some airflow, which is essential for the fermentation process. Since fermentation is an anaerobic process, oxygen is not necessary for it to occur. Avoid direct sunlight since it might overheat the combination, but position the container in a warm area to maximize the process. The growth of helpful bacteria and fungi that promote decomposition will be stimulated by the temperature.
Awaiting Fertilizer Fermentation
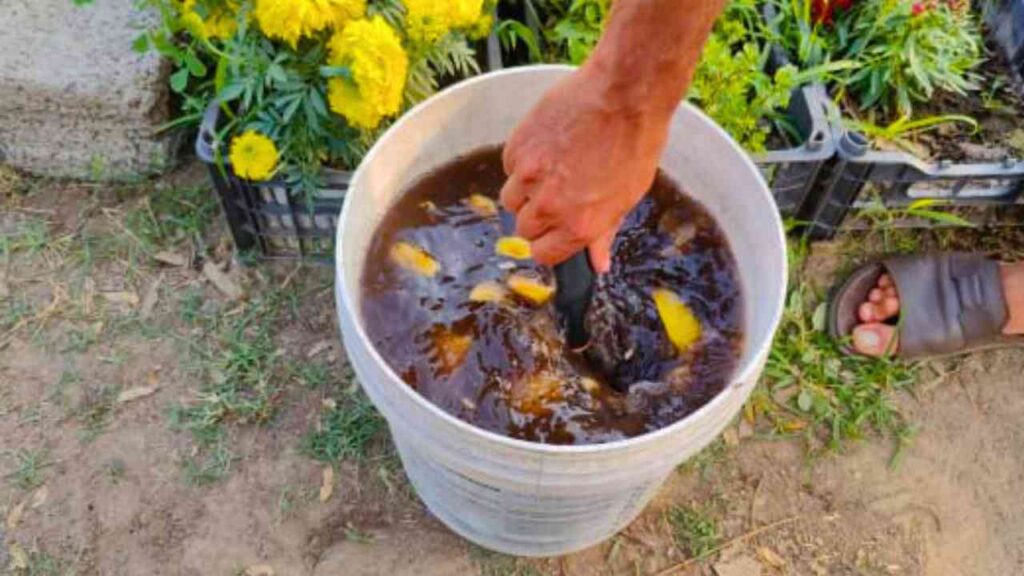
All we have to do now is wait for the mixture to ferment. This step typically takes seven days, but you can leave it for up to two or three weeks if you want a stronger fertilizer. Fruit peels and other organic materials will decompose during this period, enriching the liquid with nutrients. As fermentation takes place, you might detect a slight smell, but don’t worry—that indicates that the process is successful! The mixture gets richer in vital elements like potassium, phosphorus, and nitrogen as it ferments longer, all of which are beneficial for your plants.
Applying the Fertilizer and Diluting It

Once the fermenting process is complete, it’s time to apply your homemade liquid fertilizer. However, it’s important to dilute the fertilizer before applying it to your plants. Because it can harm plants, the concentrated liquid is too potent to be applied directly to them. One part liquid fertilizer to ten parts water is the suggested dilution ratio. For instance, combine ten cups of water with one cup of fertilizer. After diluting it, you can use it as a foliar spray or at the base of your plants to provide them with an additional nutritional boost and encourage healthy growth.
Advantages of Making Your Own Liquid Fertilizer

Making your own liquid fertilizer has several advantages beyond just helping your plants grow. Packed with crucial elements like potassium, phosphorus, and nitrogen that are critical for plant growth, this natural fertilizer is a powerhouse. In essence, by employing this DIY method, you’re providing your plants with the nutrients they require to flourish in a way that is both efficient and sustainable. Your plants will therefore exhibit a noticeable change, including more robust stems, greener foliage, and an overall increase in plant vitality. These enhancements are important indicators that the nutrients your plants require for robust, healthy growth are being absorbed.
The fact that this fertilizer is entirely devoid of dangerous chemicals and additives is among its biggest benefits. Synthetic materials found in many commercial fertilizers can be harmful to both your plants and the environment. This homemade liquid fertilizer, on the other hand, is It is completely organic, making it the ideal option for anyone interested in sustainable gardening or who wants to grow plants without using potentially hazardous chemicals. This is a great choice for individuals who want their gardening methods to be as natural and environmentally friendly as possible.
This liquid fertilizer is not only beneficial for the plants but also for the soil. The mixture’s organic matter and bacteria will gradually improve the soil’s fertility and foster a more wholesome root environment for your plants. By increasing microbial activity in the soil, the fertilizer’s beneficial bacteria aid in the breakdown of organic matter and boost the availability of nutrients for your plants. As the soil becomes more nutrient-dense and better equipped to sustain plant growth, this enhances the current growing season and lays the groundwork for a future garden that is healthier and more productive.
If this article was useful to you, please subscribe to my site , like it, and share it! You are welcome to leave a remark below with your thoughts on this do-it-yourself fertilizer. I appreciate you reading, and I hope to see you in my future articles for more gardening advice! Have fun with your gardening!