Biochar, another name for charcoal, is a fantastic addition to any garden. It is a potent soil enhancer that keeps vital nutrients in the soil, enhances its structure, and encourages the development of healthy microorganisms. You’re giving your plants a growing environment that promotes vigorous development, healthier roots, and higher yields by adding charcoal to your garden. However, what happens if you don’t have charcoal ready to use at home? Thankfully, making your own charcoal is simple and reasonably priced. This article will teach you how to create charcoal, turn it into a nutrient-rich blend, and apply it to your garden soil to promote long-term development and yield.
Step 1: Make Charcoal by Burning the Wood

Burning wood is the first step in making charcoal for your garden. Hardwood is essential because it burns more slowly and yields higher-quality charcoal than softwood, which burns more quickly and frequently creates ash rather than charcoal. Locate a clear, safe space to burn the wood away from anything combustible, and make sure there isn’t any wind to spread the flames. Allow the fire to burn until it extinguishes, leaving behind blazing embers. Wait for the charcoal to cool completely after the fire has subsided; this is a crucial safety precaution. After it has cooled, remove the charcoal from any leftover ash. Chunks of hard, black charcoal will be seen; these are stronger and lighter than ash. These chunks of charcoal should be set aside for the following processes.
Step 2: Break Down the Charcoal into Small Pieces
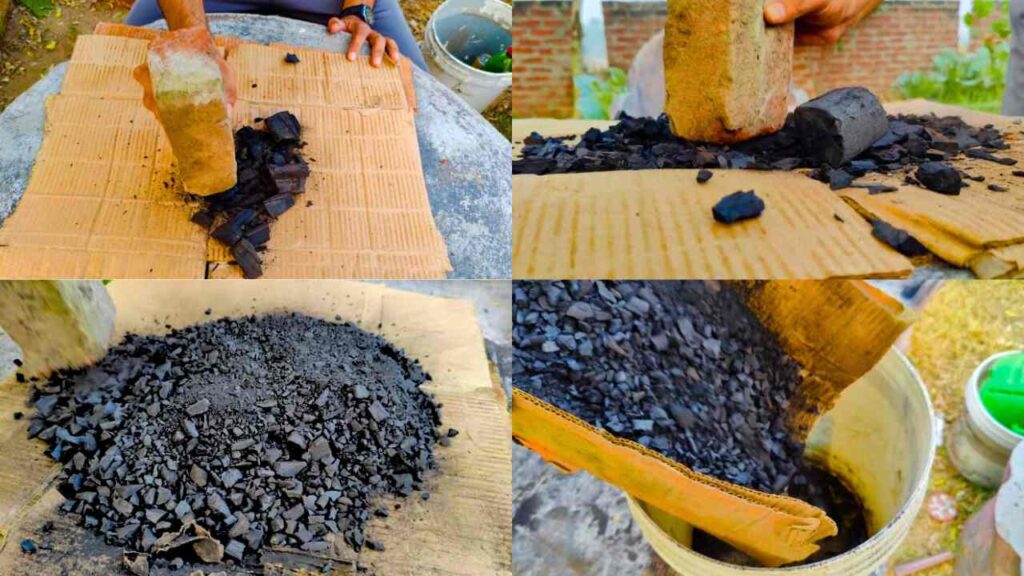
It’s time to break your charcoal into smaller, easier-to-handle bits when it has cooled. Crush the charcoal into tiny, fine pieces with a strong object, such as a thick brick. It will be simpler to mix charcoal into your soil if the pieces are smaller. Smaller chunks provide the charcoal more surface area for microbial activity and improve its ability to interact with the nutrients and microorganisms in your garden. Once enough charcoal has been crushed, collect it and fill a 5-gallon bucket nearly halfway.
Step 3: Add Compost or Manure
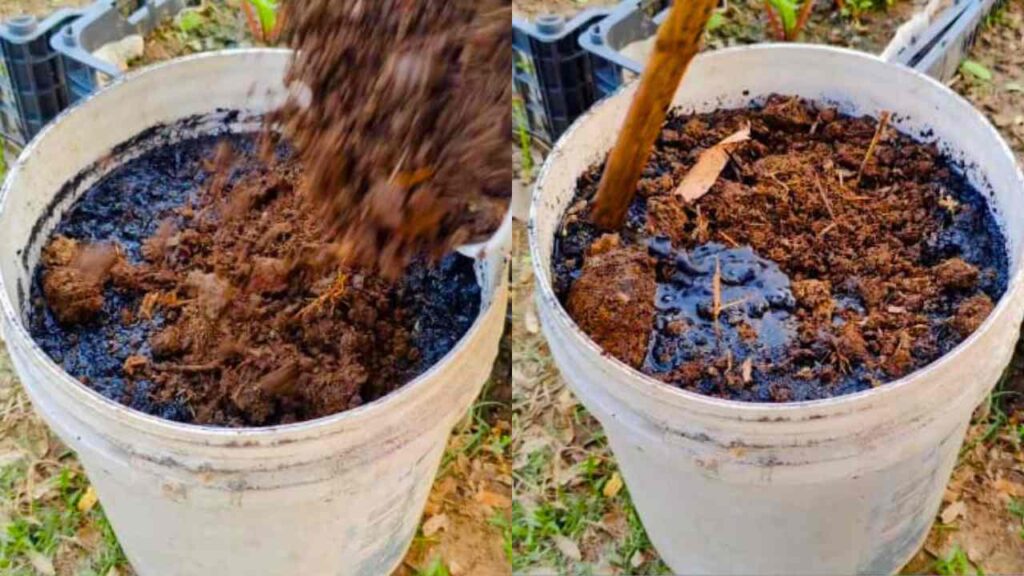
Compost or well-decomposed manure is the next necessary component. To assist in supplying the charcoal mixture with organic matter, bacteria, and nutrients, add an equivalent amount of compost or manure to the bucket. This mixture makes the ideal conditions for the growth of helpful microorganisms. These microorganisms are responsible for improving soil health, recycling nutrients, and decomposing organic debris. This mixture is a great soil additive for your garden since the porous nature of the charcoal promotes aeration and enhances the soil’s capacity to hold moisture. Pour your manure or compost into the bucket and mix it well with the crushed charcoal.
Step 4: Add Liquid Fertilizer to Improve the Mixture
We suggest adding liquid fertilizer to your charcoal mixture to increase the microbial activity. In addition to adding more nutrients, liquid fertilizer aids in triggering microbial activity in the combination. You could already have some DIY liquid fertilizer if you watched our earlier videos. If not, there are plenty of options, so don’t worry. Just fill the bucket with liquid fertilizer, making sure to completely soak the compost and charcoal. The mixture’s helpful microorganisms will grow more quickly thanks to the liquid’s additional injection of vital nutrients.
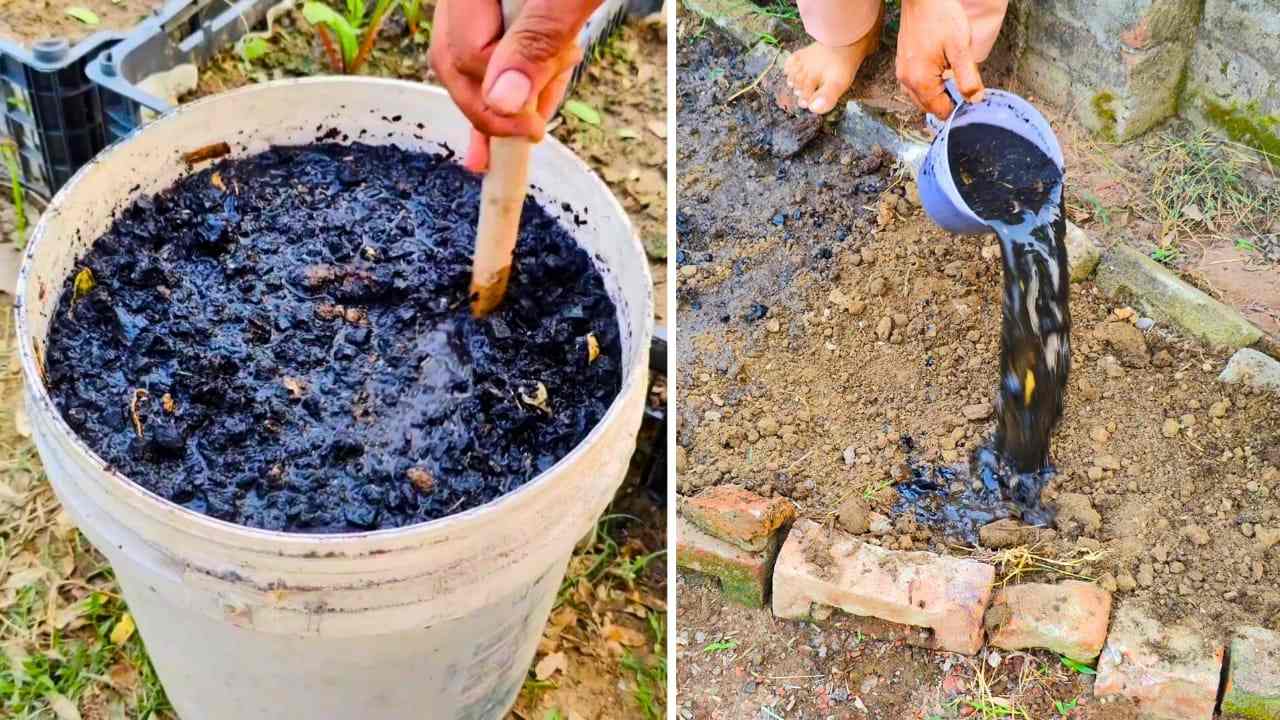
Step 5: Incorporate Non-Chlorinated Water into the Mixture
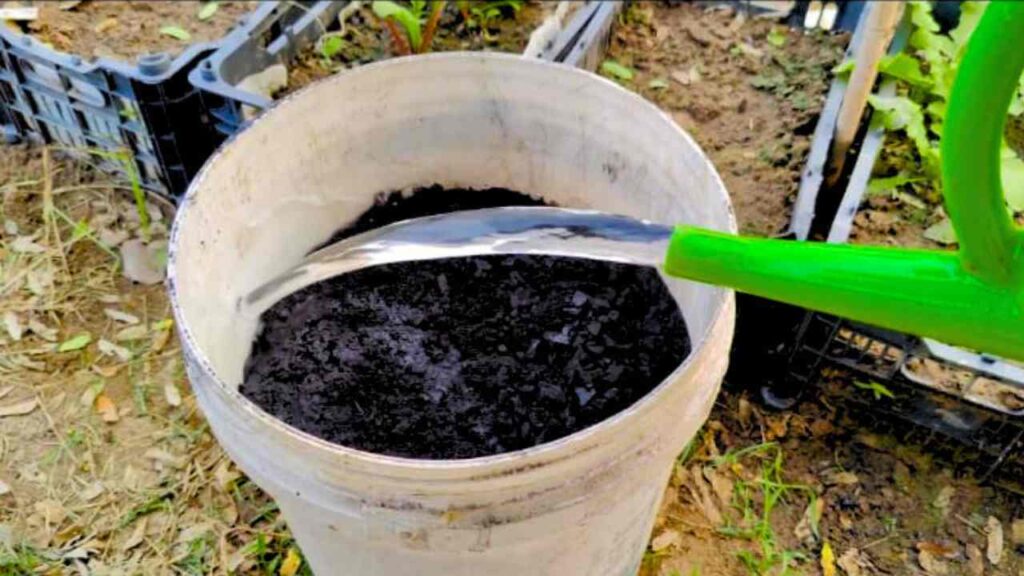
Then, add non-chlorinated water to the remaining bucket. If you can get it, rainwater is best; otherwise, tap water will work if left outside for a day to let the chlorine dissipate. It’s crucial to use water free of chlorine because it can destroy beneficial bacteria. To make sure that the charcoal, compost, fertilizer, and water are all mixed together, give the mixture a thorough stir. By absorbing microorganisms and nutrients, the charcoal will produce a powerful soil amendment that will support your garden for months or perhaps years.
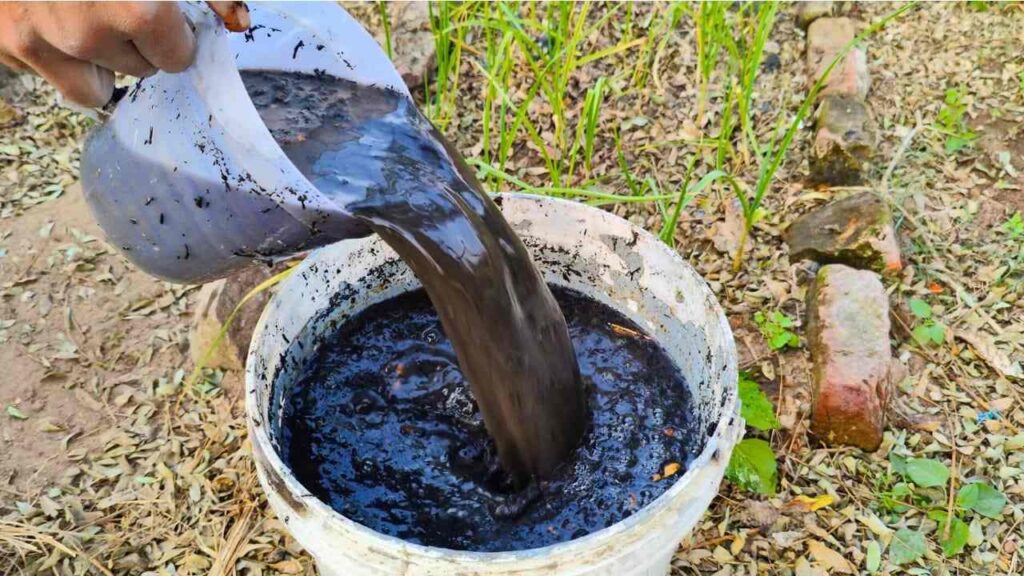
Step 6: Lett the Mixture Ferment
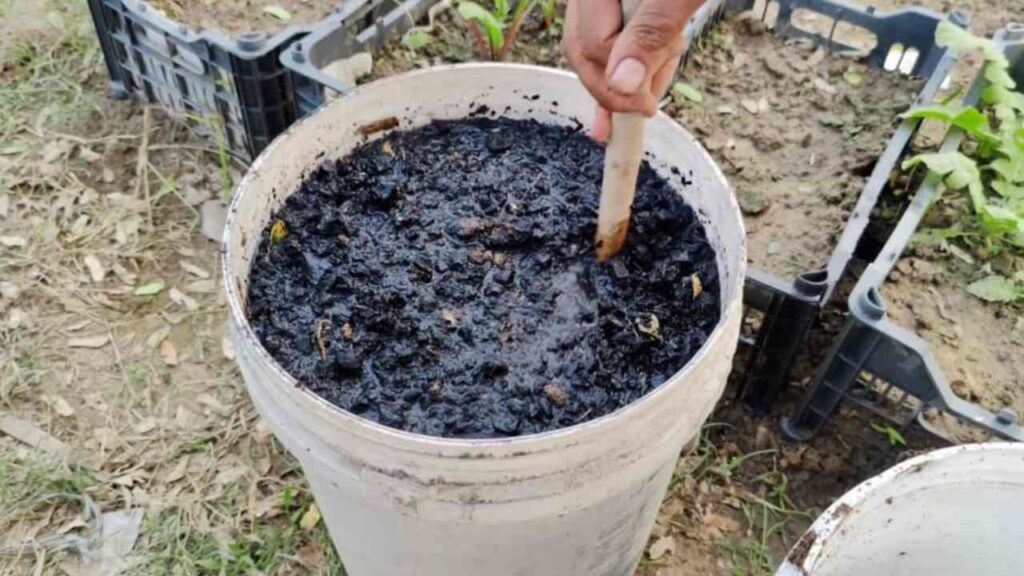
The fermentation process is about to begin. To enable airflow and keep debris out, cover the bucket loosely with a lid. Place the mixture in a cool, dark area and leave it there for at least seven days. The combination will become a live, nutrient-rich solution during this time As the microorganisms grow, the nutrients attach themselves to the charcoal. To make sure everything is dispersed equally, stir the mixture once or twice a week. You will have a nutrient-rich, microbially rich slurry at the end of the fermentation process that is ready to enhance your soil.
Step 7: Apply the Mixture in the Garden
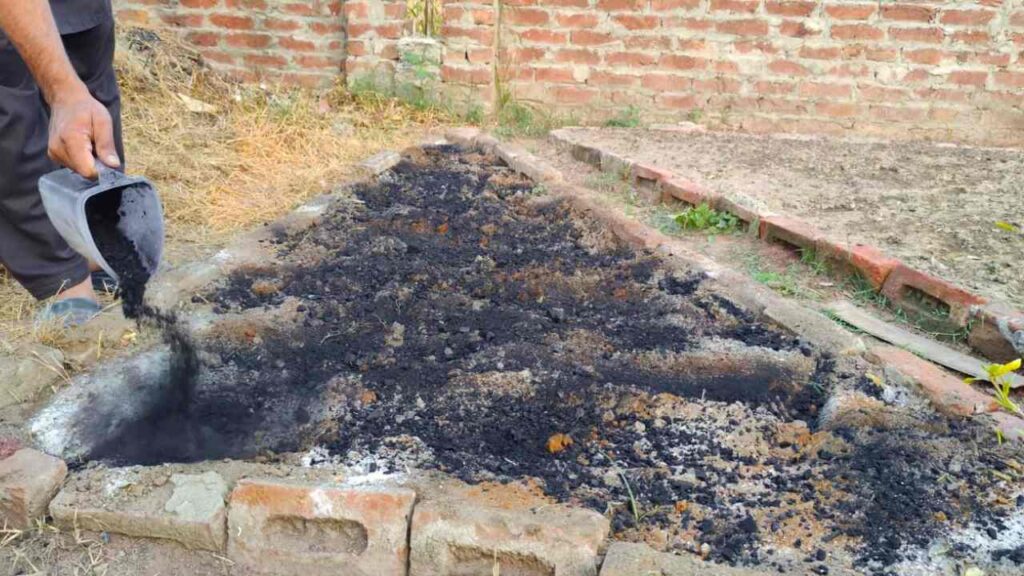
Make sure your garden soil is just a little bit damp before adding this potent soil additive. Water your garden bed sparingly in advance because microbes require moisture to live and grow. Evenly distribute the charcoal mixture over your garden bed when the soil has become damp. For years, the charcoal will stay in the soil, steadily enhancing its aeration, structure, and nutrient retention. Your plants will thrive in the soil as a result of the bacteria’s ongoing enrichment.
Step 8: Use the Mixture as a Liquid Fertilizer
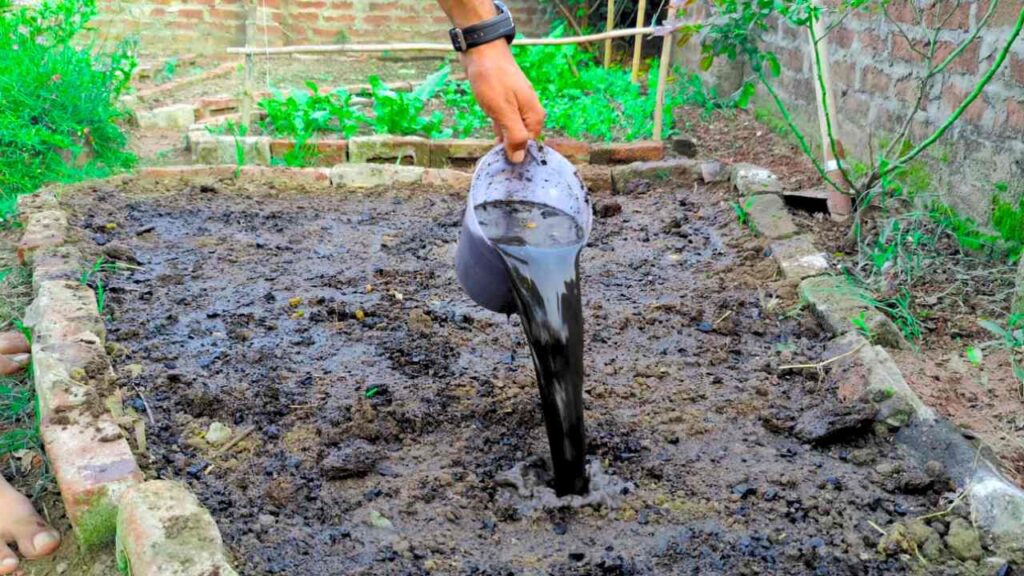
It is simple to apply the charcoal mixture to your plants as a liquid fertilizer if that is your preference. To prevent giving your plants too much nutrition, you must dilute the mixture. Water your plants with a diluted solution made by mixing one part charcoal mixture with ten parts water. By doing this, the plants can benefit from the bacteria and charcoal without running the risk of over-saturation or nutrient burn.
Conclusion: Advantages of Making Your Own Biochar Blend
By recycling organic materials, this method not only gives your vegetation a wonderful nutrient boost but also contributes to trash reduction. You can build a self-sufficient, sustainable garden that gradually enhances soil health by preparing your own biochar mixture. Compost, liquid fertilizer, and charcoal all work together to improve plant growth, microbial activity, and nutrient cycling. Your garden will grow healthier, produce more, and be more colorful as your soil gets richer and more fertile over time. For additional gardening advice, including how-tos on liquid fertilizers, sprays, and other products, be sure to visit our channel if you’re eager to attempt this technique. To keep up with our most recent gardening endeavors, be sure to like, share, and subscribe to our material!